RESTO Our 787 x4 restoration modification thread

Status
Not open for further replies.
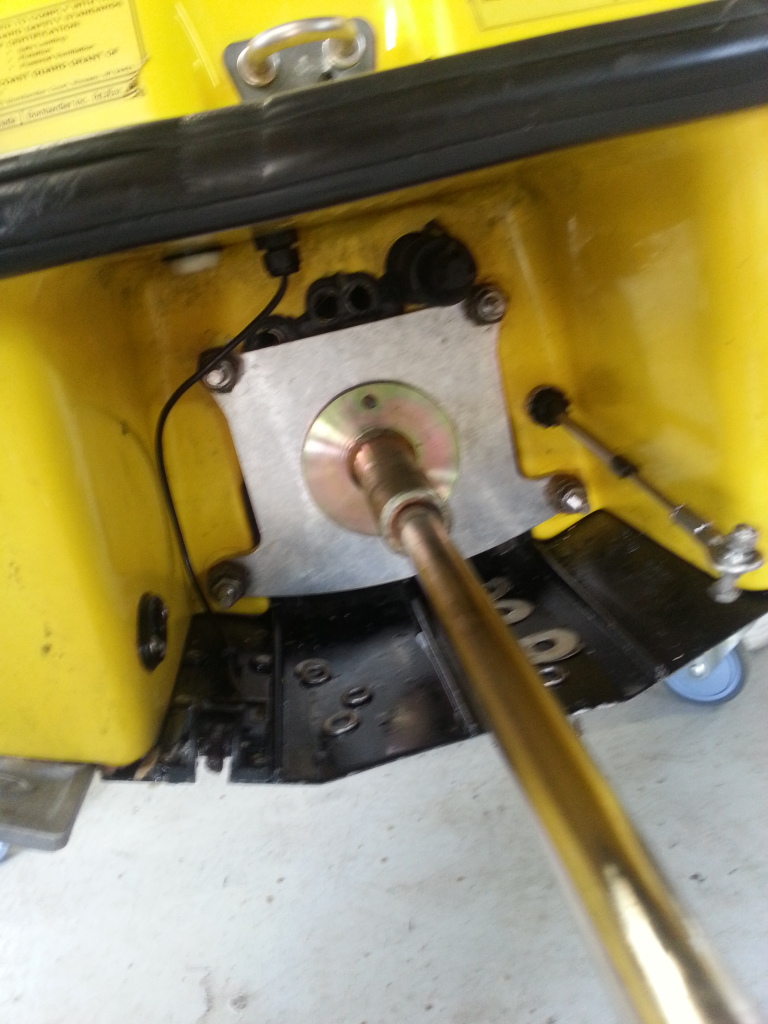
Last week we offered to install a motor for a member, we did not end up doing his but another member saw our post and asked us to do his.


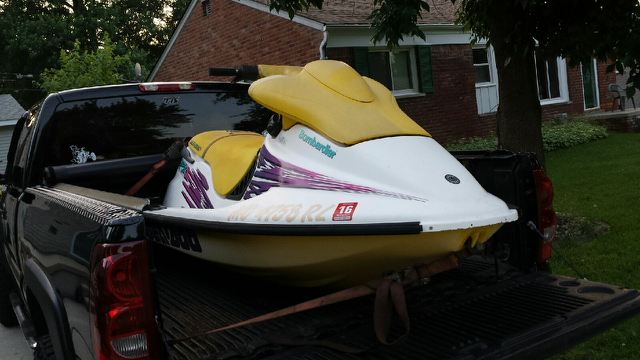
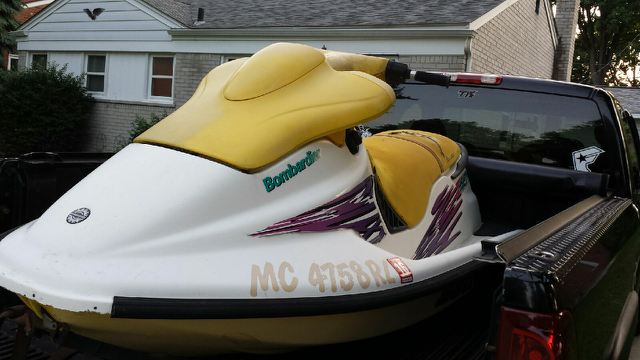
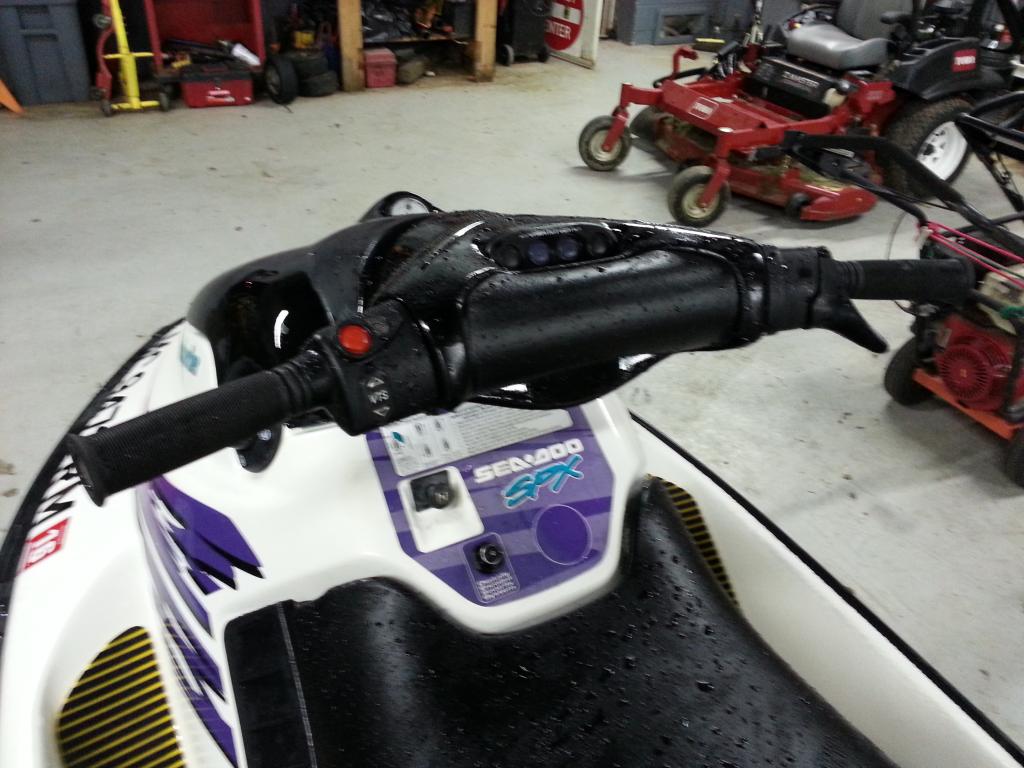
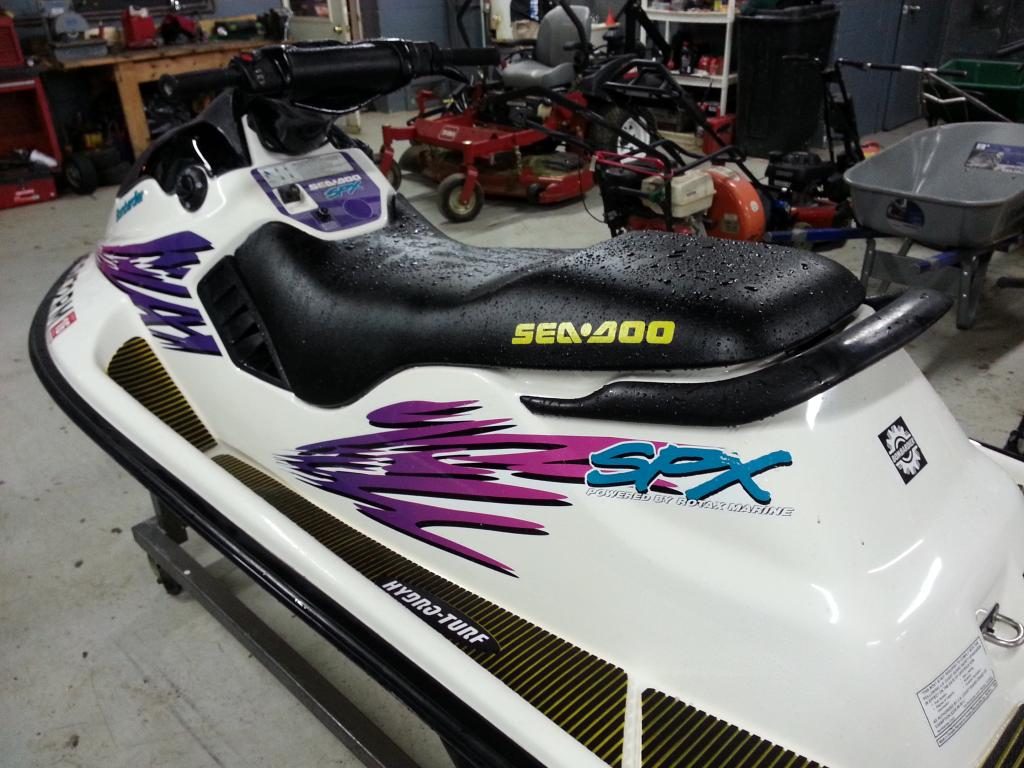
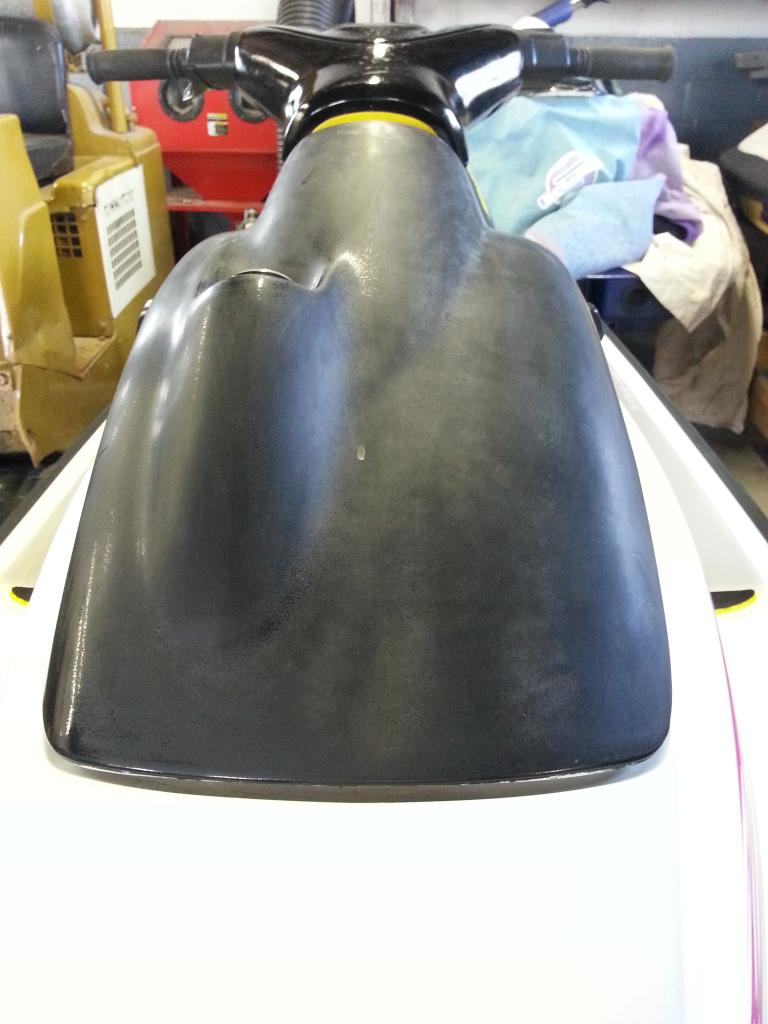
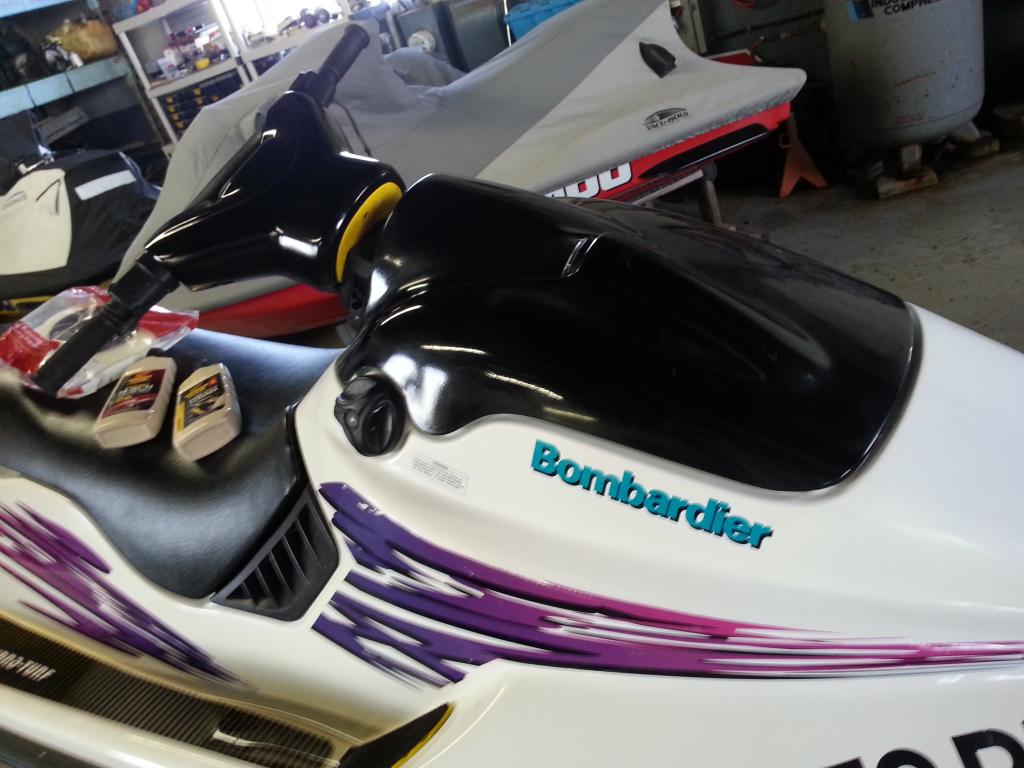
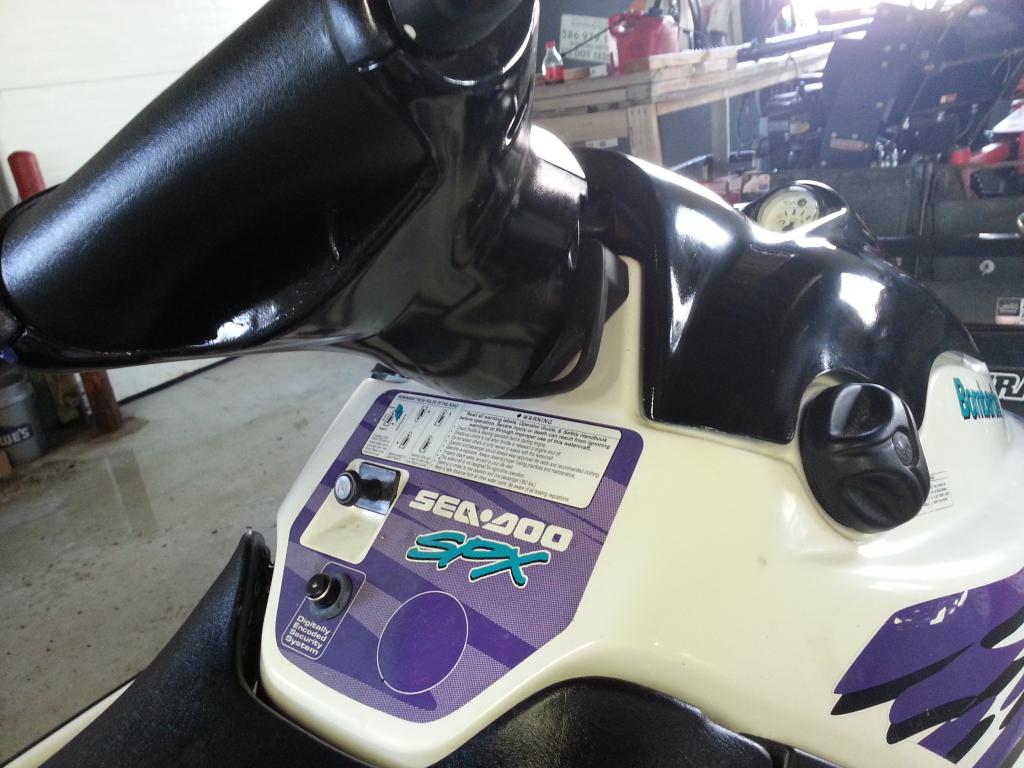
This week [MENTION=58245]scrisp[/MENTION] dropped off his 96 xp with a couple boxes of parts and a rebuilt motor from 5starservices.

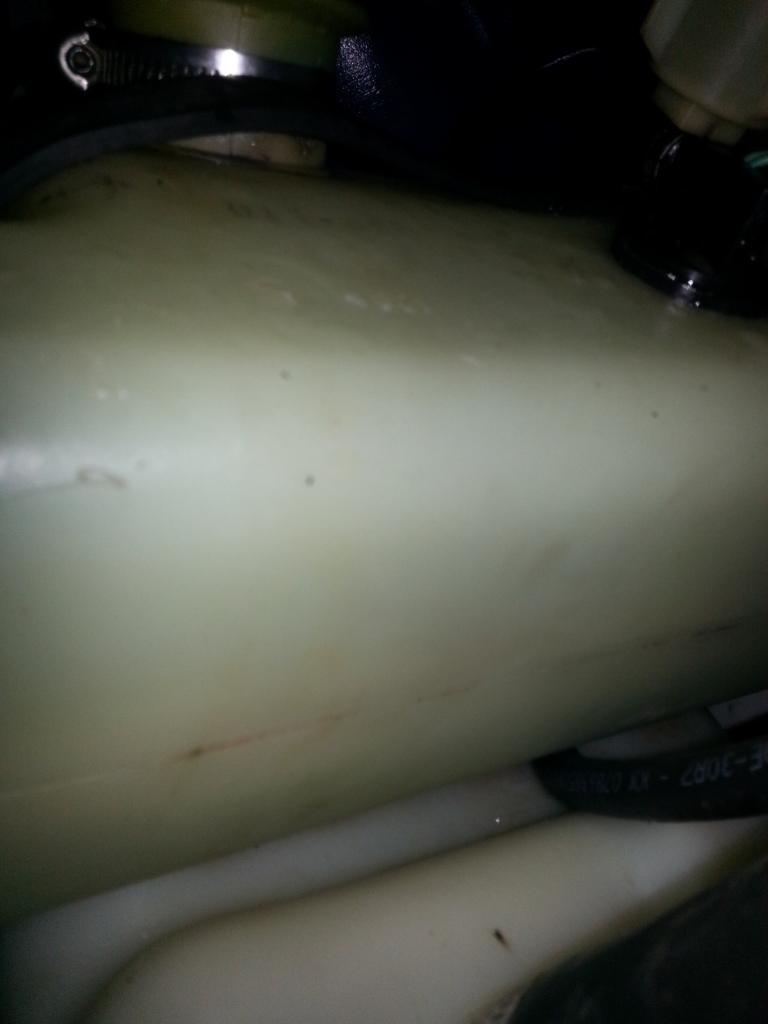
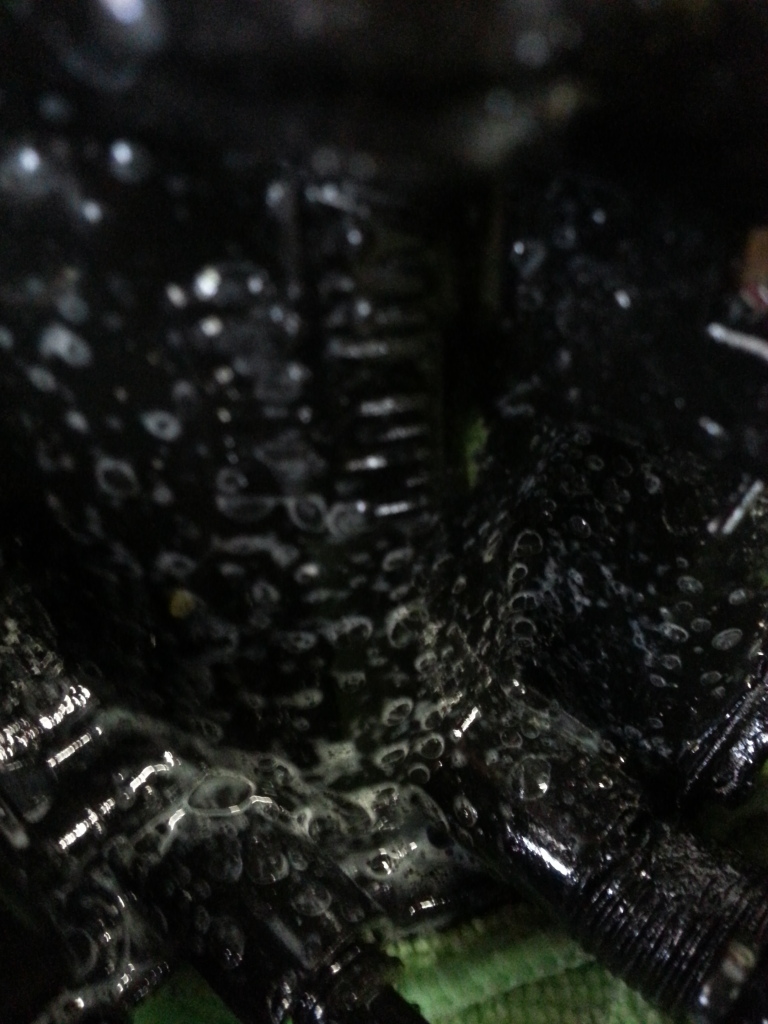
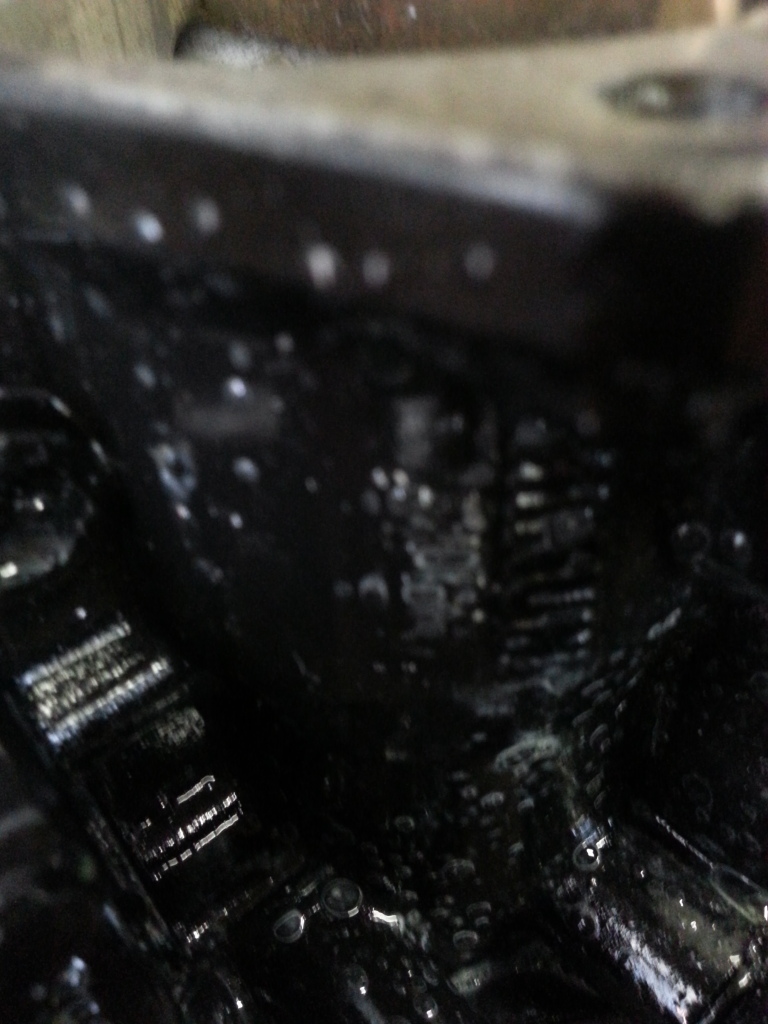
He had his motor out and a rebuilt one ready to go. He had his lines all plugged but one of the oil lines leaked and we had a mess on our hands.

134.jpg


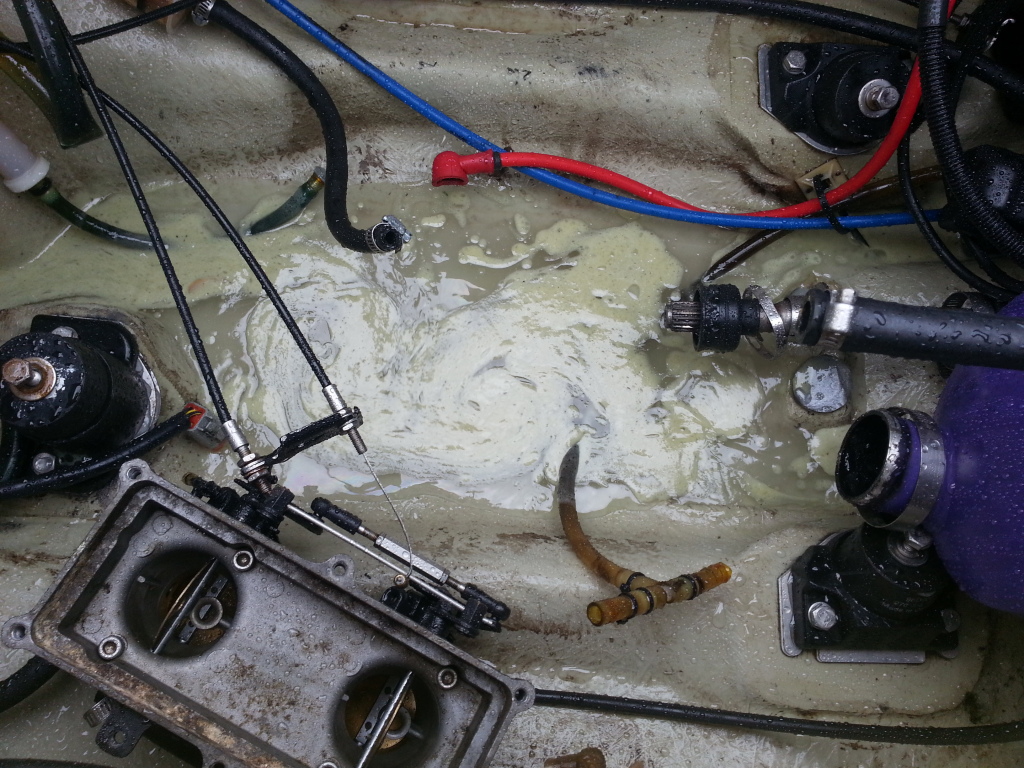
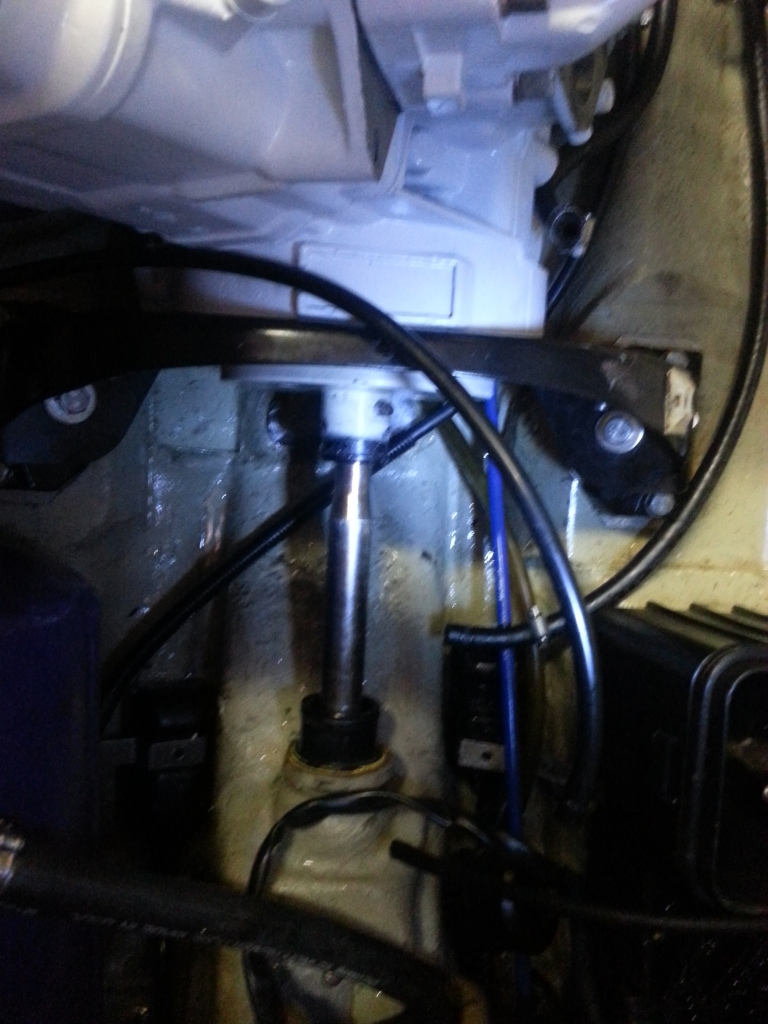
There was alot more that was after a couple rinses and drainings.

It took us quite a while to get it all out. The oil that was in it gelled up on everything and was a pain to get off.

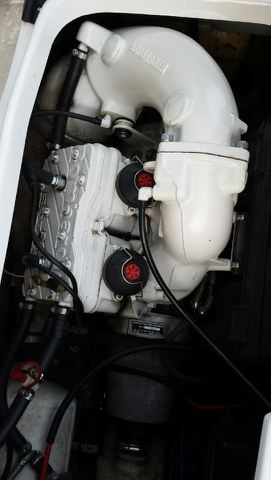
It cleaned up well though
135.jpg


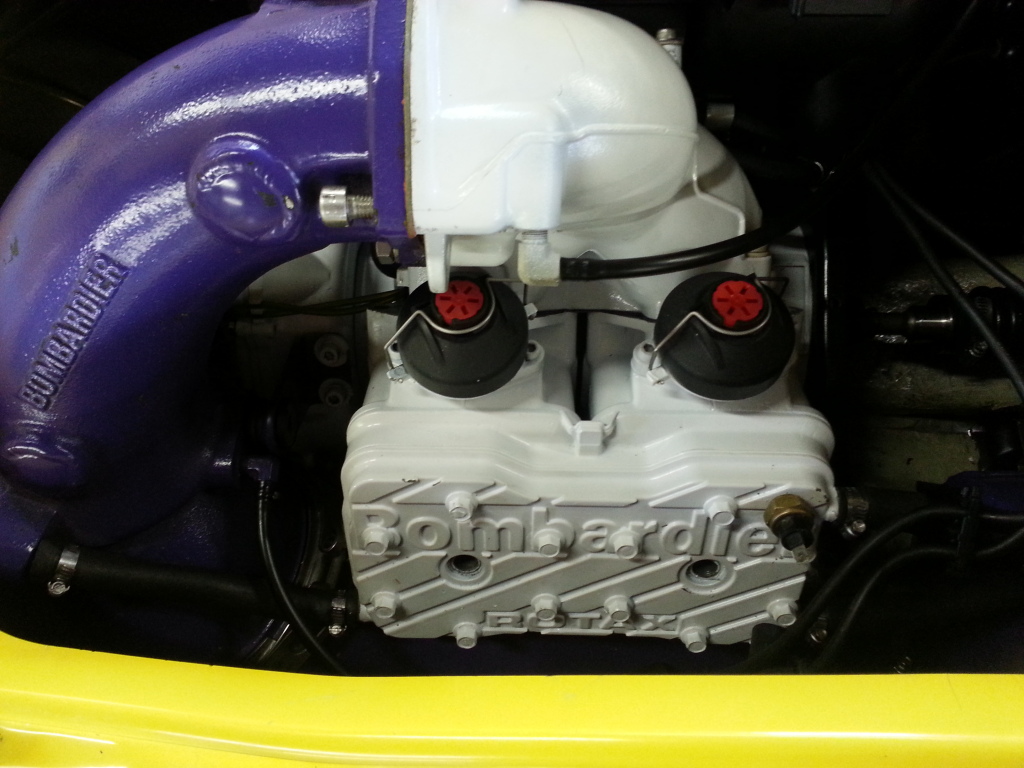
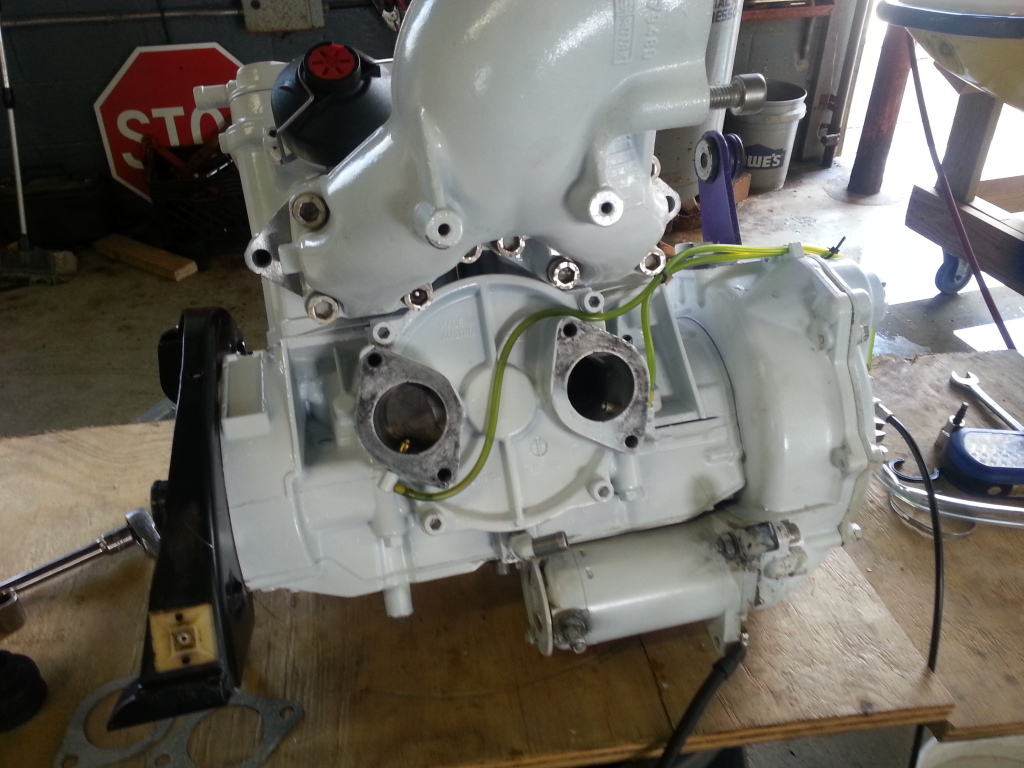
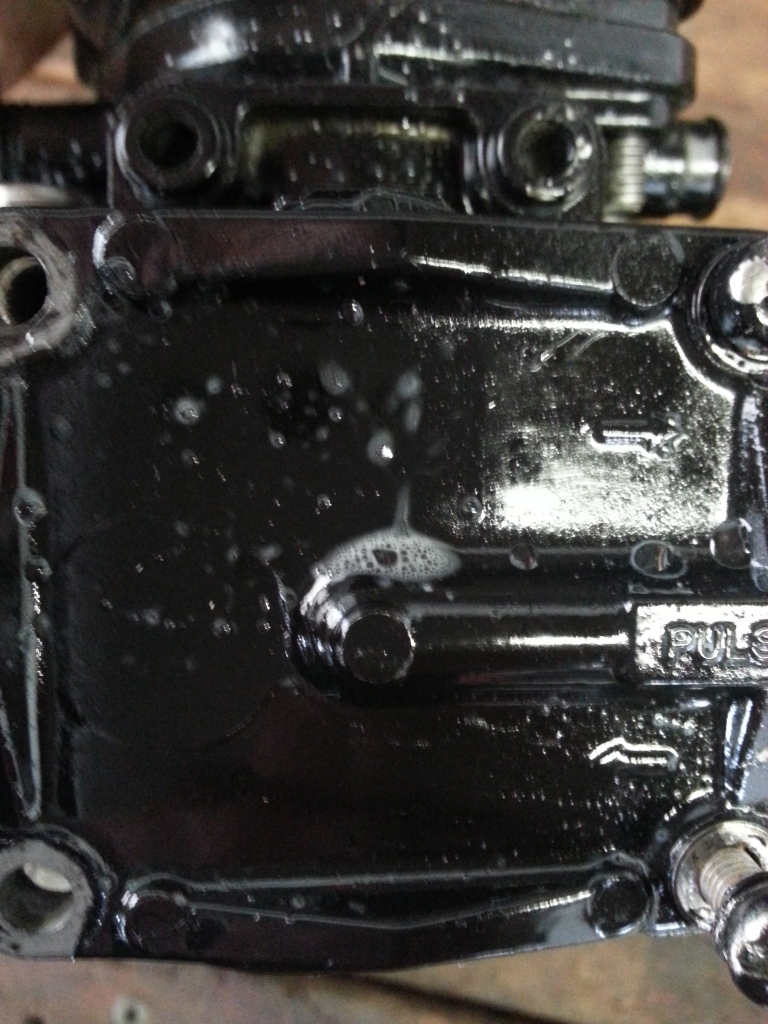
Here is the motor he got.

136.jpg

137.jpg


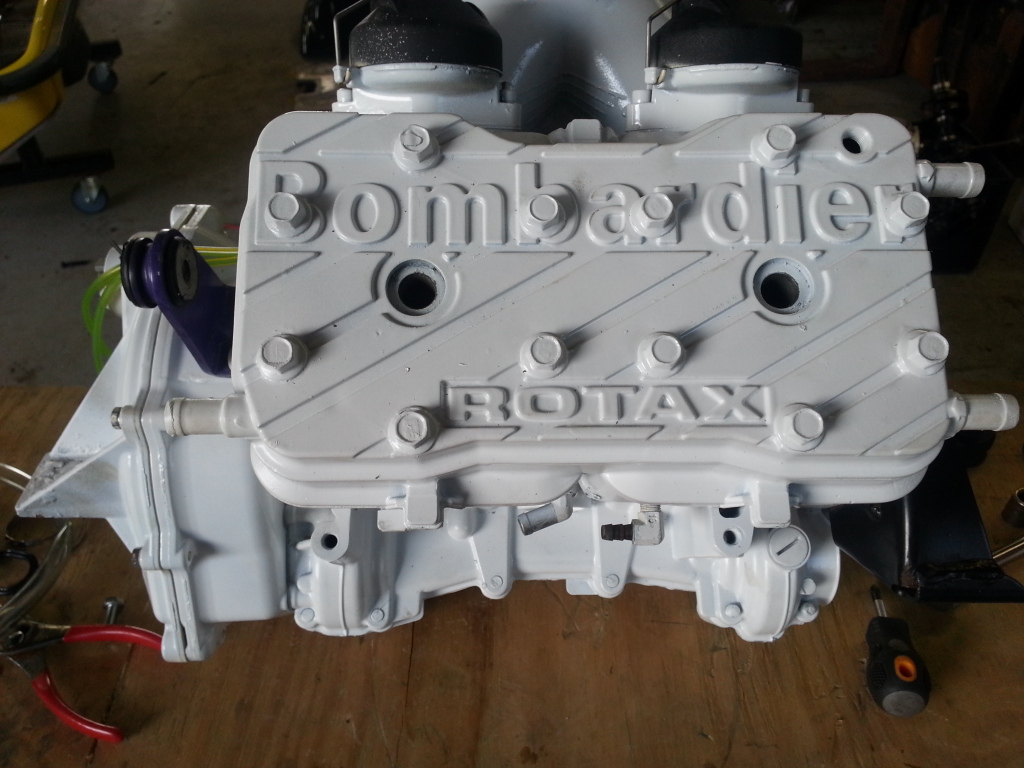
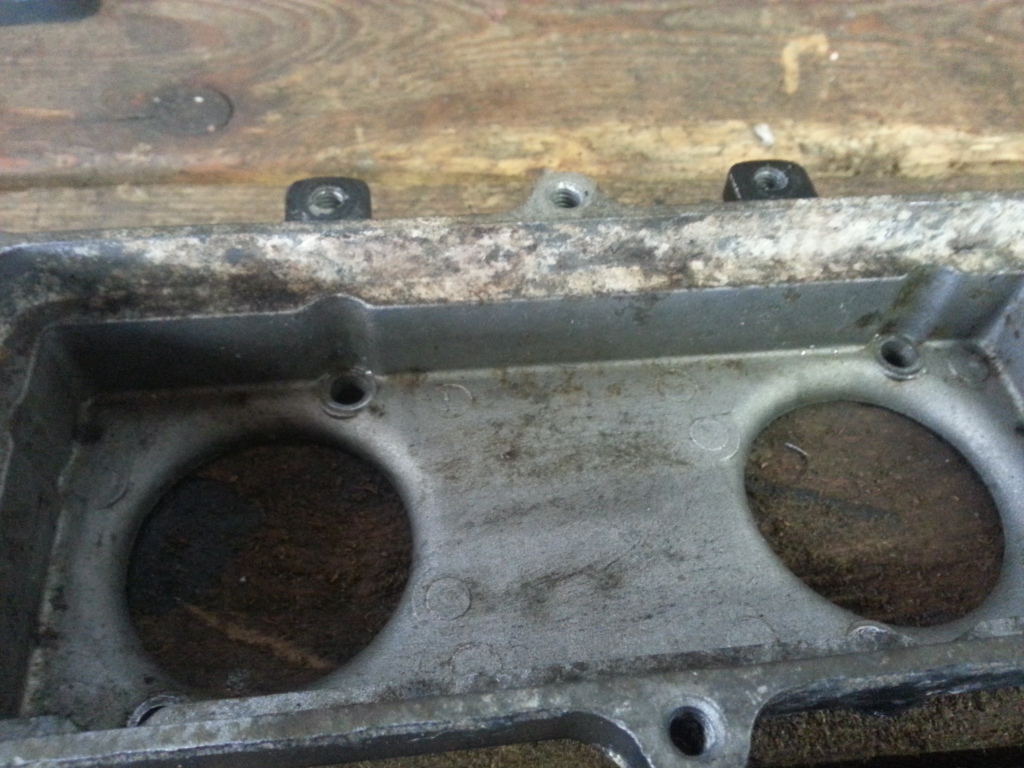
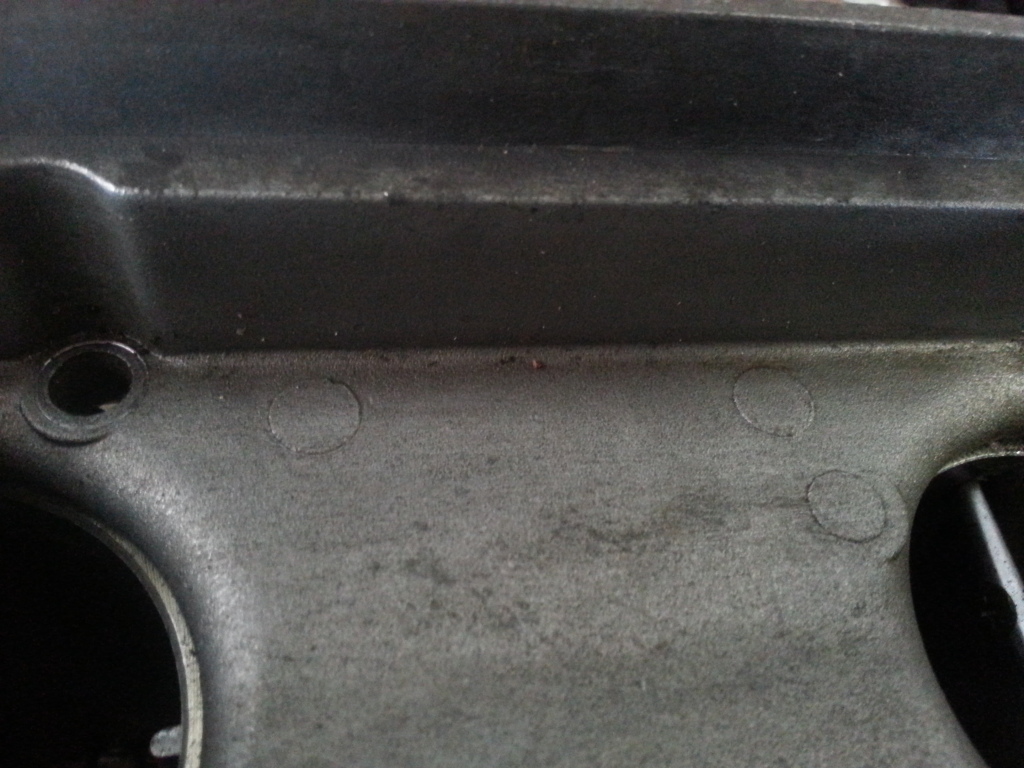
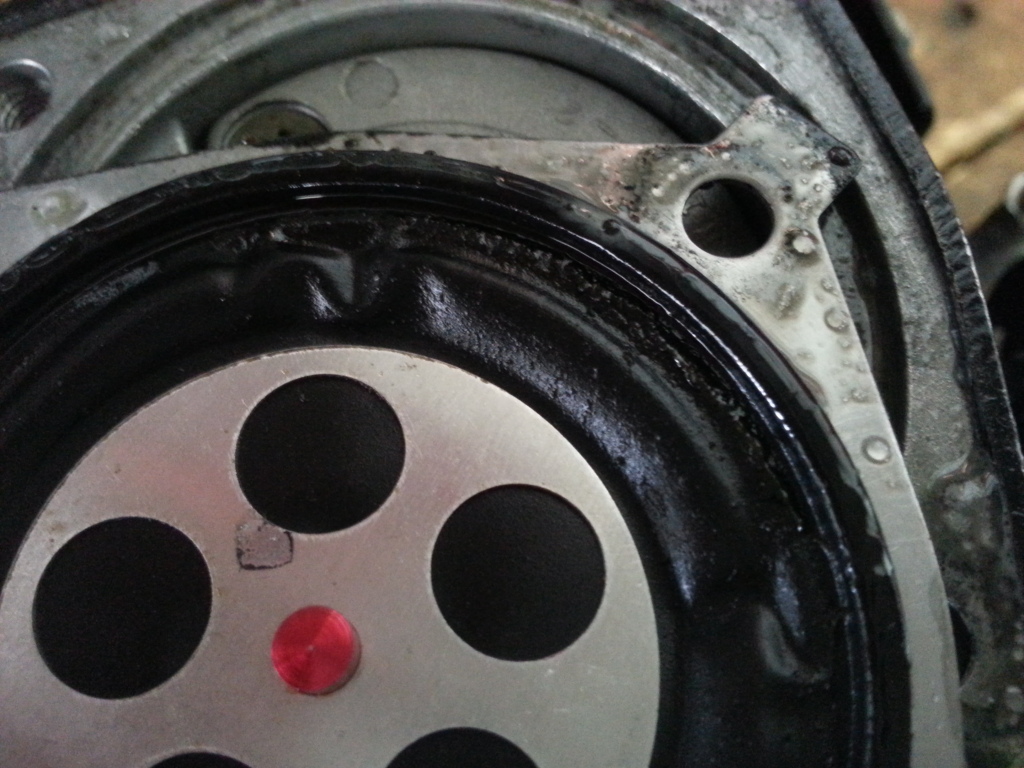
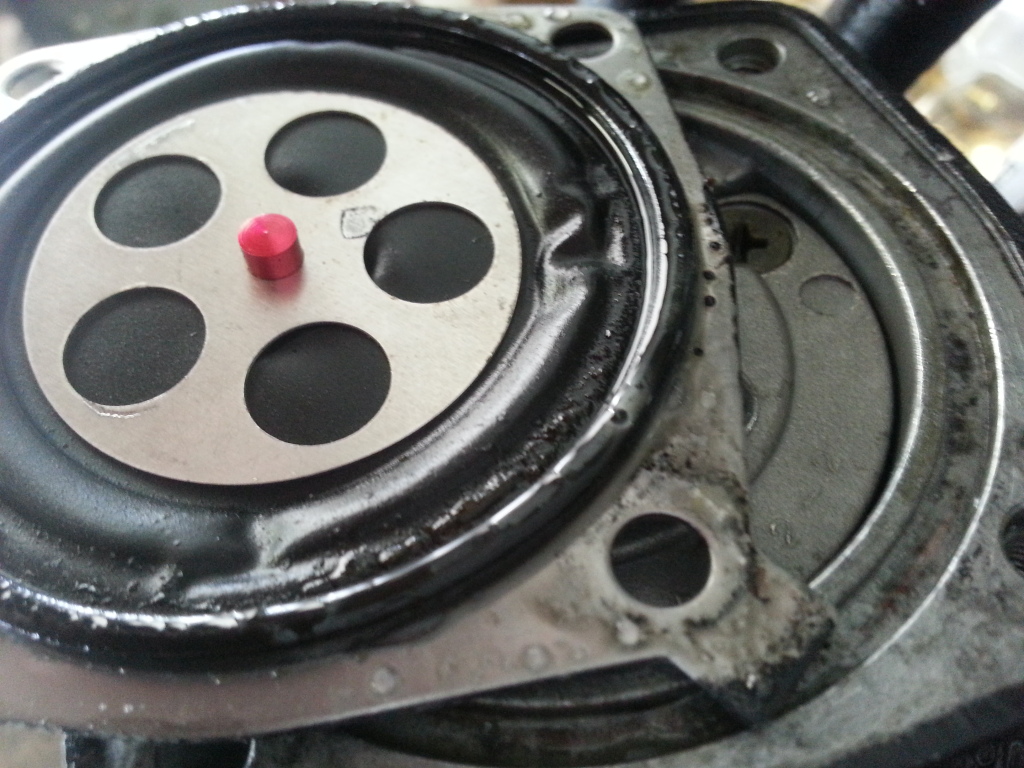
They had bit of overspray in certain areas. Like on the raves
137.jpg


I used a scotchbrite and got it off
138.jpg


139.jpg


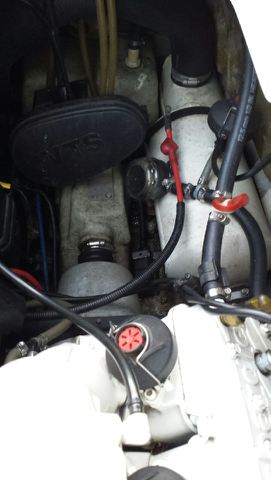
We found a couple issues we took care of.

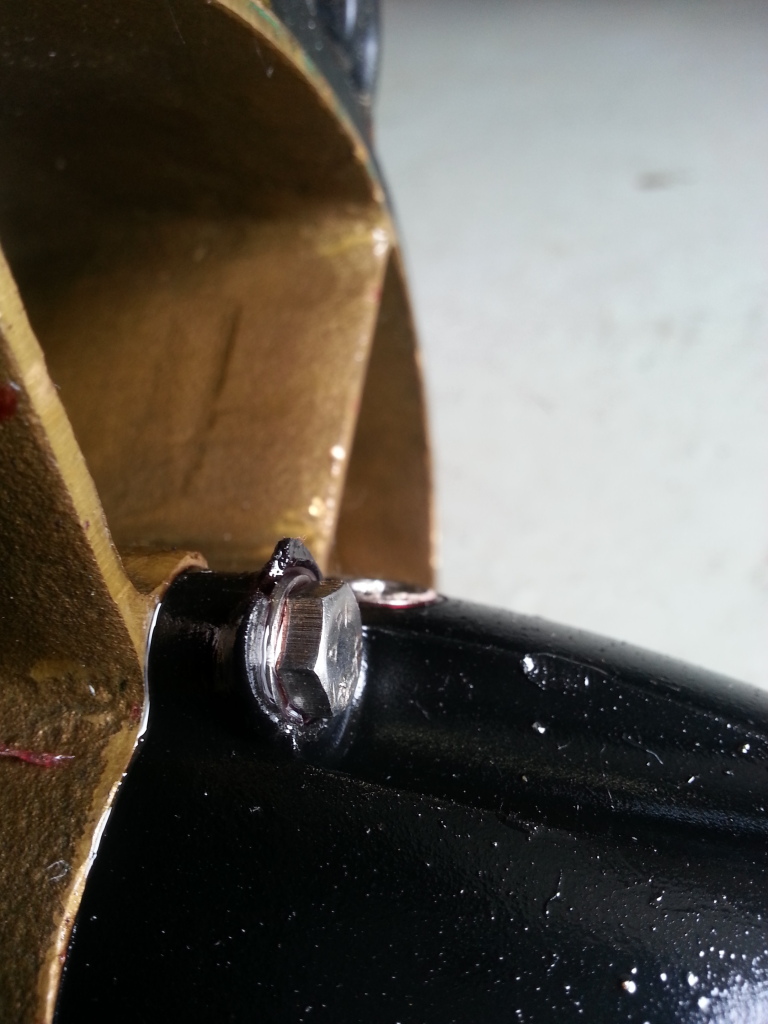
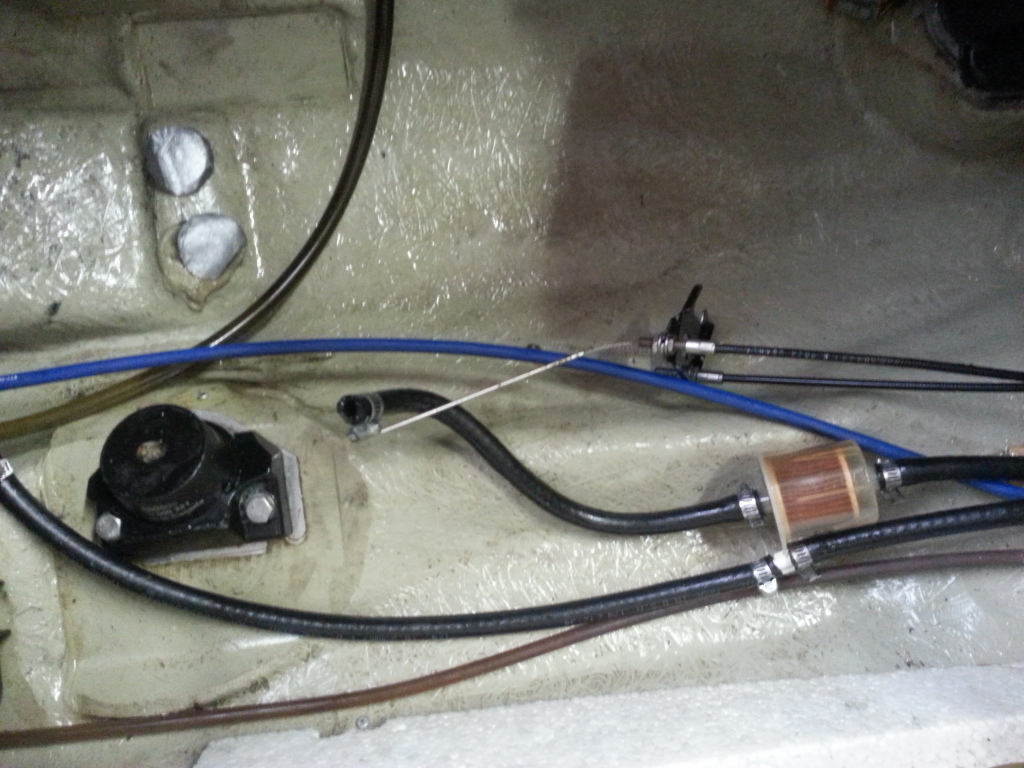
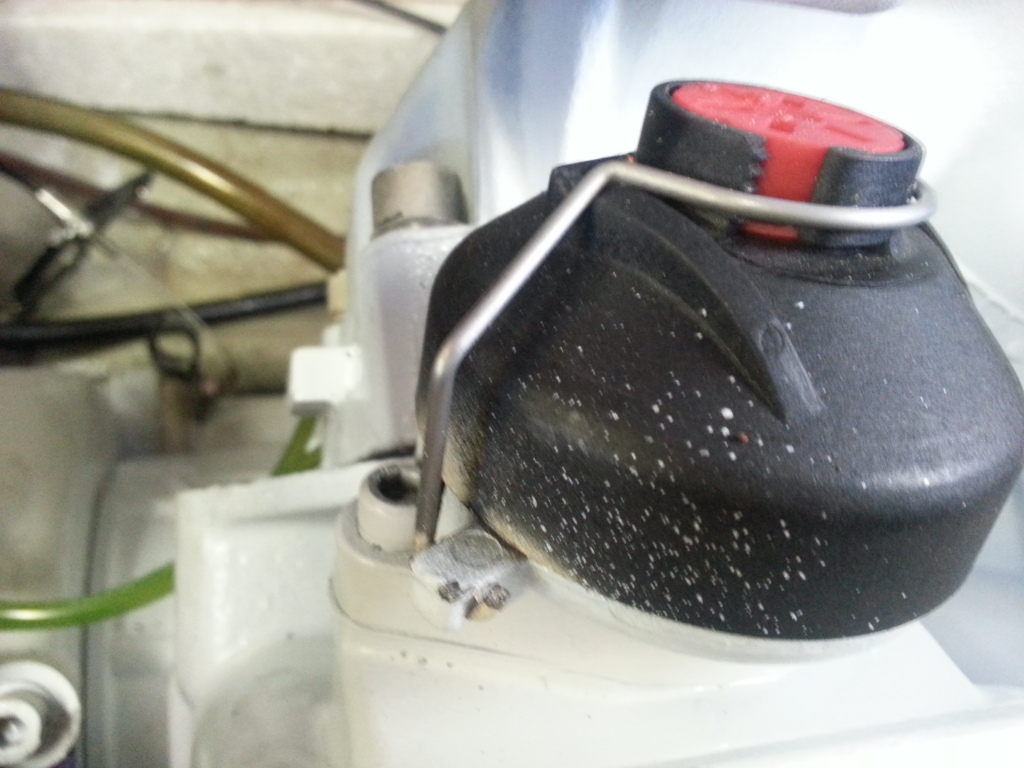
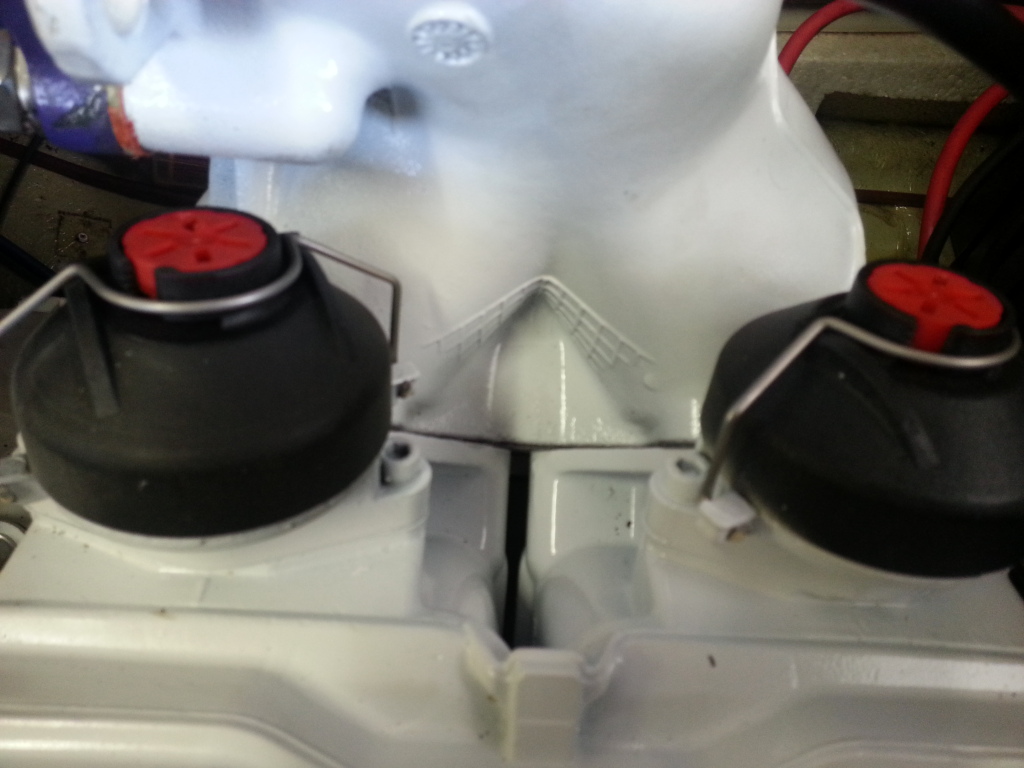
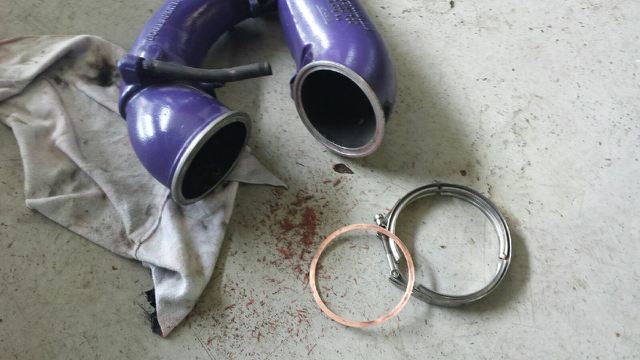
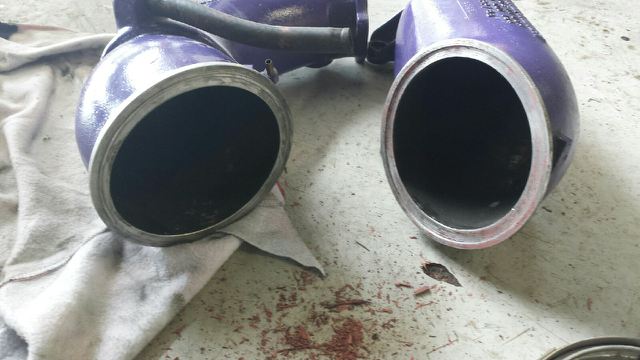
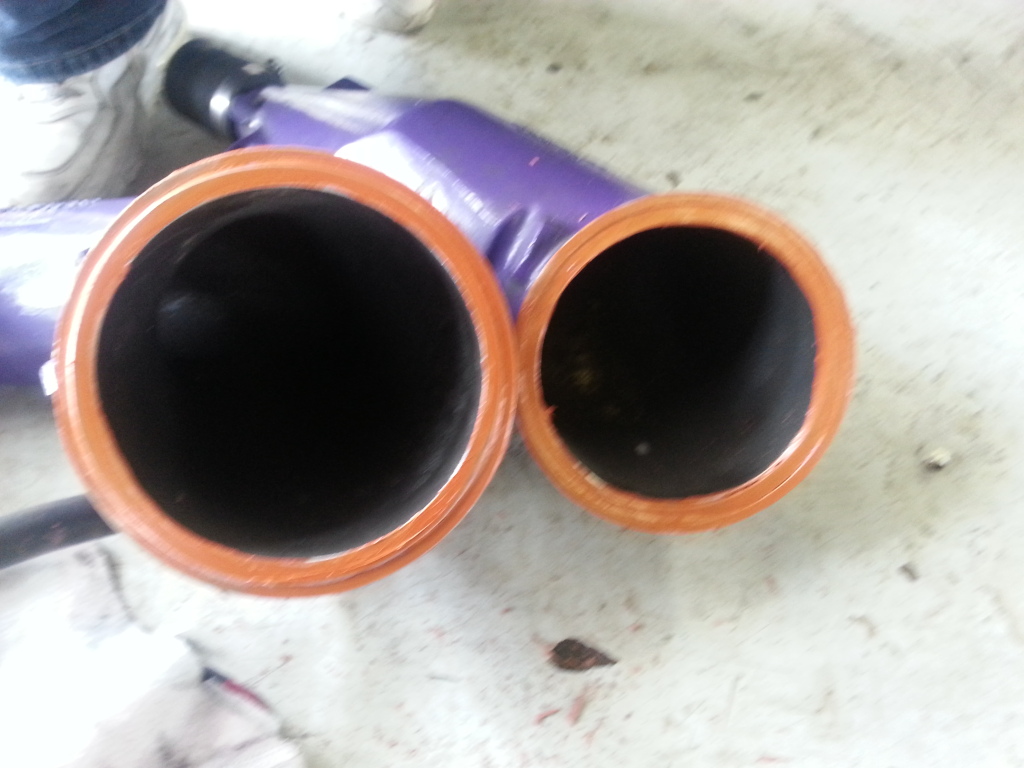
This was the main feed oil line, it was kinked and would not let the oil flow, it was very hard and was stuck in that shape.

140.jpg


141.jpg


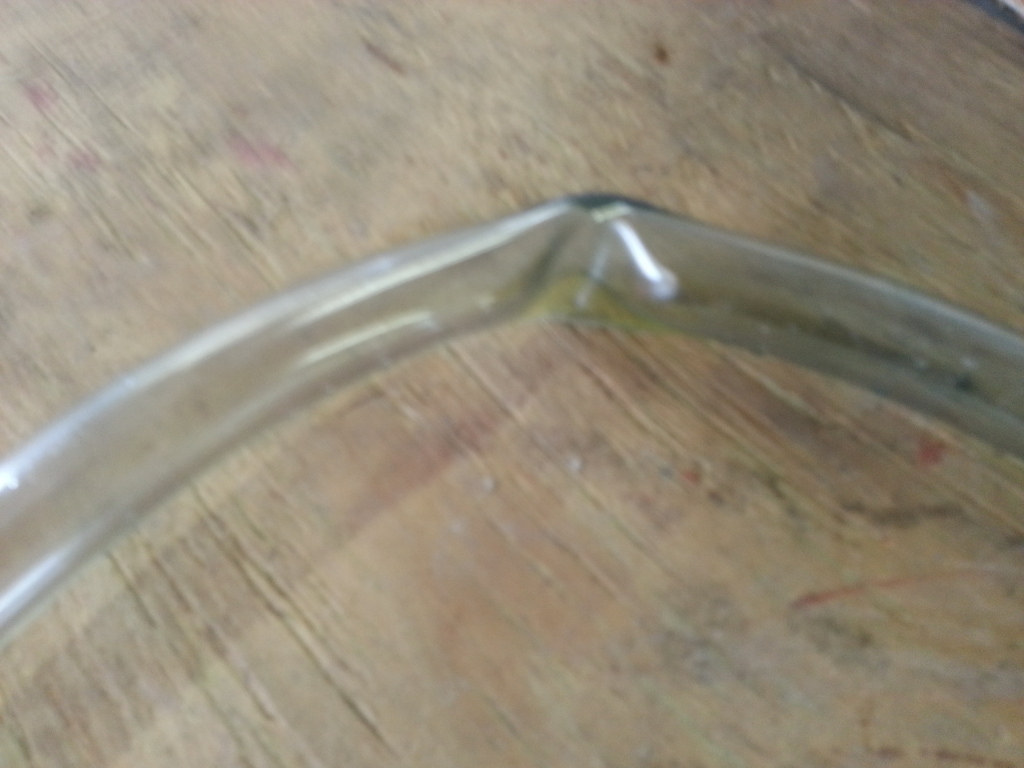
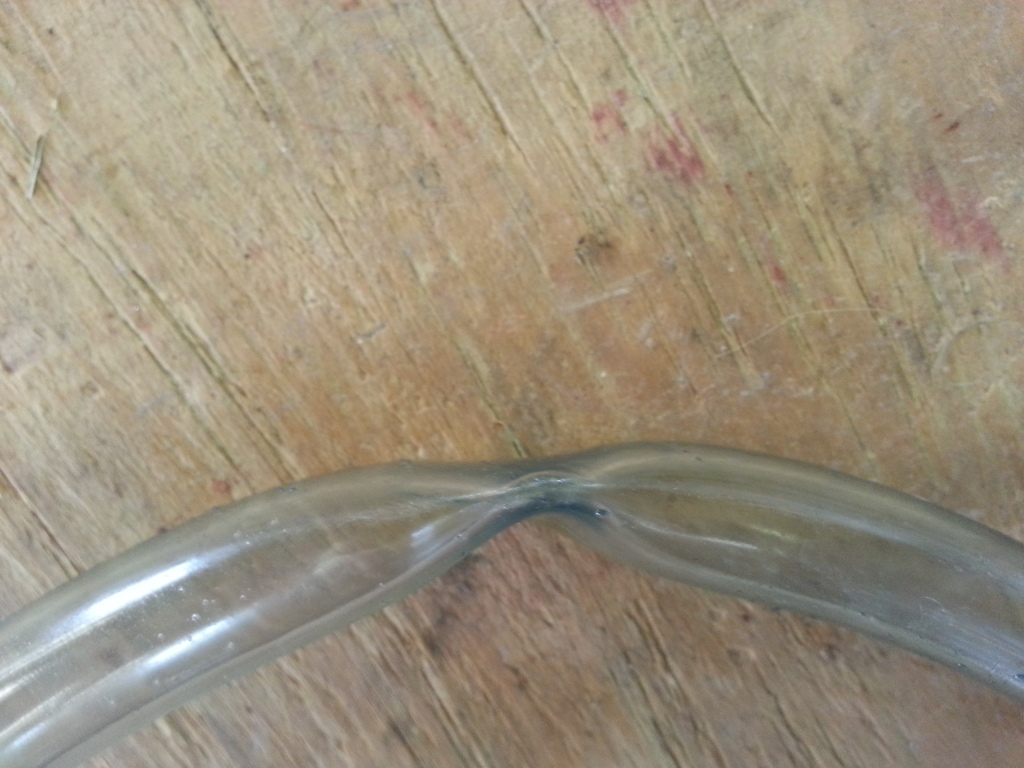
So we replaced that.

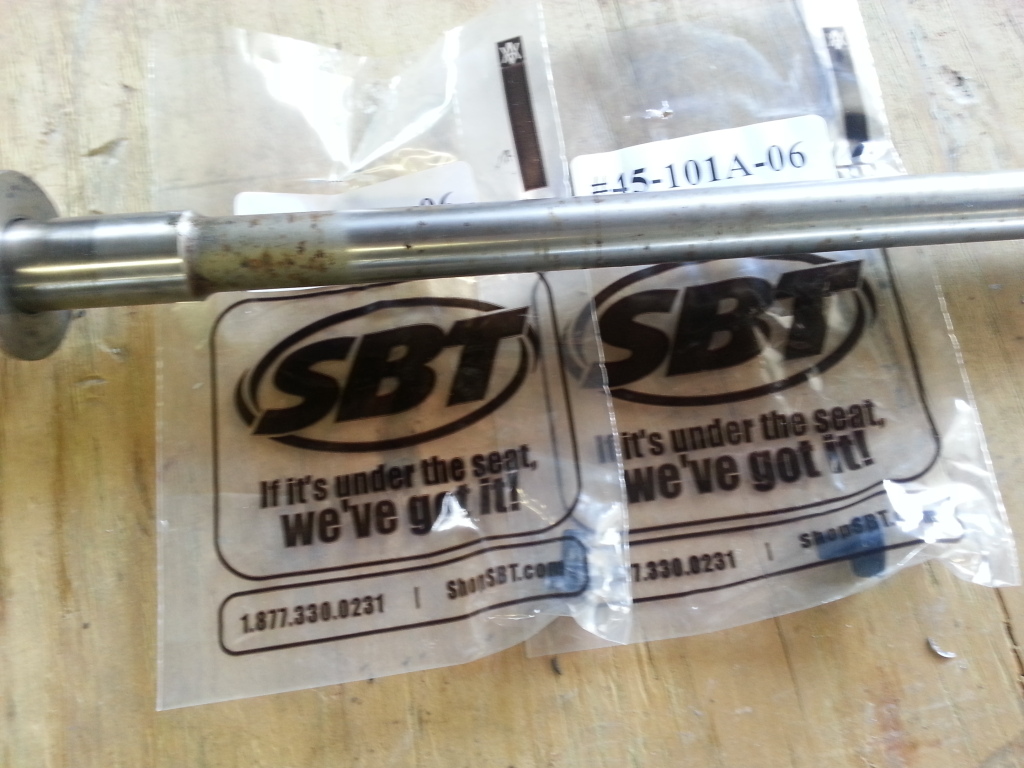
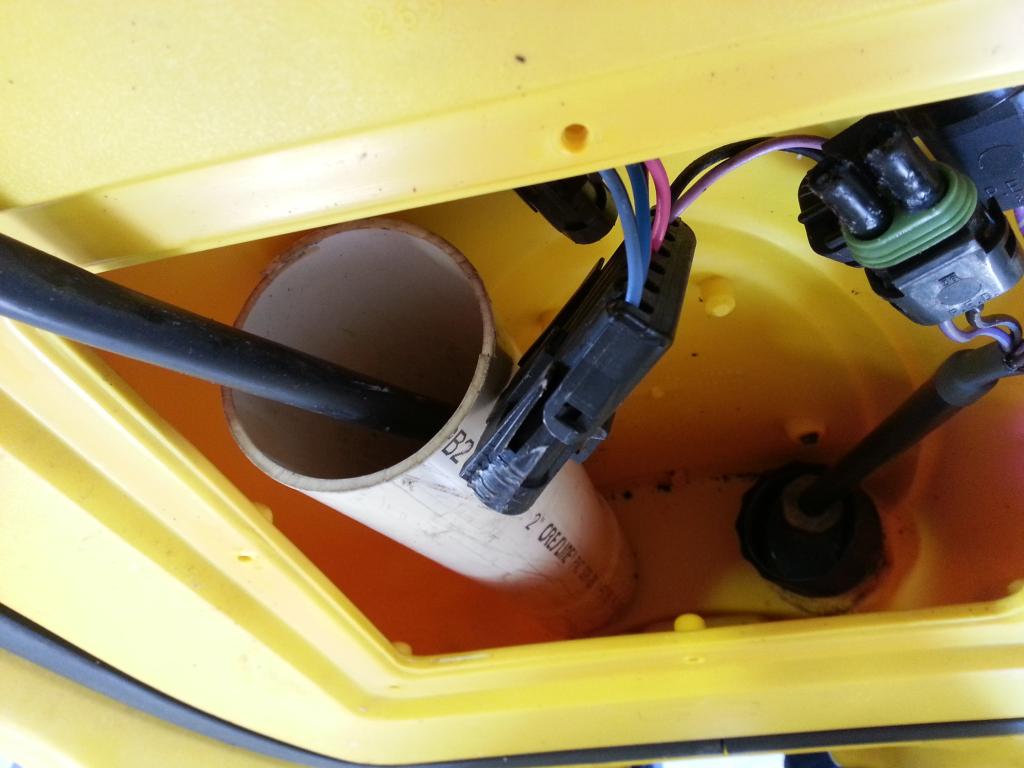
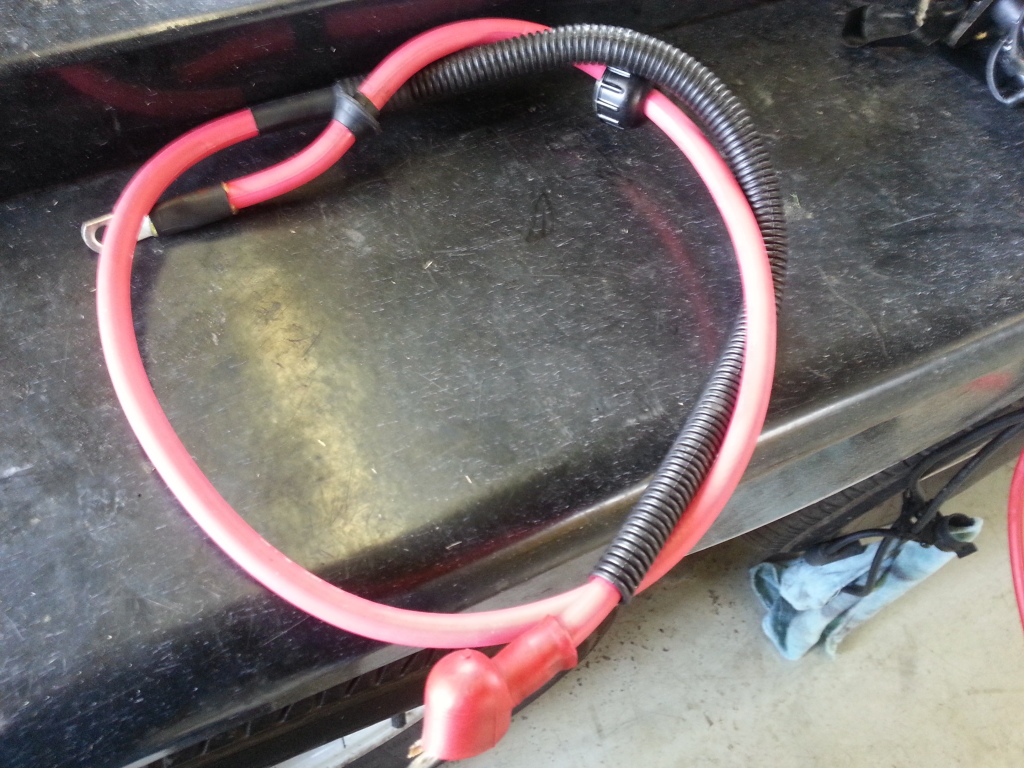
A positive wire coming from the rear ebox had a gash in it with electrical tape over it.

142.jpg


143.jpg


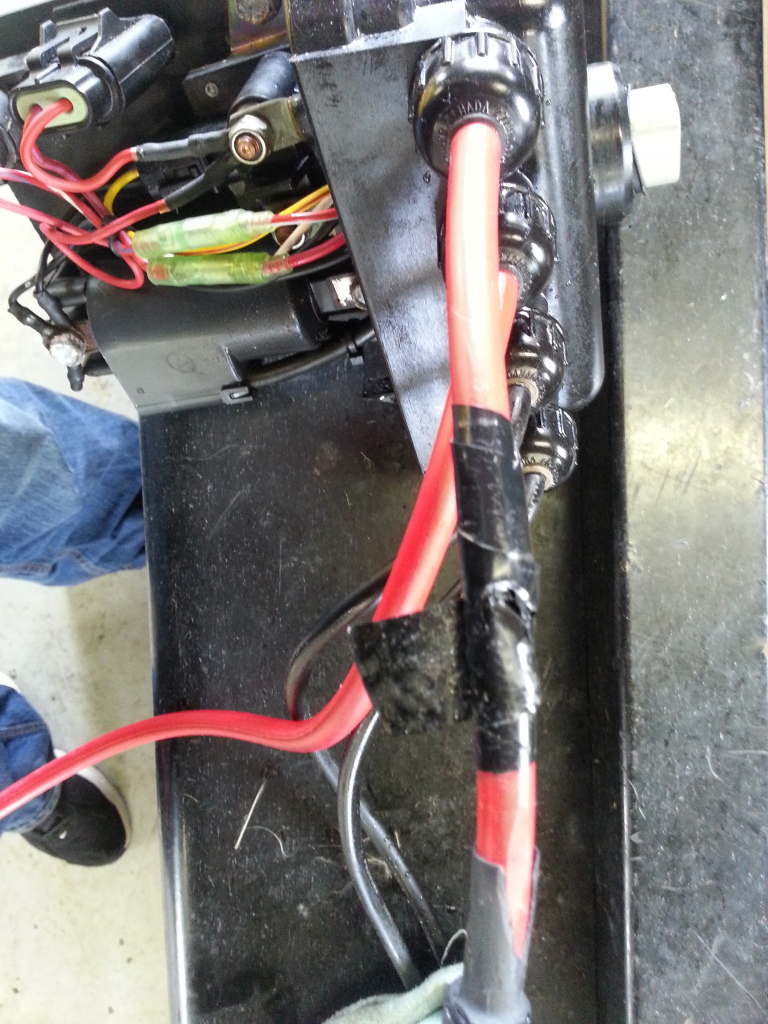
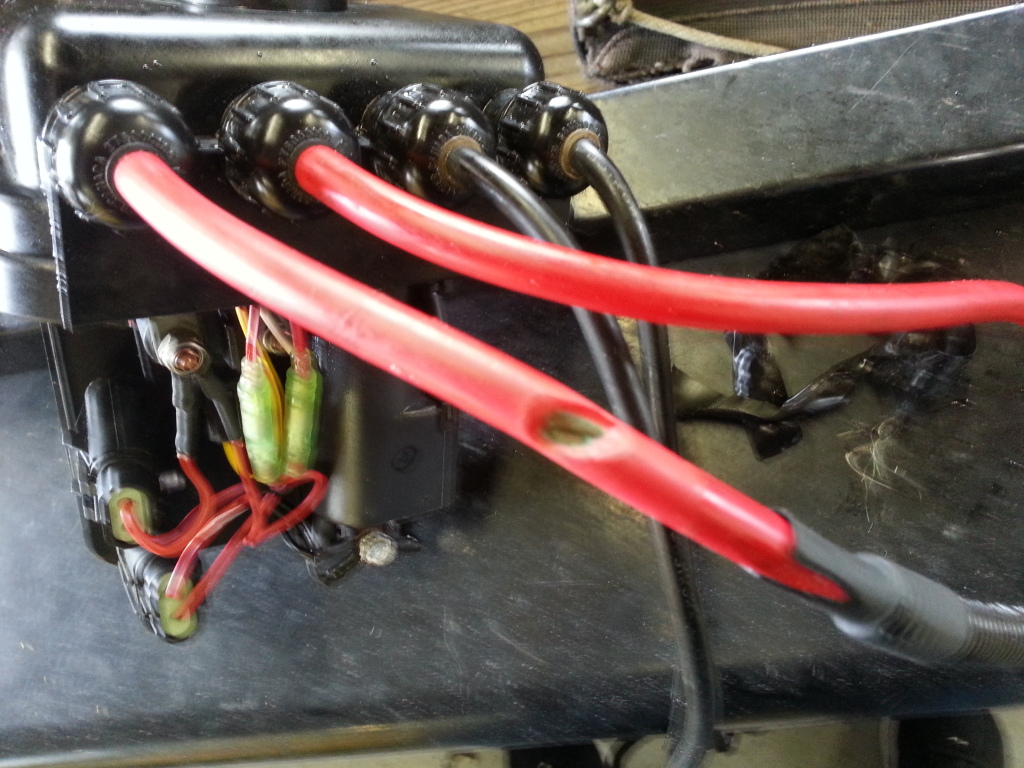
We replaced it with this.

144.jpg


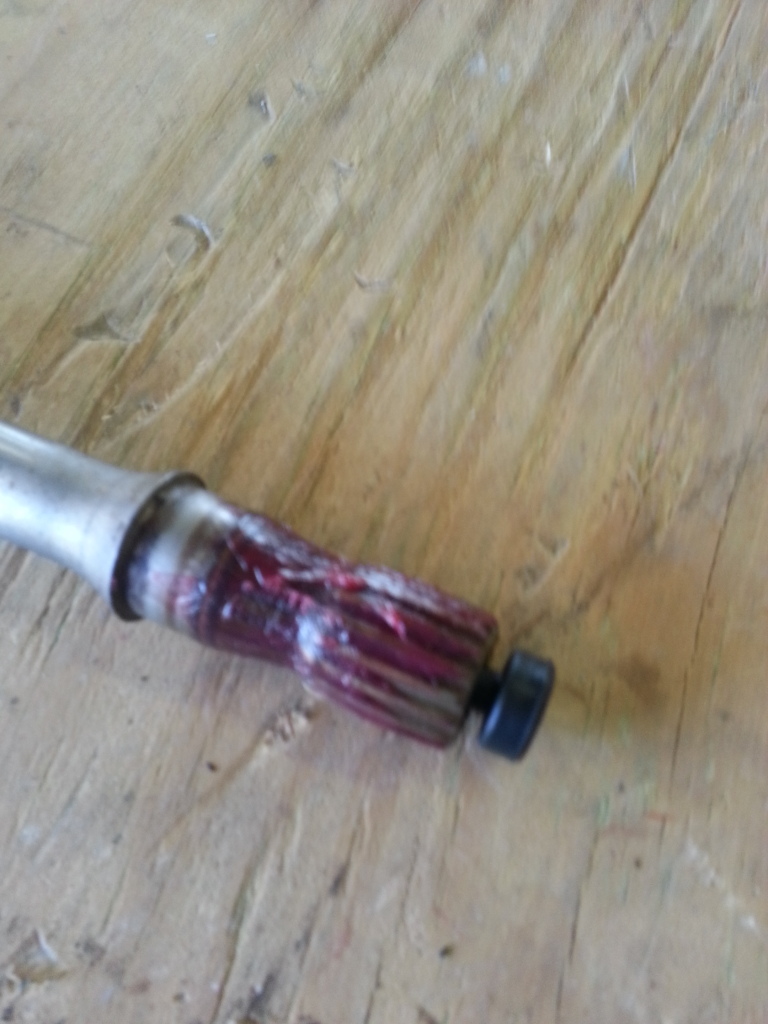
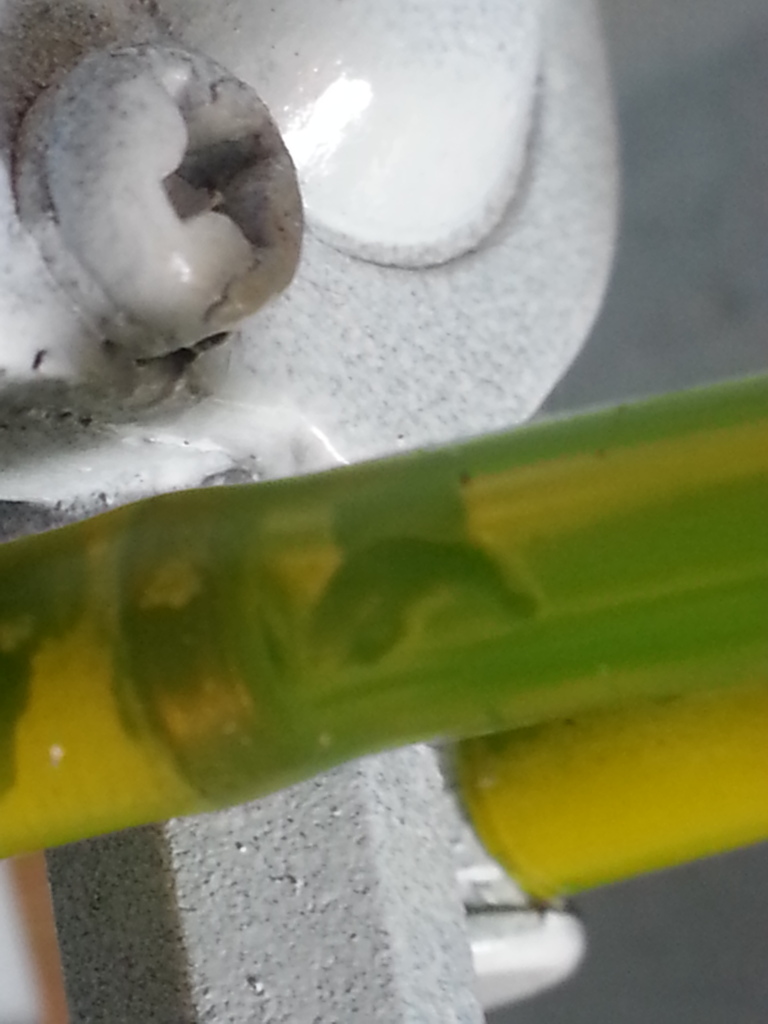
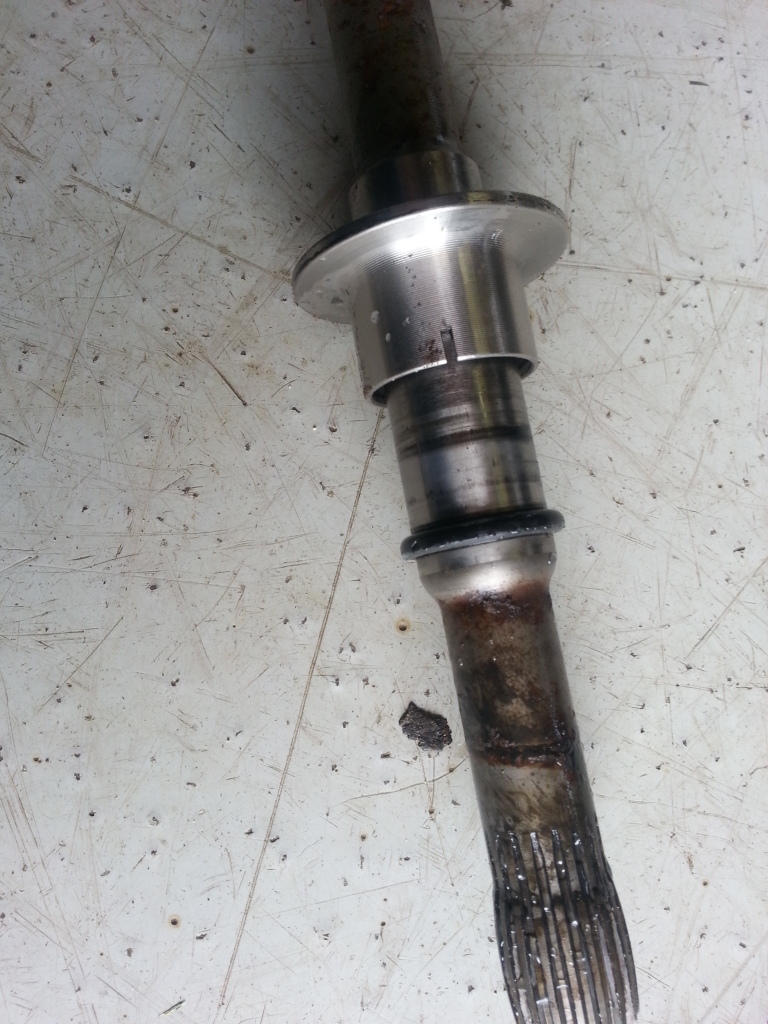
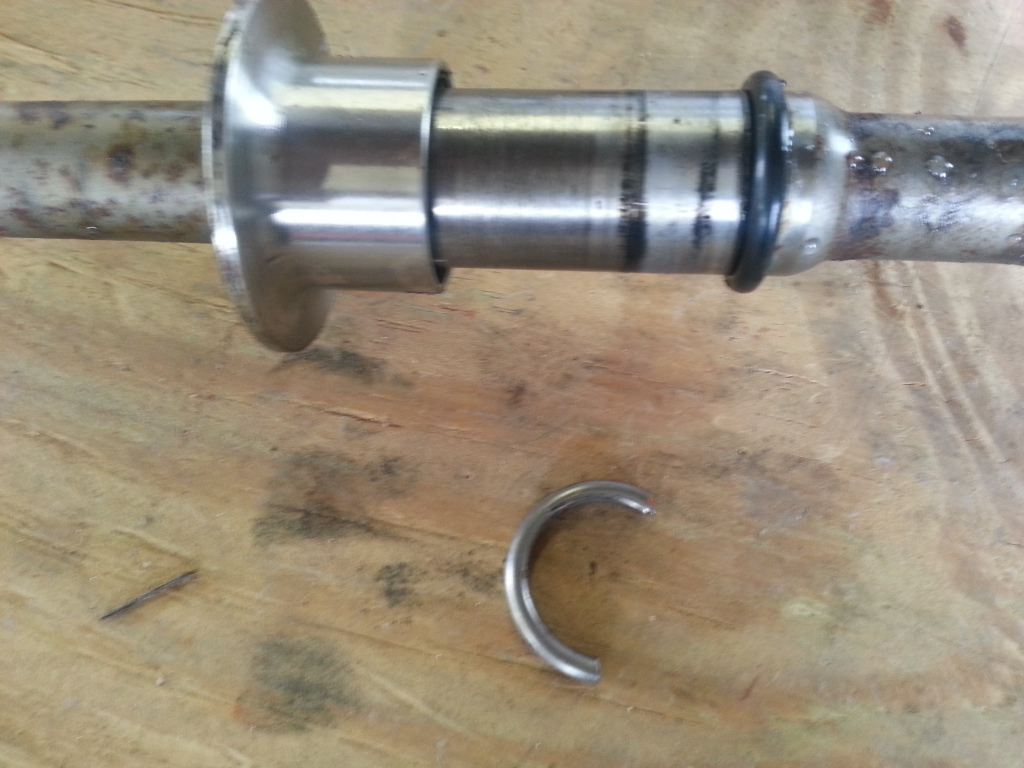
The choke cable was rusted and when we took it out it actually snapped were the cable met the rod.
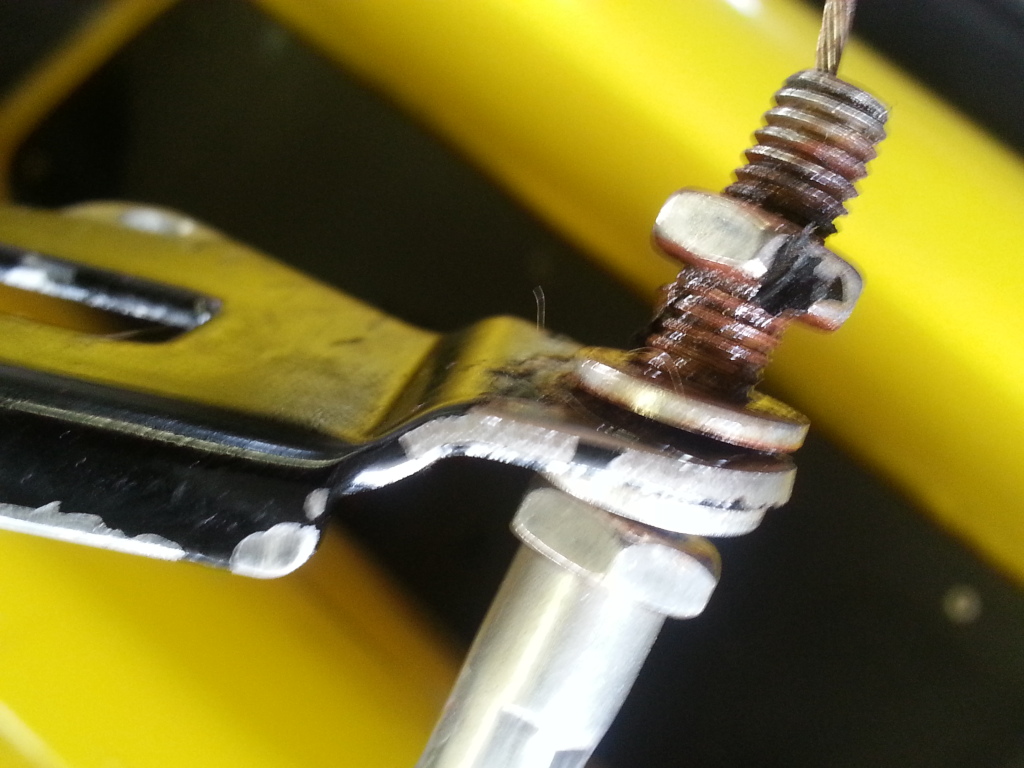
145.jpg


We replaced that.
 
We looked down the intake and could see the crank was new/reman the rods looked great and the bottom of the cylinders had fresh hatch marks.

So the first thing we did was put the pipe together. Rj scraped all the old gasket material off, then he straigened the copper gasket with a mallot on the vise. Then he applied copper ultra to each side and the we lightly clamped it togethor.

146.jpg

All the red stuff on the floor was the old material scraped away.

147.jpg


148.jpg


The oil lines had some debris in them we had to get out.

149.jpg


Then we aligned the motor.

150.jpg


151.jpg


We then saw one of the fuel lines was ran under the oil tank, we pulled the strap off the tank and moved the line to the correct area.
152.jpg

153.jpg


We cleaned the spark arrestor and bracket.
154.jpg


155.jpg


We replaced the driveshaft oring with a c-clip
156.jpg


157.jpg

Since the carbs were in the hull and there was water and oil in there, we opened them up to clean them and I am glad we did, there was both water and oil in them and on the outside.

158.jpg

159.jpg

160.jpg

161.jpg

162.jpg


We got them all cleaned up.
 
Thanks for all of the work you guys did, it looks awesome inside the hull now, nice and clean. Oh, and a new engine helps too. :-) You guys went way above and beyond what I expected!! Hopefully, I'll get the new starter installed this week and the pump issue fixed, and be on the lake next weekend.
 
There was some missing hardware, some of the exhaust grommets were gone,

We also drained the oil from the tank as it was not xps2 and he is switching over to that.

We aligned the motor and then tightened the mounts, then we hooked up the exhaust.
Then we put on the cleaned up carbs, attached the throttle, choke and oil injection cable. We set the oil cable to the correct position.

We hooked up all the oil lines and fuel lines.

Then we put the fa, the brace, and the airbox.

We checked his carbon ring and it was in great shape. I scraped all the silicone around the pump nozzles We put on his new neoprene seal
163.jpg


We greased the driveshaft and put on his new bumpers
164.jpg


165.jpg


We put the drive shaft in. I put on black rtv around the 3 pump nozzle holes and installed the pump.

We ended up seeing this
166.jpg


One of his screws on his pump was over tightened and it cracked the cone.
We noticed that the pump had some oil on it as well so we stopped there on the pump. We did not put on the nozzle.

Inside the hull we had everything installed all hoses wires and lines ran and strapped correctly. He was missing the black plastic retaining clips on the side of the hull for the cables. We had those and put them on too.

We thought we were completely done so I called him to come pick it up at 8pm. He lives about 45 minutes from us.

At this point we did not install the battery. So we put the battery in, we got 2 beeps and then hit the start button and the motor would not turn over. It would not budge, we took out the spark plugs and it still wouldnt turn over. Instantly we thought a bolt dropped into the carbs and we started to take off the airbox. Before we even got the fa off. Rj pulled the pump off.
The motor turned right over. So crisis adverted. We put the plugs back in and the motor had a hard time turning over. So at this point we think weak battery. We went over to a gsx in the warehouse and started it. That battery was strong. So we put that in the xp and it had a hard time turning it over. We pulled the plugs and she turned over well. So the starter is just shot and needs a rebuild.

Scrisp just got home a while ago and took off the cone and found the pump was over tightened, he torqued it to the correct amount and the impeller spins freely. He is going to order a starter and a cone and he should be good to go.

I felt bad he couldnt hear it run today but know it will run well.
We just sold our last starter earlier that day.
We know the motor turns over freely, dr Honda rebuilt the carbs and scrisp put in a new wear ring, and put new oil in the pump.

It has new fuel and oil lines, his vts boot is new with updated clips, he has an updated gas tank.


Scrisp did a great job looking into what he needed and he had most of what was needed to put everything togethor.
 
Last edited by a moderator:
167.jpg


Dont worry guys that bolt from the manifold to the head pipe is tight. RJ had to run home to get the ball end driver to tighten that.
 
Last edited by a moderator:
Thanks for all of the work you guys did, it looks awesome inside the hull now, nice and clean. Oh, and a new engine helps too. :-) You guys went way above and beyond what I expected!! Hopefully, I'll get the new starter installed this week and the pump issue fixed, and be on the lake next weekend.

Thanks, I wish we would have had a fresh starter there and you could hear her fire up today. If you need any help with the starter let us know. We treat every seadoo like our own. Any problem we see we try to fix.
 
Hey goodies you guys did a great job! Top notch work! Love the way you guys document with pics...


Sent from my iPhone using Tapatalk
 
Well, got the the starter rebuilt and bench tested it, everything went well. I put the starter back in and it;s the same as it was in the shop. It spins with the plugs out, but as soon as the plugs are put in, it won't spin the engine.

I was able to get a compression test done while I had the plugs out. I'm getting 160 - Mag, 162 - PTO. Those were done without the throttle held open and seem a bit high to me. If they are up in the 165 range, would that be enough to stop the starter from spinning the engine?

I'm charging the battery to make sure that it is absolutely charged. It's a gel battery, with 325 cca, and spins my SPX right up with no problem. Sigh, I hate electrical issues... :-(
 
Long shot, but wire brush where the ground hooks up to the starter. I just remembered you painted the starter, make sure there is a good connection there. Other than that I am stumped, it turns over well with the plugs out and you are using a good battery. It spun over by hand well too.
 
I think I'm going to move the ground to the area next to the exhaust manifold, where there is the unused hole on each end. That area was masked and it's clean, bare metal there. I'm also going to open the rear electric box and make sure that everything looks okay back there. That's where the noise is coming from.

And I was able to get it to run for about 20 seconds and it ran really good, but then I let it idle down and it quit, and I haven't been able to get it running again.

It's got to be something simple, it always is. lol
 
short term possible solution: double click the starter button to help it get past the first hit of compression. its a new motor so it's expected for it to be a bit tight. my xp starter was weak and had a hard time cranking the motor over, but bumping the starter with a double click to get the motor rolling over.
 
Scored another 97 spx today.

We needed a mpem for a 98 spx and have been trying to find one cheap. We had not had amy luck with that. They are going for around $250 if you can find one. Well RJ found a 97 spx with low compression in a package deal, he wanted $1600 for a running kawasaki 1100, the spx and a double trailer. Rj called and asked him if he would sell just the spx and the guy said yes. Before he could offer him anything the guy said $300. We jumped on it. We probably could have got it cheaper but $300 is a great deal.

So this will be parted out unless it is any easy fix. It does turn over but we havent dove into yet. Too many projects right now.

351.jpg


352.jpg

353.jpg


I do not know what that is on the side of the waterbox. I havent even seen this in person yet.

354.jpg
 
The work you guys are documenting on these ski's are really helpful!! Im "restoring" a 96 sp along the lines of the black 98 spx and its awesome to have so many pictures available for reference! Im local in the area you guys (Roseville/Warren) and I was wondering of you guys sell parts? sorry if this isnt an appropriate way to reach you! Thanks for all the help!
 
The work you guys are documenting on these ski's are really helpful!! Im "restoring" a 96 sp along the lines of the black 98 spx and its awesome to have so many pictures available for reference! Im local in the area you guys (Roseville/Warren) and I was wondering of you guys sell parts? sorry if this isnt an appropriate way to reach you! Thanks for all the help!

Yes, JSG sells parts and has a decent inventory

Sent from my SGH-T889 using Tapatalk
 
Stole that for 300!

I have that exact same water strainer on my skis, stainless steel element on the inside so all u have to do is twist the cap off remove the filter/element to clean and then put back together.
Only about 15-20 bucks on eBay. Courtesy of nick [MENTION=41828]Minnetonka4me[/MENTION] for suggesting it to me


Sent from Cody's iPhone
 
The work you guys are documenting on these ski's are really helpful!! Im "restoring" a 96 sp along the lines of the black 98 spx and its awesome to have so many pictures available for reference! Im local in the area you guys (Roseville/Warren) and I was wondering of you guys sell parts? sorry if this isnt an appropriate way to reach you! Thanks for all the help!

As [MENTION=57920]racerxxx[/MENTION] said we do sell parts. I will have everything you need for the 98 Spx. I live in Madison heights. So I am very close
 
Today we did alot on a 97 spx that should have been done months ago. It is running and everything is hooked up.
Rj put on the carbs and raves.

I put on a single gauge hood.

I pulled the gauges out of the original hood using [MENTION=57920]racerxxx[/MENTION]'s gauge removal tool.


http://www.seadooforum.com/showthread.php?58235-Seadoo-2-quot-Gauge-Removal-Tool&highlight=gauge+tool


415.jpg


The hood we put on was painted months ago but had alot of orange peel. I had to wet sand that out. So right now the hood is dull but I will buff it out tomorrow.
We also put on our handlebar pad conversion. I am going to stencil on the brp logo in the middle of the pad. It will be yellow.

This was after we washed it.
416.jpg


417.jpg


This is the pad that I redid.
Started off rough and faded blue.
418.jpg


Then with the vinyl off
419.jpg


Fresh black vinyl
420.jpg
 
Last edited by a moderator:
Just got back from the shop, had to go grab some parts that were sold. So I buffed out that hood.

Nice and faded from the wet sanding
424.jpg


A few after shots
425.jpg


426.jpg


Still need to wet sand a few more spots and use some swirl remover.
 
We replaced the driveshaft oring with a c-clip
156.jpg


157.jpg

Matt, when you converted this over the c clip, does that eliminate all of the o rings on the driveshaft? I put it in a few minutes ago, and got the c clip back on, just want to make sure that the o rings in front and behind the sleeve that sits against the carbon seal doesn't leak.

Also, when mounting the jet pump against the neoprene seal, does it need any sealant between the pump and the hull, at any spots. I'm going to seal the plastic piece that the hoses attach to, when I get the pump ready to tighten down. It's still having an issue turning the jet pump. The motor spins, but very slowly, so I'm hoping it just the battery this time.
 
Never mind, you can delete my last post. I found the answer when i went back out and looked at the sleeve, the o rings are inside of it. The diagram in the manual is really tiny and hard to see.
 
Status
Not open for further replies.
Back
Top