RESTO Our 787 x4 restoration modification thread

Status
Not open for further replies.
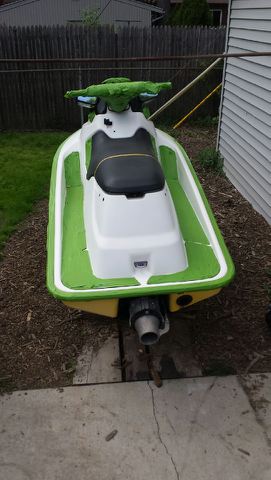
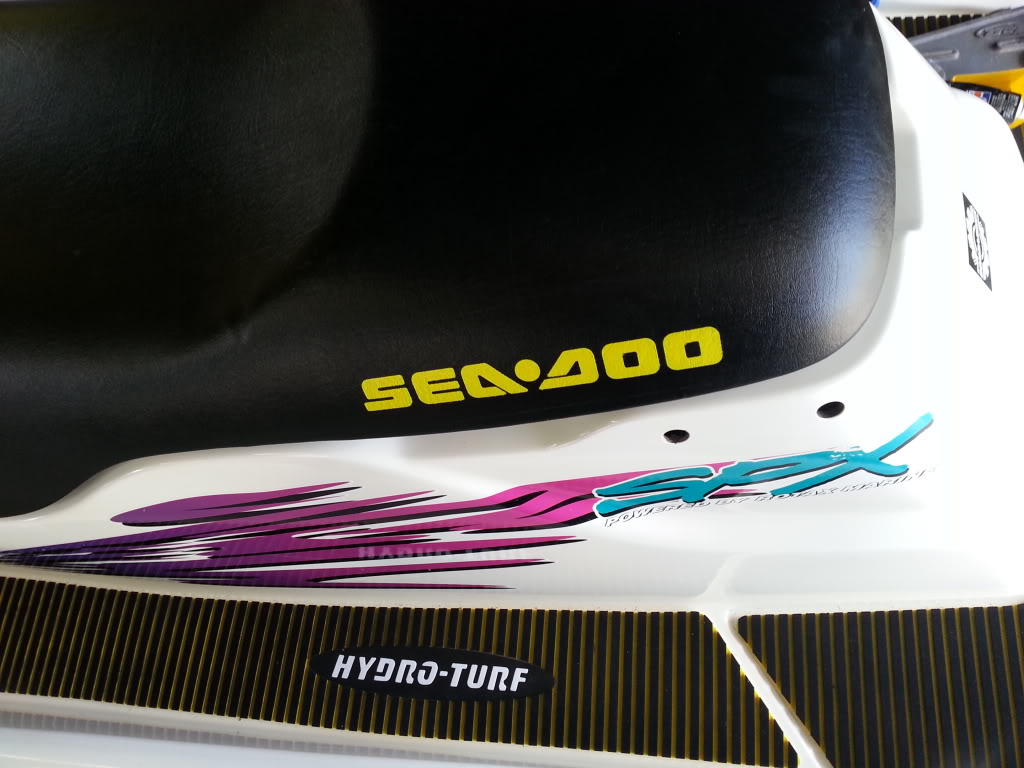
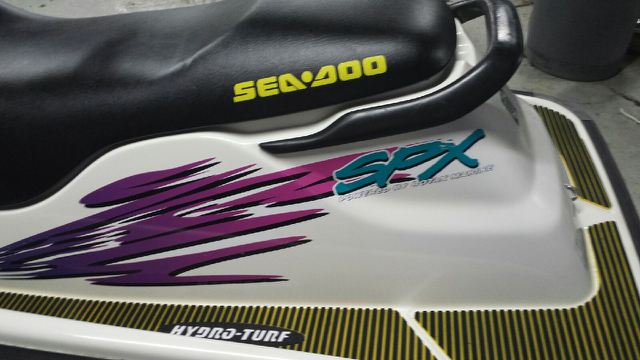
Today we worked on the 97 spx we put the yellow and black mats on.

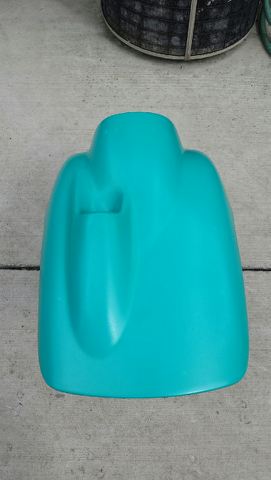
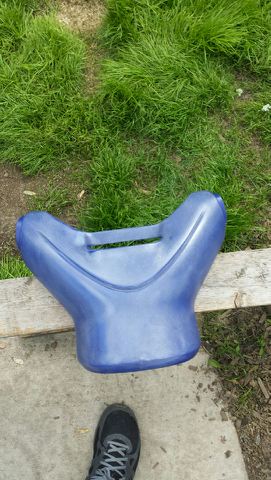
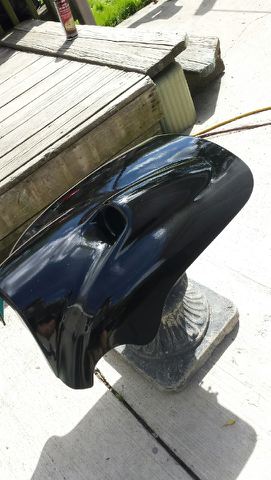
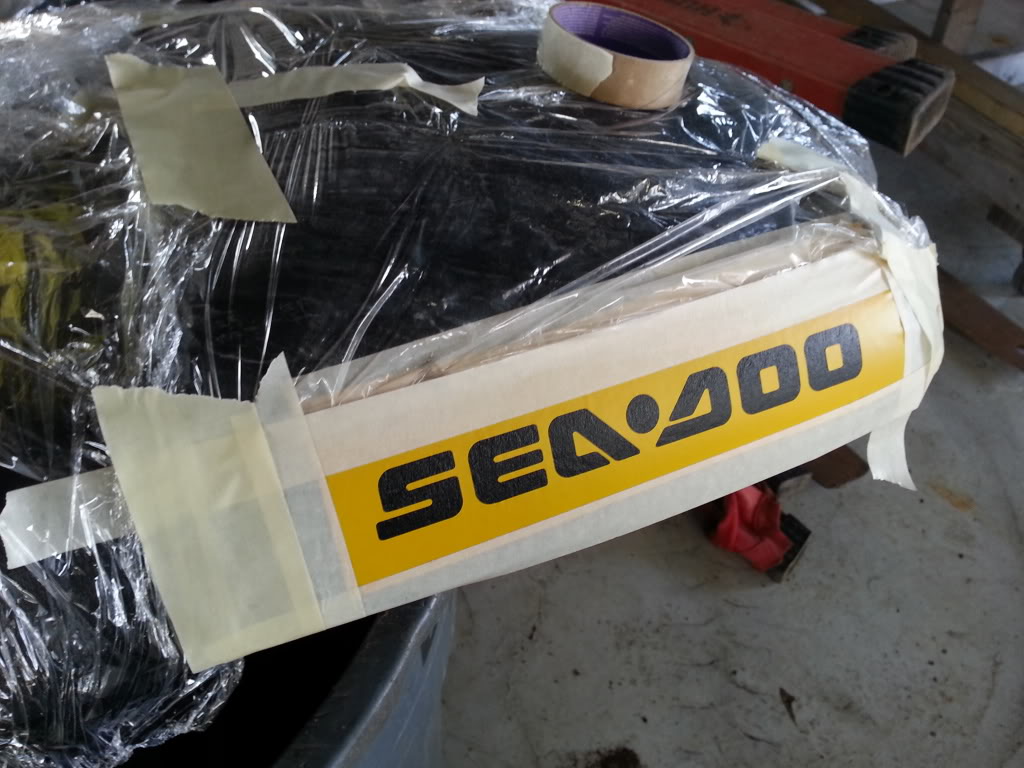
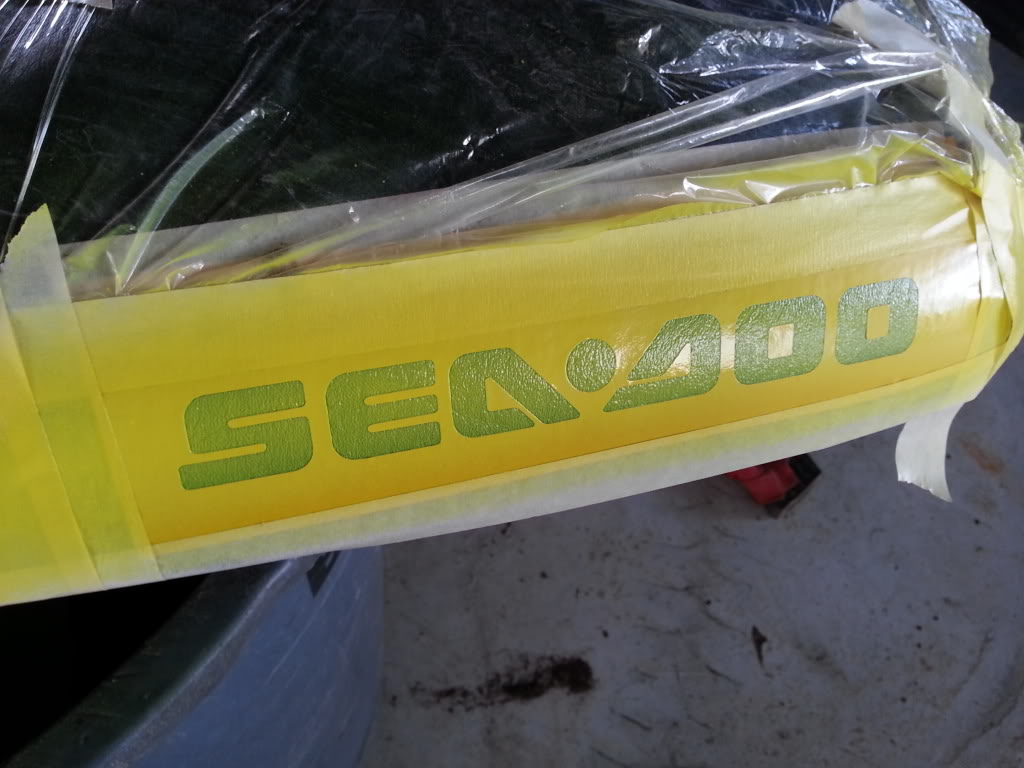
First I stenciled the seat

346.jpg


347.jpg


348.jpg


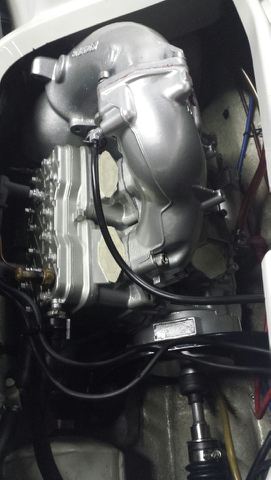
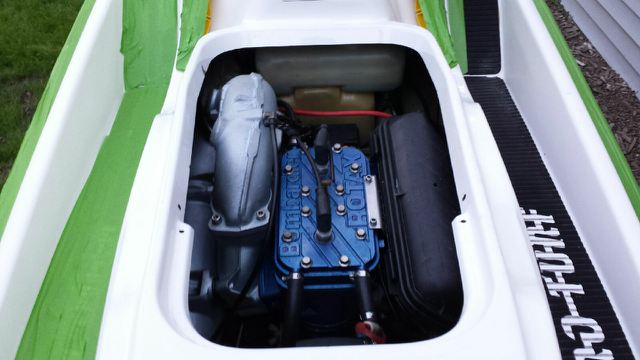
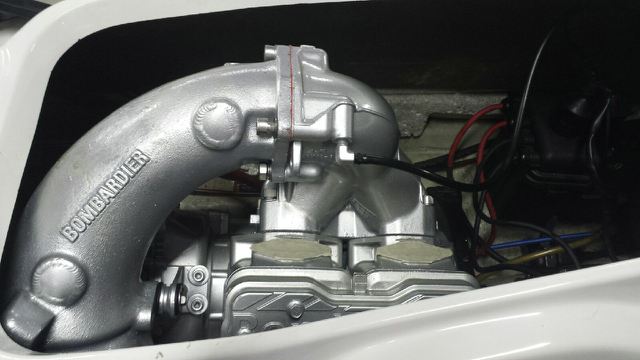
We put the motor in, a tip for anyone putting a motor back in. Put the head pipe and tuned pipe in the hull before dropping in the motor. Also when you set the motor in lean it towards the carb side of the hull and attach you water lines to the back of the cylinders and hook up the return oil line then place the motor on the mounts.

349.jpg


350.jpg


351.jpg


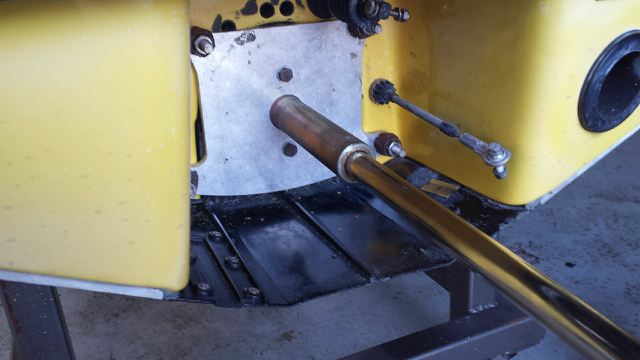
We also put the grab bar back on

352.jpg
 
Are you guys keeping this one or letting it go? It looks great.

Sent from my SGH-T889 using Tapatalk
 
JSG, looks great. I gotta say it tho, the graphics need to go if it isnt staying stock. I think it could turn out similar to your 98 spx project just a different color scheme. Especially if your putting a single gauge on it...
 
JSG, looks great. I gotta say it tho, the graphics need to go if it isnt staying stock. I think it could turn out similar to your 98 spx project just a different color scheme. Especially if your putting a single gauge on it...

We have another 97 spx we just got with most of the graphics off, that one I may keep for myself. This one is almost done and if I pull the graphics I will have to wetsand the whole thing because there will be a noticable difference and at this point I do not have the time to do that. Besides some people like the graphics. Also if we pull the graphics then it will just look like a 95 xp.
 
Today a 3 gauge hood was cleaned up, Rj pai ted a single gauge hood and wet sanded a 95 xp.

408.jpg


409.jpg


410.jpg


411.jpg

412.jpg


413.jpg


The motor in the 95xp has a new hotrod crank and the top end was done by fullbore. It runs fast for a 717, it comes pretty close to keeping up with the 96 xp's
 
Today I started to replace the after market parts we took off the 97 spx. I put the sponsons on and then started to fill the holes that were drilled for the steering stem.

So first thing I did was fiberglass the backside of the holes i was filling.

459.jpg


I cut small pieces that were about 3 times the size of the hole.

460.jpg


I then wiped the area I was covering with acetone.

If you are going to do this make sure you have some latex gloves on, this stuff is nasty stuff to try getting off.

I also used a fast hardener not the slow that I had in the picture

It was a 3-1 ratio


I usually will brush the area I am doing with the resin and then put it on but for this I just dipped it in the resin and then placed it on the hull.

461.jpg


Also if you are doing a larger area do not mix the resin and hardener in a thin plastic cup like I did. When it starts to harden the mixture becomes very hot and will melt the cup. I knew I had enough time as I worked many times with this stuff when I put new stringers in my boat.

First layer

462.jpg

463.jpg


464.jpg


465.jpg


466.jpg


I did another layer after it dried and then filled the hole with layers of gelcoat.

467.jpg


468.jpg


469.jpg


I still have to do one more layer and then wet sand it smooth and buff it.
 
Rj got around to installing his modified handlebar pad. I took these after we pulled them out of the lake today. We went to Pontiac lake today.

36.jpg


37.jpg


38.jpg
 
Looking good JSG! What handlebar grips are y'all running?


Sent from my iPhone using Tapatalk
 
Hey goodies I want to know what does it take to get that pad on an x4??? I know you said "modified" but how about a write up... I like it!!!


Sent from my iPhone using Tapatalk
 
where do you find those finger throttles? I did some poking around at one point and got cross eyed trying to find out what I needed, if it was available etc.
 
The end cap is the tough part. RacerXXX was gonna reproduce some but there just was not enough interest.
 
Yup, I literally just asked [MENTION=57920]racerxxx[/MENTION] about those. [MENTION=51824]Matt Braley[/MENTION] You got the only prototype set. Did you ever post pics of them on that 951 seadoo. Maybe if enough people see them then we may drum up some interest to get them done. I cannot find one for the otherside and am in need of one. We have a brand new billet 3 button holder for the otherside but no end cap so we cant put it on with the current setup. Maybe I will see if my fiance's brother can have a couple aluminum ones cut with a cnc. Only problem is I would have to take the one we have off and then he would need it for a while to write a program for it and then he would need to also make a mirror image for the other side. I do not do that kind of stuff so I do not know what all goes into it and I do not know how long it would take. I also do not know how much it would cost me. He would have to do it on his spare time which he does not have much of, and would have to wait until the machine had some down time which is also rare because the shop is always busy.
 
Last edited by a moderator:
Just reread racerxxx's thread on those endcaps, gary13 put those endcaps on his x4 with a 951 and they looked perfect, too bad we could not get enough people interested, it seems that happens alot with the cool stuff people could have made. There is interest but not enough to actually cover the cost of having it done. [MENTION=16022]Dr Honda[/MENTION] trim tabs, [MENTION=57920]racerxxx[/MENTION] end caps, [MENTION=41828]Minnetonka4me[/MENTION] exhaust hoses, my handle bar pad brackets. Im sure there are many more cool ideas but they never quite made it past the prototypes or a limited small run. We did however get enough for the block off plates
 
Here is what I have. I don't want to sell them because I can't get more but I will send them to somebody who wants to make more.
 

Attachments

  • photo 2(33).JPG
    photo 2(33).JPG
    105.2 KB · Views: 59
  • photo 1(30).JPG
    photo 1(30).JPG
    98.6 KB · Views: 49
Here is what I have. I don't want to sell them because I can't get more but I will send them to somebody who wants to make more.

Wonder if I can make one out of epoxy/fiberglass resin from tracing the current thumb pull throttle?
 
Wonder if I can make one out of epoxy/fiberglass resin from tracing the current thumb pull throttle?


I actually thought about buying a 3D printer to make these. I'd gladly make them, but I need quantity to get the price down. I already have the fixtures made for the CNC to run them, the program is ready to dump to the CNC. The block offs were easy, I send them the drawing the water jet cuts (no operator to run it per say) it, I de-burr it, tap a hole for a port and I'm done. On these caps I have to pay a guy to set up the fixtures in the CNC (probably an hour of set up @$80 per hour), now load the material, run a left and right, remove them, load material, rinse and repeat....... All the time the guy is watching it run and reload @ $80 per hour, then material cost etc......It adds up. I think I had them priced at like $40 a piece shipped, they originally from UMI cost $29.95 plus shipping so I'm not far off from mid 90's pricing in the year 2014. But I need quantity to get there, about 40 pieces total. I already have "other" parts drawn up to have made but it again will get to quantity and I need to figure out some fixturing before I would have them quoted to see what I could have them produced for.
 
Status
Not open for further replies.
Back
Top