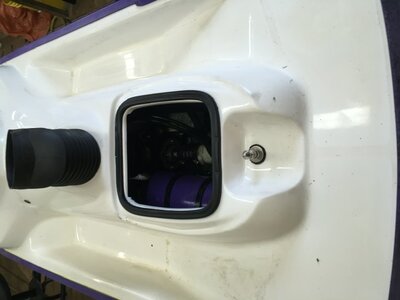
That’s a relief, when I had purchased this machine it had not run for a long time. I was worried that it’s last ride it the hull was filled with water while running and ingested water through the air intake. Is the water that formed just from the fuel degrading and causing that rust then? I bought a cheap ethanol tester and tested our local gas at Esso, no ethanol in the supreme and about 6 percent in the regular.
-
This site contains eBay affiliate links for which Sea-Doo Forum may be compensated.
You are using an out of date browser. It may not display this or other websites correctly.
You should upgrade or use an alternative browser.
You should upgrade or use an alternative browser.
1995 HX Project
- Thread starter burtshaver2021
- Start date
- Status
- Not open for further replies.
I’ve already drained and removed the fuel tank, changed all the fuel lines. My biggest concern was why the carbs had rusted up so bad, I was thinking that it had maybe ingested water the last time it was ran
What’s your take on the testing of blowing and sucking by mouth on the intake nipple. Didn’t seem to pass that test according to the manual but they did pass the pop off test and held held the 10 pounds of pressure after assembly
No you can’t make pulses fast enough to test it manually.What’s your take on the testing of blowing and sucking by mouth on the intake nipple. Didn’t seem to pass that test according to the manual but they did pass the pop off test and held held the 10 pounds of pressure after assembly
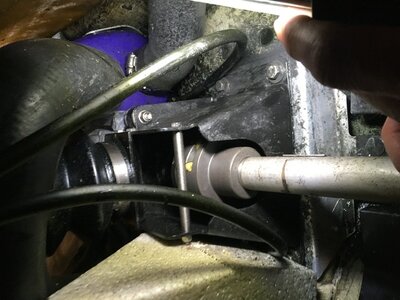
It’s not that end, it’s that engine side.View attachment 61592I’ve seen posts about a lot of the 95 HX drive lines being updated to the coupler style. Can you tell from this picture if this is the updated drive line?
If you want to DM me I have the updated flywheel and driveshaft I might be persuaded to part with.
Sorry, not really following. The driveshaft in the picture is from the coupler to the PTO. I’m just not really understanding, it’s the pto flywheel and drive shaft from flywheel to that coupler that are different (updated) on the 96 and 97’s? The one on mine is original then? And I appreciate the offer but I’m really tapped out right now, tenants just moved out of our rental home and it needs a fair bit of work and I’ve been spending a lot this past year building my little shop and toola for in it. Thank you though, maybe once I get a little caught up with the finances I will message and see if you still have it
There are a few parts I do need for this HX though if you have any, I would be interested in them
That picture is the front driveshaft to the rear driveshaft.Sorry, not really following. The driveshaft in the picture is from the coupler to the PTO. I’m just not really understanding, it’s the pto flywheel and drive shaft from flywheel to that coupler that are different (updated) on the 96 and 97’s? The one on mine is original then? And I appreciate the offer but I’m really tapped out right now, tenants just moved out of our rental home and it needs a fair bit of work and I’ve been spending a lot this past year building my little shop and toola for in it. Thank you though, maybe once I get a little caught up with the finances I will message and see if you still have it
The old part is the driveshaft to rear of the engine flywheel and is splined on a 95 and the splines strip out. 96-97 used a flywheel with the fingers and a driveshaft with the finger coupler on both ends.
Ok, pretty sure mine is still the 95 style then, the part of the front driveshaft has splines that slide into the pto flywheel
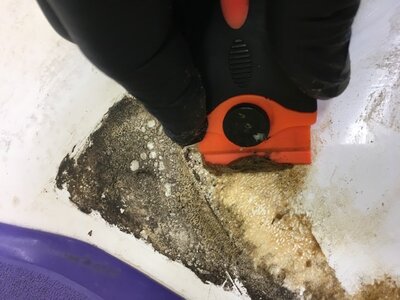
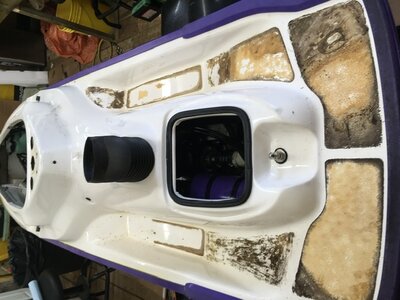
Think it would be smart to remove the foot pads before sanding out the white? Any ideas on taking them off, removing the adhesive from the hull and from the pads, and a product to apply them again? I was thinking maybe heat to remove? Acetone to clean up adhesive from hull and then sandpaper? Not sure about removing adhesive from pads and what to use to apply them again. Whatever I use to apply hem I would like to be able to remove them again. I may change them but not till I verify that this runs on the water
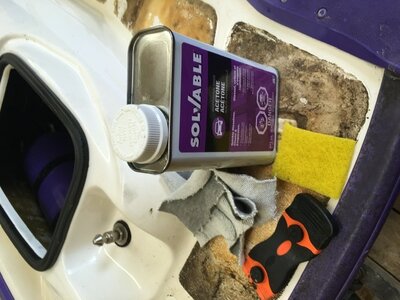 Yes, acetone works good. Started out with a scouring pad but found it gummed up quick. What worked for me was a plastic razor scrapper, didn’t go easy on the acetone. Soaked the adhesive and scraped it off with the plastic razor scrapper, hint as soon as you have the adhesive free, get rid of it because once the acetone dries the adhesive is stuck again. Have a whole bunch of little clothes cut up and ready to clean up the remnants after the plastic razor blade, again clean it up right away because it will only get stuck down again, also have a whole bunch of little pieces of shop towel to clean off the plastic razor scrapper, everything is super sticky so get rid of it as soon as possible.
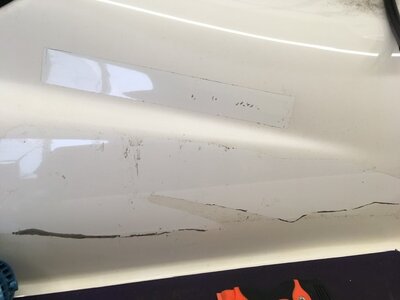
I found that the Meguires 49 was way to mild, wasn’t taking out any of the scratches that I must have missed when sanding with the 2000 grit . Did a little research and the 49 was the lightest, then 67 and then heavy cut 91. Seen on a Dr. Honda post that he used 3M super duty compound so I thought I would give that a try, got 946 ml (32oz.) on amazon for 29.99
I may be able to get a set of knee pads from a local fellow but I’ve never seen any for sale ever so I’m not sure what a fair price for them would be. I know roughly what I’m willing to pay but have no idea if that’s realistic or not.
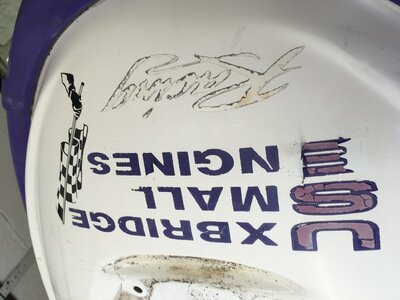
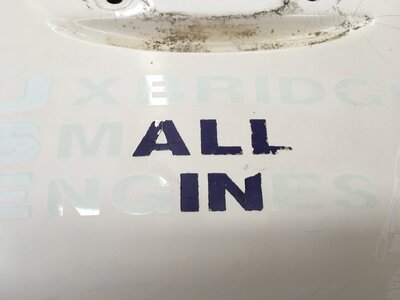
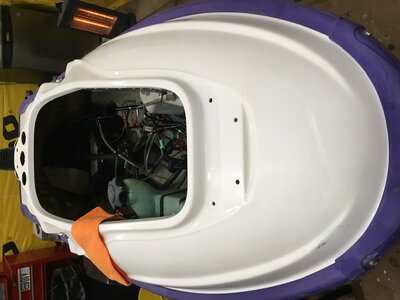
I’m a bit of a complainer so forgive me, but this sanding of the white is a royal pain in the ass
- Status
- Not open for further replies.
Similar threads
- Replies
- 6
- Views
- 796
- Replies
- 4
- Views
- 506


