-
This site contains eBay affiliate links for which Sea-Doo Forum may be compensated.
You are using an out of date browser. It may not display this or other websites correctly.
You should upgrade or use an alternative browser.
You should upgrade or use an alternative browser.
1995 HX Project
- Thread starter burtshaver2021
- Start date
- Status
- Not open for further replies.
Going to be 18 till I die
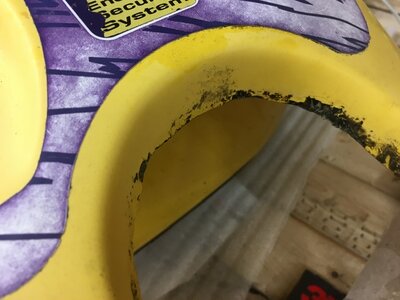
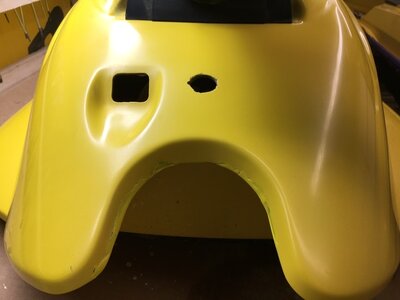
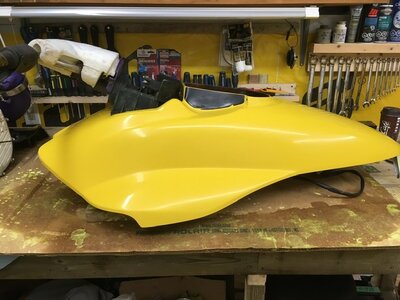
Today I got some work done on the hood, sanded down the gelcoat repairs, took the rest of the decals off, wet sanded the whole hood with 800, 1000, 1200 and 2000 grit and used the Meguires 49 on it, All that’s left to do to it, is go over it with the Meguires polish, wash the little plastic piece on the front of the hood with bar tenders friend and a scrub pad, use the naphtha in that piece and it will be ready to go back on. Has anyone had any experience ordering from Seadoo Warehouse? I get that they are busy but I put an order in March 2nd and it still hasn’t shipped, OSD order placed on the 3rd and came in in the 5th. Just wondering if these long wait times are common with them.
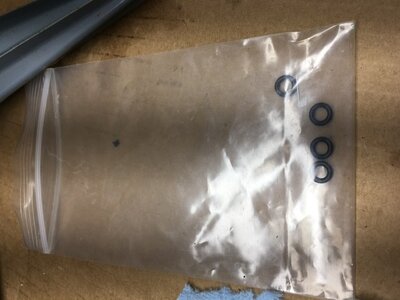
I just added up what I’ve spent on this so far and I’m at just a hair under 1000.00. I’ve got a 95XP, 96GSX, 99GSX and eventually a 92XP that I’m going to want to go through, i would like to keep costs as low as I can while still having a good solid running machine, only replacing what needs to be replaced. I seen in a thread about pressure testing the fuel selector valve, I know it’s just one small item but if 35.00 USD which is about 50.00CDN can be saved it’s money that can go somewhere else. I’ve ordered a new selector valve for this HX but for future hoe do you pressure test the fuel selector valve? Also the carburetors, when I took this one apart it looks like all genuine Mikuni parts, only thing noticeably wrong was the o-ring on the seat was leaking, I’ve already received the whole back to OEM kit from OSD but for future could I just take apart the carburetors, take all o-rings, gaskets off etc. Clean everything and reassemble, check the pop off and pressure test? Would be another 200.00 savings for future projects if that would be acceptable? I want my machines in gooc working order, but if I can do the proper tests and replace only what needs replacing I’m all for that.
First rule of Seadoo's...never total up the parts list.
I have gotten tired of messing with skis at the lake, when I go out I just want to ride and have fun with the family so that extra $35 or even $200 really isn't that big of a deal compared to sitting on shore for a weekend watching everyone else have fun.
I have gotten tired of messing with skis at the lake, when I go out I just want to ride and have fun with the family so that extra $35 or even $200 really isn't that big of a deal compared to sitting on shore for a weekend watching everyone else have fun.
I was just taking the mag carb apart, in your thread when you talk about cleaning the Pilot circuit and watching for the cleaning fluid to come out the larger hole and 3 small holes are you putting the cleaner in the pilot jet opening? Probably a stupid question but just want to be sure. Also the piece of Mylar film that’s held onto the back of the block on the metering side is a little rusted, the film appears to be in good shape but I don’t see this Mylar in the kit from OSD, should I just leave it on or take it off and clean it? I’m assuming it must have to allow fuel or air through at a certain pressure or else it wouldn’t be there, also worried if it’s stuck in place, is that a valid concern or will it be ok as long as it’s not damaged
Yes, the pilot circuit is cleaned from injecting cleaner into where the pilot jet screws. Make sure the LS screw is threaded in just a little or you will not get pressure through the 3 small holes. If you open the throttle butterfly and look down into the carb when spraying the fluid and you will see it coming out the 3 holes.
The OSD kit should come with the mylar check valve on the back of the fuel block. He usually attaches them to the sticky arrows for signing documents as they are easy to misplace.
The OSD kit should come with the mylar check valve on the back of the fuel block. He usually attaches them to the sticky arrows for signing documents as they are easy to misplace.
I did see the sticky arrow, it’s probably there then. Thanks Miki
2 more tests, popping at 50 pounds now, and then seating again at 42 pounds
Yep did it again, popping every time at 50 pounds now and seating at 42 pounds.
Just looking at the manual now, it says pop off is between 40-56 pounds and minimum stabilized pressure is 24 pounds. I am worried about the stabilized pressure, the needle is seating at 40 pounds and manual says minimum stabilized pressure is 24 pounds. Do I have a problem? Or is it ok? Also do you use any loctite on any of the screws inside the carburetors? I did not.
So both carburetors pop off at 50 pounds and seal at 40, both hold 10 pounds on inlet nipple with outlet blocked. Diaphragm holds 4 pounds through pulse nipple. The manual says to check pump valve operation by blowing by mouth through some tubing to the inlet nipple which should release with pressure and hold under vacuum. When I do this I can blow in and apply vacuum? That’s with the outlet nipple open, once I block the outlet I can neither blow nor apply vacuum?
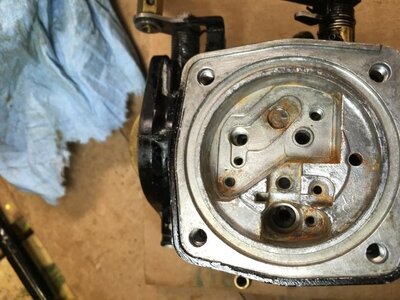
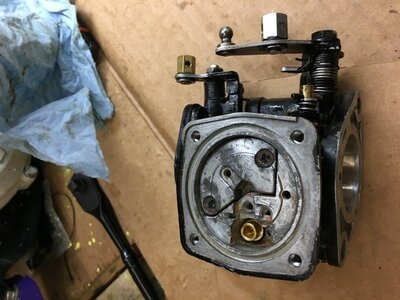
Both carbs were very rusted, you could see where the water had been sitting, like I mentioned before I had this running very briefly before I started working on it but would you think that it had ingested water through the intake at one time? Would there be any other way for the carbs to get rusted like this?
- Status
- Not open for further replies.
Similar threads
- Replies
- 6
- Views
- 788
- Replies
- 4
- Views
- 504


