• This site contains eBay affiliate links for which Sea-Doo Forum may be compensated.

2001 Seadoo Sportster LE. Just got it!

Status
Not open for further replies.
There is no fuel pump on PTO carb. So you only need the o-ring type gasket.

"If I turn the piston 90 degree, it will go in."

This must be the special Amsoil bore clearance? Although, this doesn't sound good to me b/c both piston and cylinder should be round?

I think sometimes the machinist is aggressive with honing in the cylinder top where the rings are traveling and not so much in the bottom. I guess this could make the bottom tighter. The problem with very aggressive "honing-to-fit" is the bore becomes out of round.

But, I'm not sure if the piston sleeve rod reliefs are causing confusion about which is out of round (piston or bore), my bet is the piston is round but the bore is oval.

And, I think your machinist should also properly chamfer the ports and clean the bore for you too.

I doubt he will do the port filing and bath. But I will ask. Really if he can make it "round" I will feel lucky. :-)

I agree with you on the aggressive part. The bore bar went too fast and pushed out the sleeve bottom "clamshell". So bore bar couldn't take out enough material, which caused the tightness after bore bar got removed.


Sent from my iPhone using Tapatalk

Will your wife frown at you if you take a shower with the cylinder?
 
Picked up the cylinder. He just re-honed the bottom part and tried fit. It is Still in my truck. I will double check tonight. But is it possible to take away 0.1mm (0.004") steel by honing??


Sent from my iPhone using Tapatalk
 
Picked up the cylinder. He just re-honed the bottom part and tried fit. It is Still in my truck. I will double check tonight. But is it possible to take away 0.1mm (0.004") steel by honing??


Sent from my iPhone using Tapatalk

Easily (and quickly) depending on the hone and abrasive used although even a finish hone will take 0.1mm in a matter of less than 2 minutes for your bore size.

I wasn't thrilled to see your issue, he shouldn't have let that out the door like that under any circumstances.
 
Easily (and quickly) depending on the hone and abrasive used although even a finish hone will take 0.1mm in a matter of less than 2 minutes for your bore size.

I wasn't thrilled to see your issue, he shouldn't have let that out the door like that under any circumstances.

I agree. I wasn't impressed either. I have to admit that I was expecting something like this would happen from a "dealer". I am not in boat business, but have been too much that people do things for 15+ years without knowing why and not even interested in. Well, tried my best, and wish for the best. It is what it is. Shouldn't be too bad though except I hate another bath! LOL


Sent from my iPhone using Tapatalk
 
When checking the ring end gap, slide the ring by pushing it with the piston crown to several locations and see if the diameter changes by measuring ring end gap. Also make sure there are no gaps between the cylinder wall and the ring!

http://twostrokemotocross.com/2012/10/wiseco-2-stroke-tech-tip-piston-ring-gap/

Checked the ring gap at several spots using feelers. one cylinder is pretty consistent at 0.025". the other one is pretty consistent at 0.022"+, probably 0.023". I only have 0.022" and 0.025" feeler.
cannot see any gaps between the ring and the cylinder wall with oil all around it.

One thing I learned today from hot bathing the cylinder is: heat and peroxide soap make steel rust in seconds!
The soap I used today is not the same type I used yesterday. And I witnessed the growing rust in seconds in the water. I rushed the process and rinsed cylinder and applied WD40 and started rubbing the surface to take off the rust (of course, the paper I used become brown), then applied a LOT of XPS II.
The surface is still a little brownish like coffee stain. I hope the rusting process should stop with the oil on the surface to stop O2 going in.

If use hot water and soap, please make sure you know what soap you are using. I doubt many people know what peroxide actually is.
So my suggestion is, get a piece of steel, sand it to shiny, test it with heat and soap first!

Anyway, the piston fits well, it goes smoothly in the full travel, at any degree, I feel the same smoothness. But man it is pretty precise fit, if I twist a little or side push a little it will stuck.
 
Just did a feeler check for the piston / cylinder wall clearance.
I put the piston in the cylinder the normal way, have the bottom of the cylinder flush with the bottom of the piston, which should give me the smallest clearance.
I can squeeze in a 0.004" feeler and move around with some resistance. So I think the clearance is pretty close to the spec for new parts, 0.0035" (0.09mm).
But man, again, it is tight :-D.
How can it not get scratches when running at 35 miles per hour (6000PRM)?
Hey, just noticed that your boat speed is almost same as your piston linear speed in your engine :cheers:
 
He may have felt guilty a little and helped me clean up the gasket residue, but using some kind of rough file!!!
I am glad I bought the motoseal gasket seal. Now I definitely will use it :-D And I am off the hook to clean it :lol:

Looks like tomorrow I will be able to install the top end if I can kick everyone out of my office before my late lunch. :cool:

Edit: The base gasket won't see any high pressure, right? Is one of the main tasks to stop the water sneaking into the crack case?
 
Last edited by a moderator:
Motoseal is a really good product, I use it in some air cooled motor applications to eliminate the base gasket between the case and cylinder to maximize the squish and compression. You only need a very light film of it to do the job and it's a pretty thin wet product to work with and makes a mess if you try to apply to much of it.
 
Motoseal is a really good product, I use it in some air cooled motor applications to eliminate the base gasket between the case and cylinder to maximize the squish and compression. You only need a very light film of it to do the job and it's a pretty thin wet product to work with and makes a mess if you try to apply to much of it.

Hey water lover, what is the white anchor thingy in your avatar?
 
Hey water lover, what is the white anchor thingy in your avatar?

Those are sand point anchors, much better to use on sandbars and beaches in shallow waters especially if there are many boats being parked side by side. You make them with a 5 foot length of 1 1/2" pvc pipe with a T glued to the top of it and a sharp angle cut into the bottom. I cut 16" lengths of 3/4" pvc for handles to insert into the T to help drive / rotate them down into the sand. They go in very easy and do an amazing job of holding the boat and fit in the floor locker no problem.

Challenger5.jpg sand anchor 1.jpgsand anchor 2.jpg
 
I've never seen that tool before, maybe it can do the job. I think at minimum some fine sandpaper to round over the sharp edges, the rotary tool makes me nervous the cylinder will be gouged with one wrong move but many people use the sanding drums and stone wheel (can fit the sharp corners) or carbide burr.

Please don't scratch the cylinder wall!

Cleaning - What are you doing, peroxide (H2O2) has an extra Oxygen loosely bonded, easy to make FeO2!!!??? :)

The XPS oil keeps the piston from touching the cylinder, you can smooth the cylinder some using scotch brite if it's too rough. It's very important that it must have no iron dust and abrasive particles inside! Yes, iron rusts fast but must be clean of abrasive and iron particles. Some rust is gonna happen, probably.

When the piston did stick, was it with oil? Tighter is better but the piston will expand with heat applied, too! Did you heat the piston and try the fit?

The base gasket doesn't see much gas pressure, mostly water pressure and mechanical clamping pressure. The base gasket may relax after some time so I think you should recheck the torque next day if possible, or step torque 90% first day and remaining 10% next day maybe is good.

I'm gonna guess the white thingy is a docking fender and maybe WTRLVR is using it as an anchor buoy in the water, I have one tied to my anchor line as well.
 
Those are sand point anchors, much better to use on sandbars and beaches in shallow waters especially if there are many boats being parked side by side. You make them with a 5 foot length of 1 1/2" pvc pipe with a T glued to the top of it and a sharp angle cut into the bottom. I cut 16" lengths of 3/4" pvc for handles to insert into the T to help drive / rotate them down into the sand. They go in very easy and do an amazing job of holding the boat and fit in the floor locker no problem.

View attachment 26991 View attachment 26992View attachment 26993

Not bad, I might try making one of those. Not sure how it will work in our sand over clay-bed soil though, we use mostly those cork-screw dog ties in the shallow areas.
 
Not bad, I might try making one of those. Not sure how it will work in our sand over clay-bed soil though, we use mostly those cork-screw dog ties in the shallow areas.

The trick is to drive them at about a 60* angle away from the windward side of the boat, these things will hold a much larger and heavier craft than a jet boat with ease in a clay base with loose top sand and it's a ten second job to drive one down.

I made 300 sets of them over last winter, I sell them for $10.00 a set to cover the material costs and they were all gone by June this year. We get a couple hundred boats stacked up tight at some of the better spots on the beaches and having anchor rodes out 30 yards with a hook on the end doesn't work for that.

Pontoon owner's can make the same thing with an 8 foot section of pipe and just drive them down right off the boat.
 
Alright I think I'll give that idea a shot, thanks!

The angle cut at the bottom, just measure up 4 1/2" on the pipe and make a mark. From there down to the opposite end I just eyeball the cut first by lowering the chop saw blade before starting it and adjust the pipe accordingly to get the angle right.

Sort of like Kentucky windage, it's quick and it works.
 
You should use new carb base gaskets if possible!
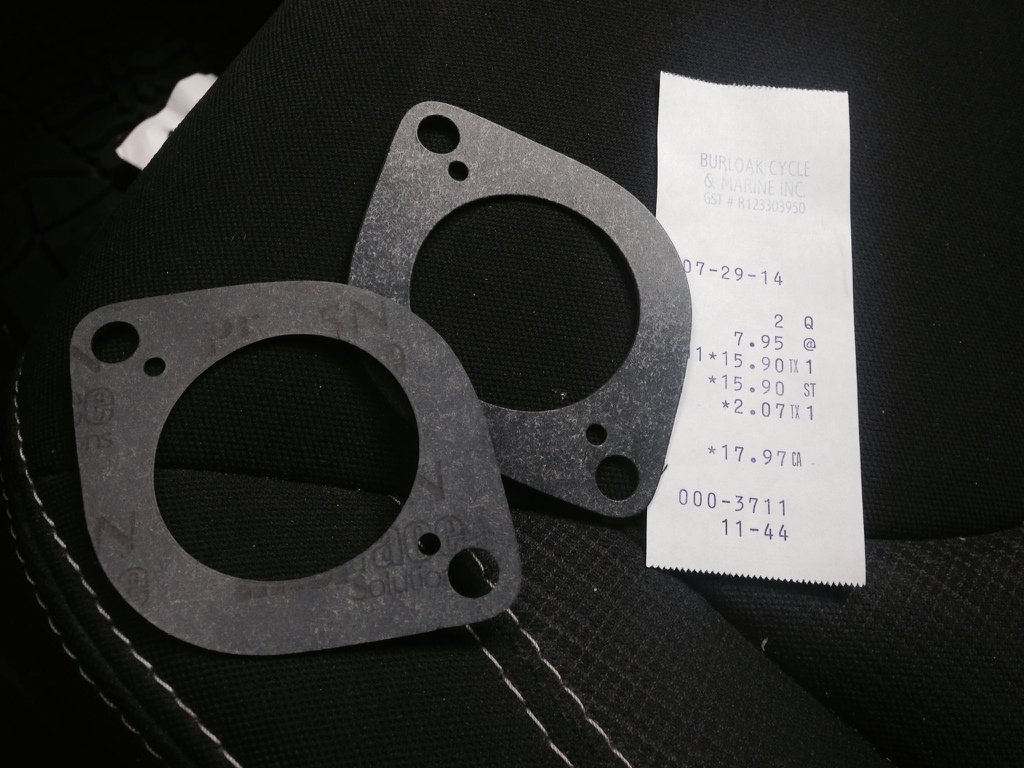
Yes. Brand new gaskets.
736.jpg


Sent from my iPhone using Tapatalk
 
Ouch, almost $18.... Bring On Another Thousand!

I bet you're glad you're not building an high performance 7.5L 8-cylinder racing motor with hydraulic roller camshaft, roots blower, forged pistons and crankshaft?
 
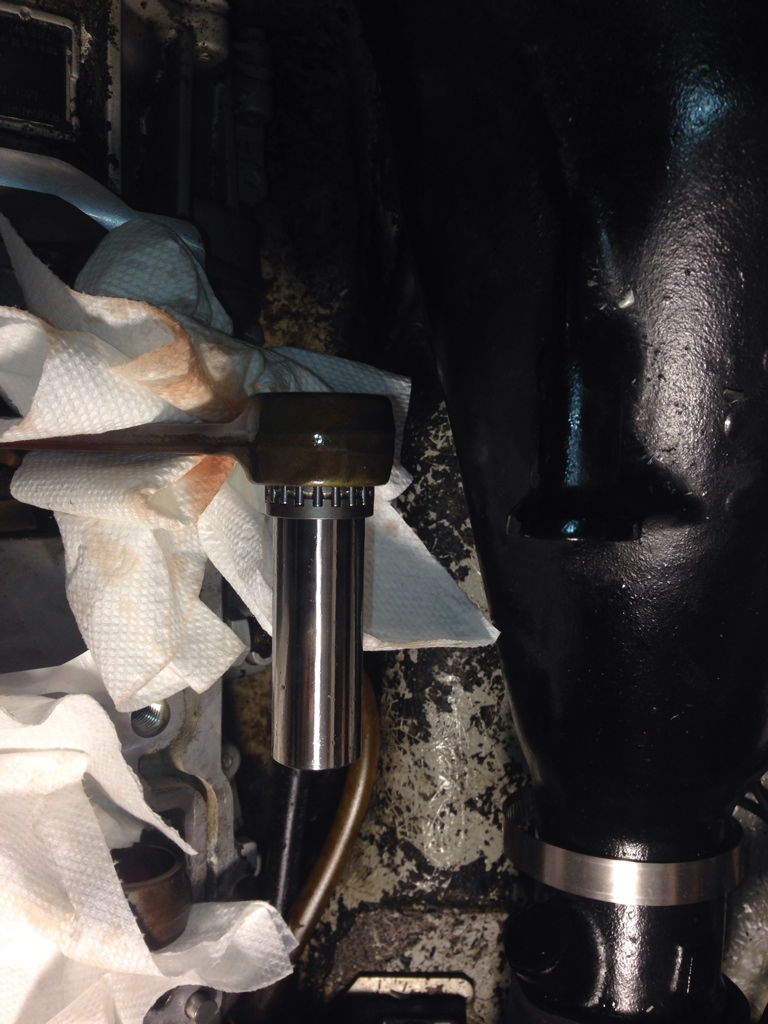
With the pin in it The needle bearing is very tight. Cannot push in the pin even without the piston on it.
747.jpg


Sent from my iPhone using Tapatalk
 
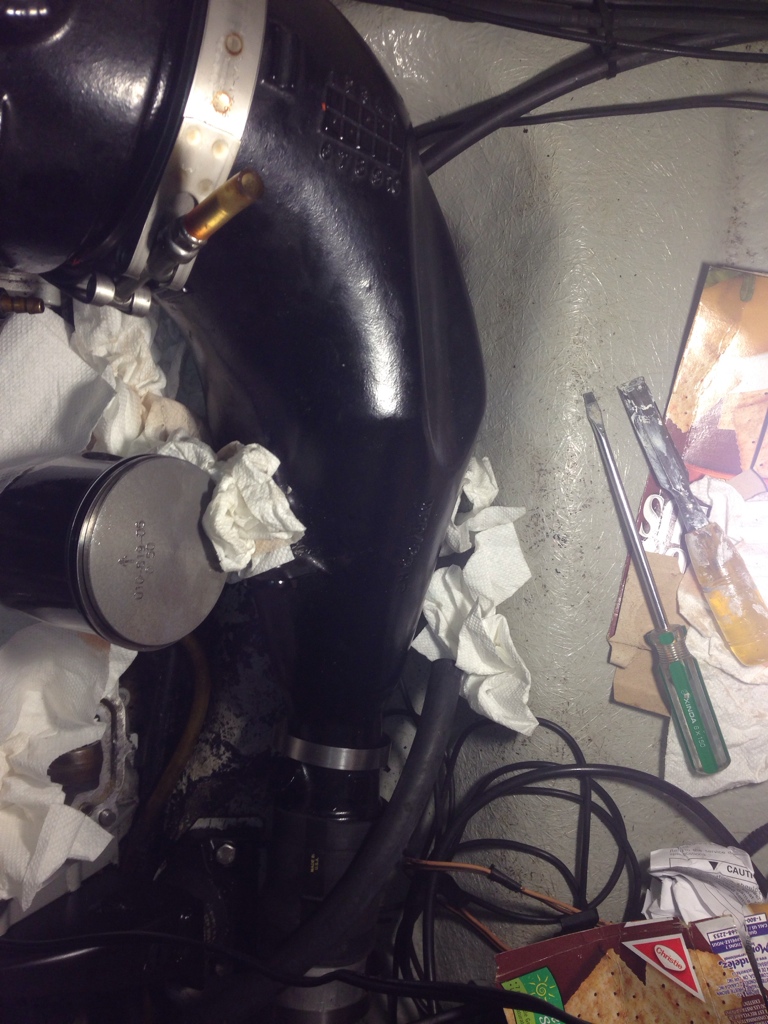
Heat gun helped. Mag piston in. Wide flat screw drivers are your friend. Clip went in 10 seconds.
748.jpg


Sent from my iPhone using Tapatalk
 
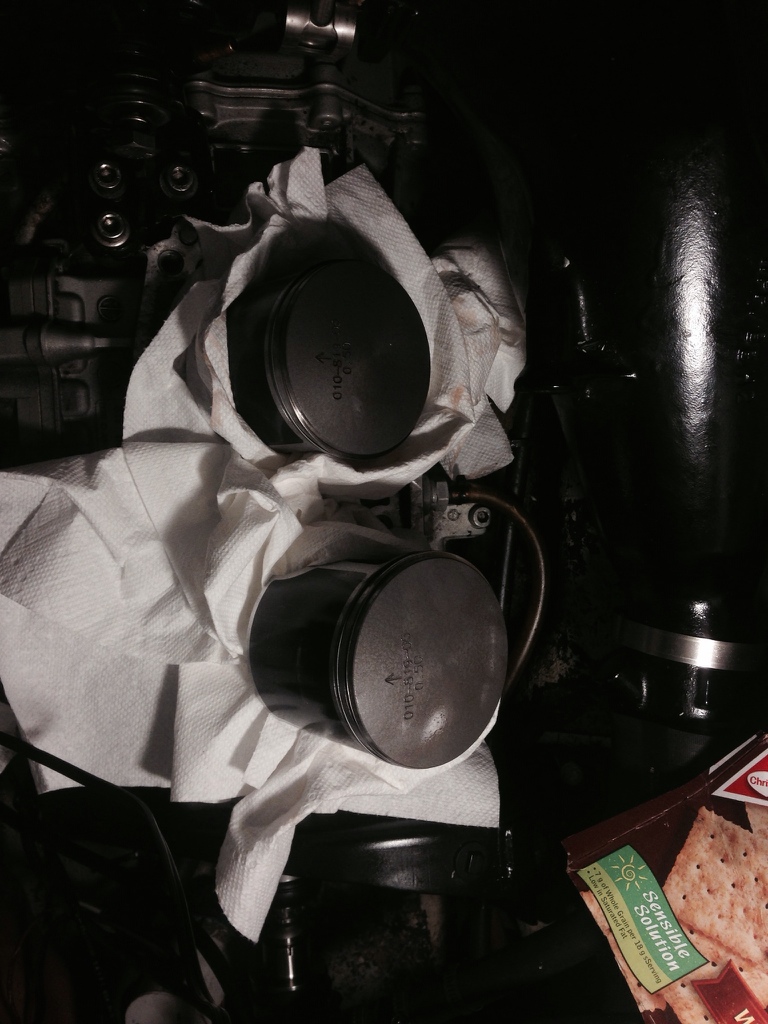
Ok both pistons are in.
Two tricks:
1) use the heat gun to heat up the rod and the piston to the temperature you can just hold, apply oil so that just in case too hot. Don't use clamp tool to do any hard pushes, because they were machined to fit!
2) practice the circlip on an old piston or practice on the new piston at one end on your bench to "know" them.

One thing to double check after install the circlips: if the your tool damaged the edge when you do prying, remember to take off the burrs.

Heading to office now. Will continue hopefully tonight.
749.jpg


Sent from my iPhone using Tapatalk
 
Status
Not open for further replies.
Back
Top