• This site contains eBay affiliate links for which Sea-Doo Forum may be compensated.

2001 Seadoo Sportster LE. Just got it!

Status
Not open for further replies.
Go for a molson now. Have a rest and continue tomorrow.
What oil or cleaner do I need to get from Canadian tire? I will get them all ready before I continue. Looks like all nice and neat detail work there. I like this type of the work.
I replace 100LQFP by hand when nobody can do it. :-D.


Sent from my iPhone using Tapatalk
 
Do I need to take part this?
593.jpg


Sent from my iPhone using Tapatalk
 
Just carb cleaner, one can should be plenty for both carbs. I actually give them a bath in an Ultra-Sonic cleaning tank and then visually verify everything is open and clear in all the passages before re-assembly.

That really restores them to like new condition using a very mild solution compared to the old carb dip tanks we used full of acetone based cleaners.
 
Anyway to clean the oily outside of try carbs? I know it seems like I have nothing else to do :-) just asking.


Sent from my iPhone using Tapatalk
 
Yes, that is where your accelerator pump diaphragm is located. Do you have a replacement square diaphragm with the stainless plunger in your kit to service it?

I tried the pump. It works well.
I am not sure if the pump kit is in the carb kit. Two carb kits are exactly same. I guess they won't waste a single pump kit into the carb kit.
I will open the carb kit in the morning to be sure.
But can I open the pump and clean it and put it back?


Sent from my iPhone using Tapatalk
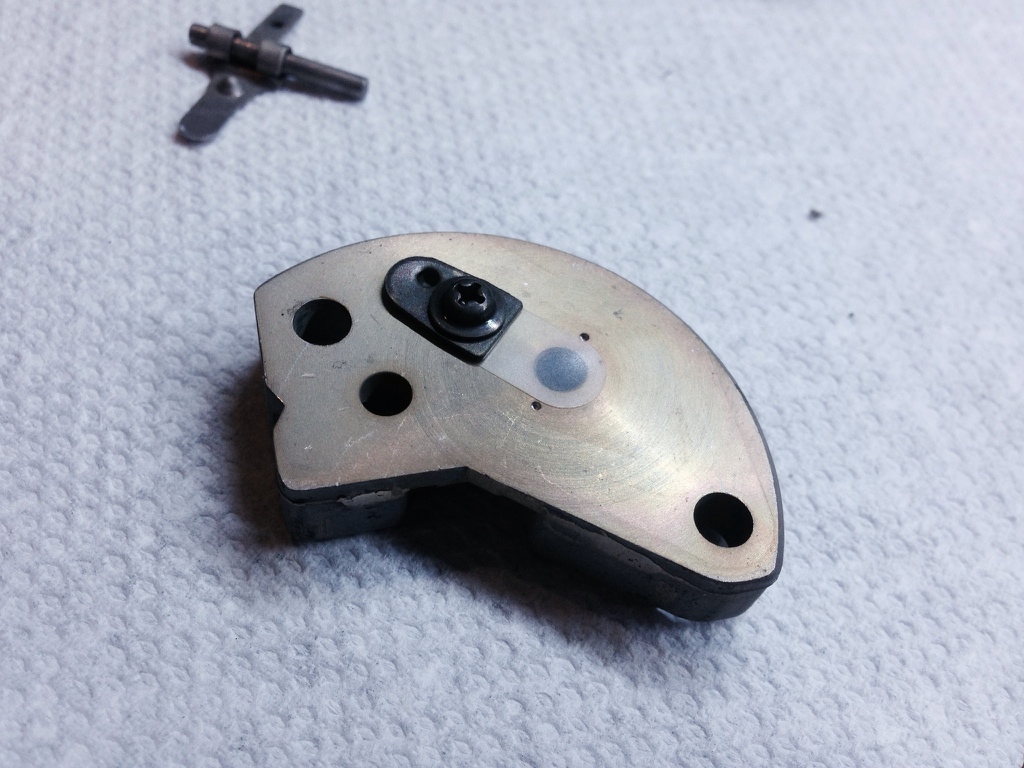
If it's working well and you don't have a replacement leave it be, you run the risk of distorting the diaphragm taking it out. The diaphragm rarely fails and the passages in and out are quite large so there's not much concern for blockage, it's the tip of the brass delivery nozzles that clog usually.
 
Just carb cleaner, one can should be plenty for both carbs. I actually give them a bath in an Ultra-Sonic cleaning tank and then visually verify everything is open and clear in all the passages before re-assembly.

That really restores them to like new condition using a very mild solution compared to the old carb dip tanks we used full of acetone based cleaners.

I would like to get one ultra sonic tank. I used to use it a lot when I was helping my professor clean his high performance liquid chromatography equipment 15 years ago.


Sent from my iPhone using Tapatalk
 
Is it over kill?
http://www.amazon.ca/gp/aw/d/B005CFSAOQ
Or just get the carb cleaner?


Sent from my iPhone using Tapatalk

Not at all, you definately want the heat feature. I actually built mine with heated lower tank and a refrigerant coil in the top tank to reclaim and clean the solvent and I used two different transducers for initial and final cleaning. There's a middle tank with dip bins that contain each unit placed in the liquid. Some times I have as many as 10 carbs in there at once.
 
Try tp leave the accelerator pump alone if you can, no need to tear it apart if it's working and the diaphragm inside is difficult to find.

Make sure not to hose down rubber parts with carb cleaner (don't spray it into the accelerator pump), it will damage your rubber parts and melt holes in diaphragms by removing the rubber.

Don't forget to hose out the injector nozzles with carb cleaner. Brake cleaner works good too, and won't melt the thimble filters like carb cleaner will.
 
[Q UOTE=Sportster-2001-951C-Stock;418697]Try tp leave the accelerator pump alone if you can, no need to tear it apart if it's working and the diaphragm inside is difficult to find.

Make sure not to hose down rubber parts with carb cleaner (don't spray it into the accelerator pump), it will damage your rubber parts and melt holes in diaphragms by removing the rubber.

Don't forget to hose out the injector nozzles with carb cleaner. Brake cleaner works good too, and won't melt the thimble filters like carb cleaner will.[/QUOTE]

Just bought a carb cleaner from Canadian Tire. I saw brake cleaner beside it.


Sent from my iPhone using Tapatalk
 
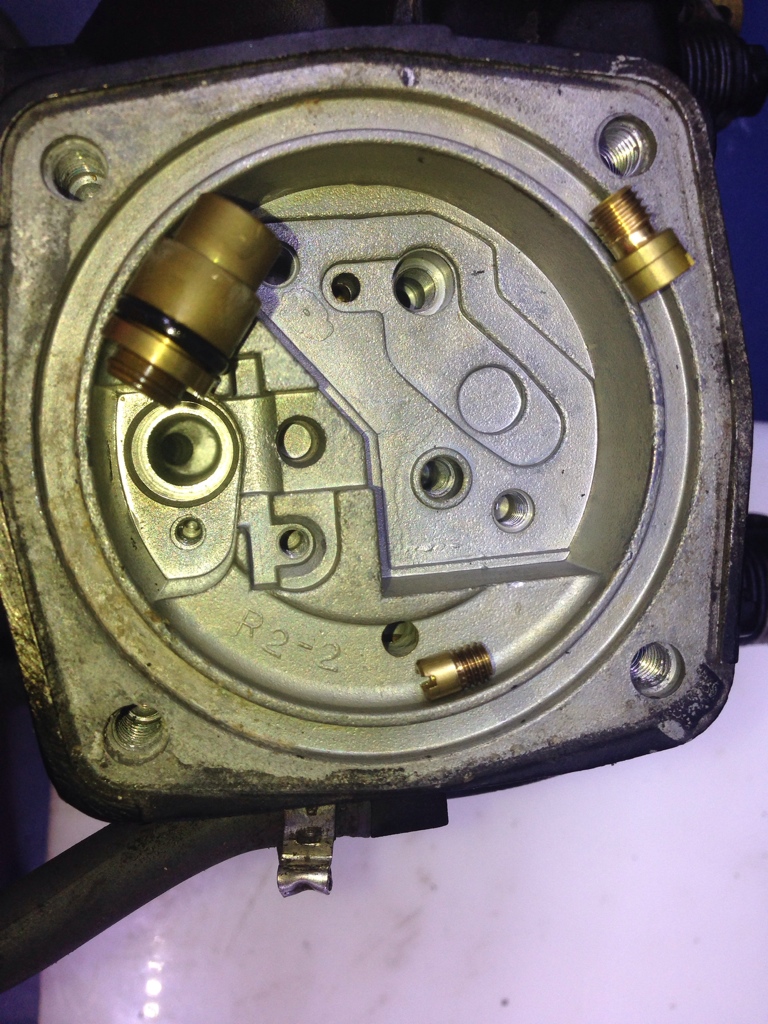
That's a one way valve, do you have the new clear flaps in the kit? There's really not much of anything to clean or service on that part.
 
Was the idle screw set close to be right? The plate is just covering the first little hole.
599.jpg

600.jpg


Sent from my iPhone using Tapatalk
 
Low speed screw was 1 and 1/2 turn plus 20 degrees. Is it on the rich side right?

601.jpg


Hole is very clean too

Sent from my iPhone using Tapatalk
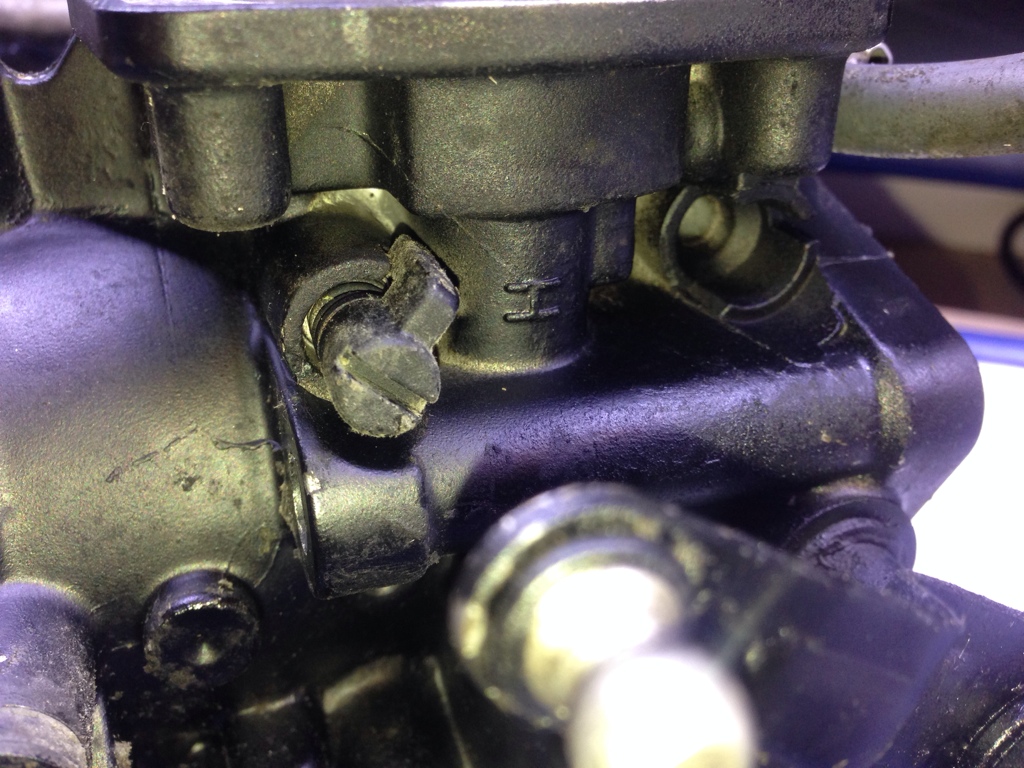
 
Low speed screw was 1 and 1/2 turn plus 20 degrees. Is it on the rich side right?


Sent from my iPhone using Tapatalk

Your idle setting looks close, and your low side is just about right where I would want it to be. I have mine set that way almost exactly 2/10th of a turn past 1 1/2 open to avoid leaning the circuit out in the upper end of it's range before the high side supplies fuel.

Judging from the pictures of the tear down on the side not affected by the misplaced intake gasket it was oiling well and not leaning out prematurely I'd put them right back there when your done. Go ahead and remove them completely to clean the circuit out with the spray.
 
How to take the high speed screw out? Just lift the tab and keep turning out? Do I need to count how many turns?


Sent from my iPhone using Tapatalk
 
First you need to pry the plastic cap straight up and off without turning it, then you will see the brass adjuster on the backside. Seat the adjuster if you can, but it should be lightly seated to closed already as it is with no adjustment to seat it further.
 
First you need to pry the plastic cap straight up and off without turning it, then you will see the brass adjuster on the backside. Seat the adjuster if you can, but it should be lightly seated to closed already as it is with no adjustment to seat it further.

Yes. I got it out. Before I took it out I turned clockwise and it hit the bottom (seat?) after about 1/4 turn. So when I put it back I just seat it and back to where I recorded on picture and put in the cap with tab against to the plastic cup limit. Right?
603.jpg


604.jpg


Sent from my iPhone using Tapatalk
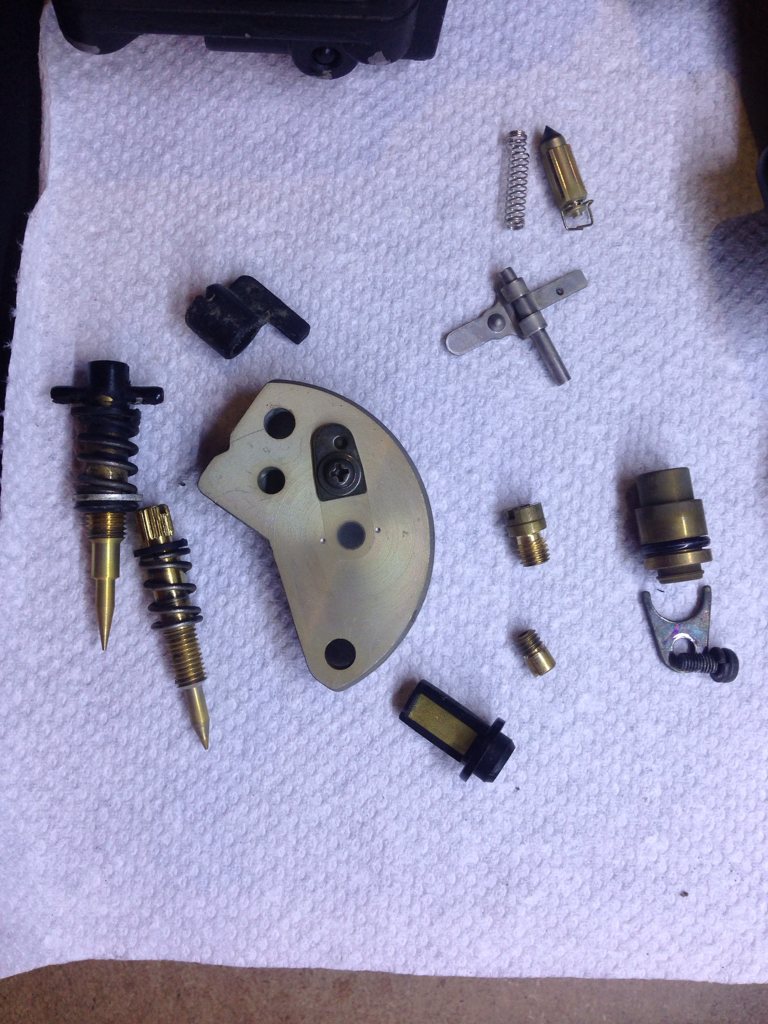
 
This is "all apart" right?
Do I need to take part the butterfly plates and other spring loaded levers?
605.jpg


Sent from my iPhone using Tapatalk
 
Status
Not open for further replies.
Back
Top