• This site contains eBay affiliate links for which Sea-Doo Forum may be compensated.

2001 Seadoo Sportster LE. Just got it!

Status
Not open for further replies.
Confirmed, yes, no cage. Nicely held by two washers sliding on the pin.


Sent from my iPhone using Tapatalk
And that explain the image on Sea Doo's parts listing for his boat, the drawing doesn't look like a caged bearing at all but end washers and needles.
 
Pistons are off.
and I almost got a heart attack. Seriously!

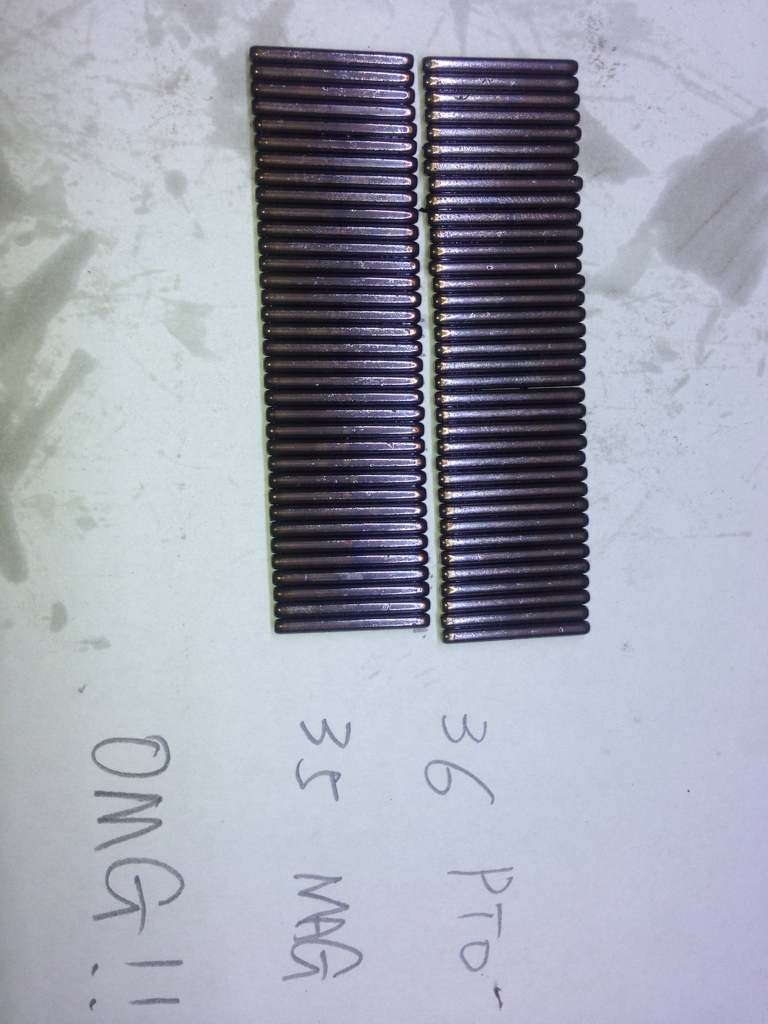
When i was working on the MAG side. The super magnet I put on the rod sucked one or two pins out in the air and landed on the cardboard cover I made. But I only found one on the cover. So I made myself believe only one pin flew out after 5 minutes carefully checking the cover and paper towel underneath.
Ok back to my office to do counting!
563.jpg

36-35=1
OMG, Nooooooo.
I almost felt into the floor flat.
Counted twice and lined them up. Still math is correct, always.
Ok. With my heart stone cold, I went back into the bilge. Have you watched disassembling bomb in the field? I was like that peeling covers off from the crank case opening. Because I thought I saw one needle bounced into the corner of the cover and it was barely covering the opening.
Looked every inch I can see by my eyes and camera. No sign of A needle. Started to see if I can make a magnet fishing device, and checking the drawings to see the possibilities, and on and on for a minute.
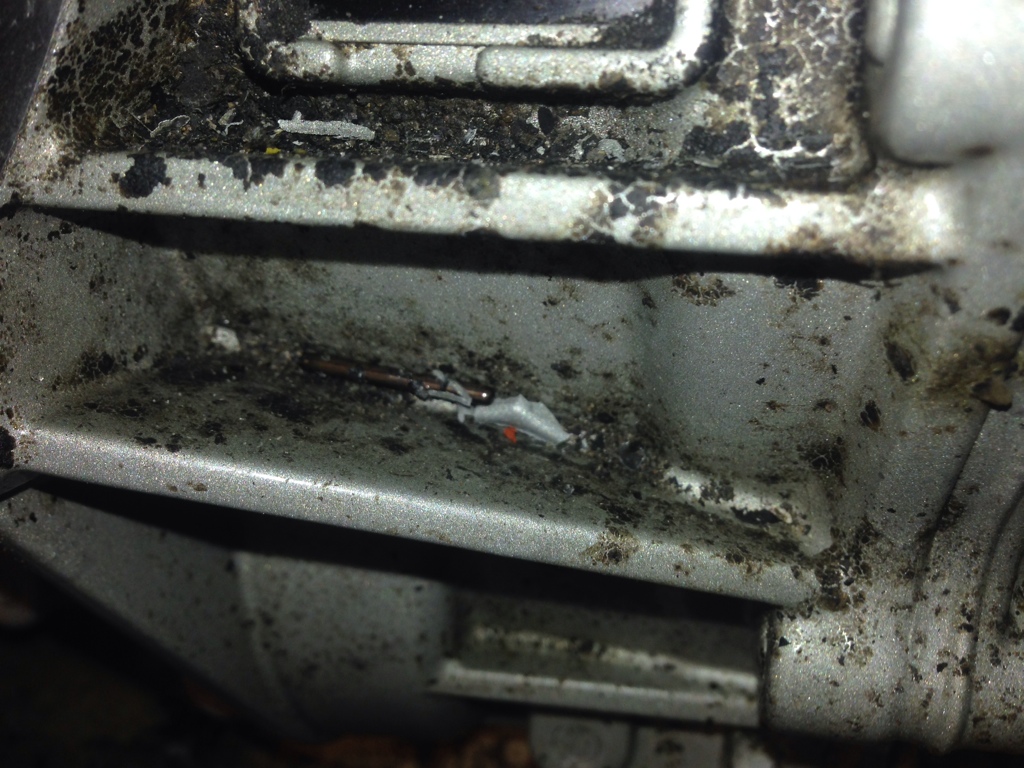
Heart was almost frozen. But just when I was about crawling (I have always been jumping) out of the bilge. I spot this
564.jpg

Is it a metal piece? Does it look like something I am looking for???
OMG, I did jump out of the bilge! Sit in the boat for one full minute. And took a picture and picked it up!
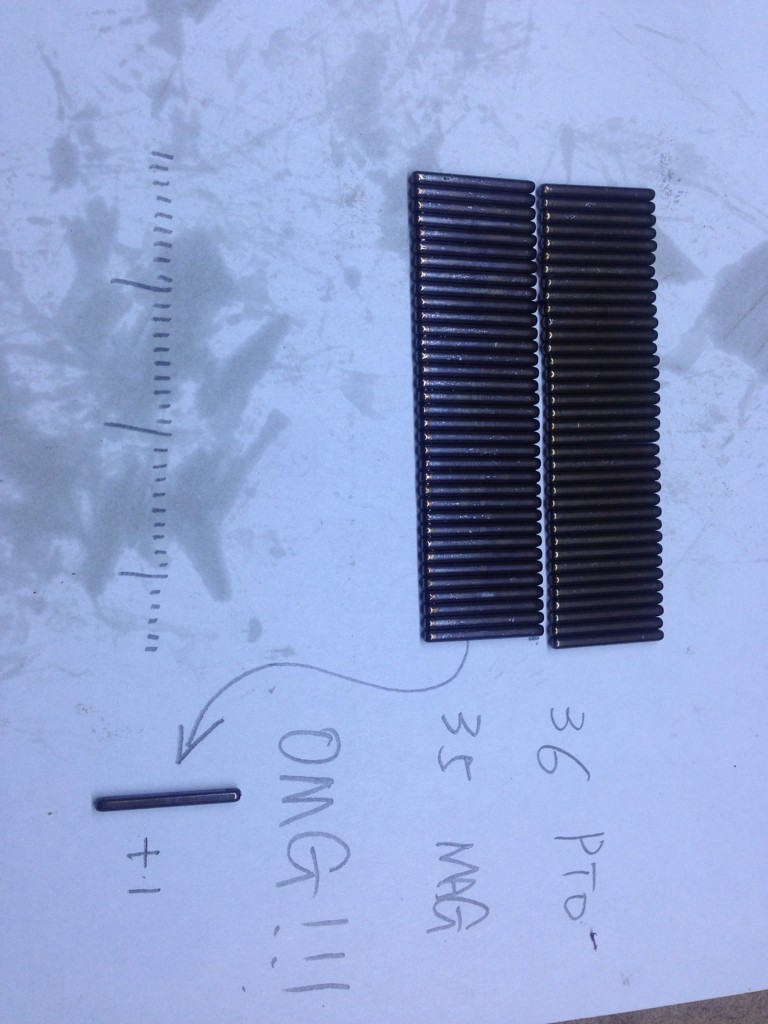
Now it is like this:
565.jpg


Warning:
1) you need a big heart ever do this type of work.
2) don't use super magnet try to hold the the needles together. In sportster le, you don't need a magnet actually. The needles just fall in to the piston cup. If you do want a magnet, use a normal one and let it lay on the bottom of the piston cup.

Edit:
3) Cover the opening well, seriously.

The end.


Sent from my iPhone using Tapatalk
 
Last edited by a moderator:
Yes, but you must put them all back in the same location and direction they were before disassembly! (Okay, kidding!)
Are you going to replace using caged type?

I don't think so. I will use caged ones. If the pin slides in then no a big deal to do so. But with a clamp down there, and piston has no support, it is very hard to manage.

But it is a totally surprise how good those needles are. No din and dent at all, like brand new.
Also hardly to feel any wear on the pins.
And very very smooth inside the rod end too.

I am looking closely at the piston like a detective.
Trying to play back what has happened.


Sent from my iPhone using Tapatalk
 
Last edited by a moderator:
I told you to leave that damn super magnet out of it earlier! Lol you never listen, you got so lucky finding the loose one where and when you did. :facepalm:

I have the tool for containing and inserting loose needle bearings, it keeps them all captive until you press the plunger to insert them.

Use the caged bearing, it will last longer than the hours you'll put on this boat.

I think you have earned another one of those Molson's later huh? :cheers:
 
Yes you did :-)
I thought the warning was only for fishing stuff from the crank case.
But I should have listened and think about why.


Sent from my iPhone using Tapatalk
 
Look guys, it's a mystery part from my bilge. Today's washing and scrubbing followed by yet another round of the wet vacuuming produced this treasure on the starboard side stringer laying in the bilge next to the pump discharge hose. I got back the plastic plug wire keeper I dropped last week to, so today was the bilge bonus round.

It's a really light weight alloy, any idea's?
Mystery part.jpg
 
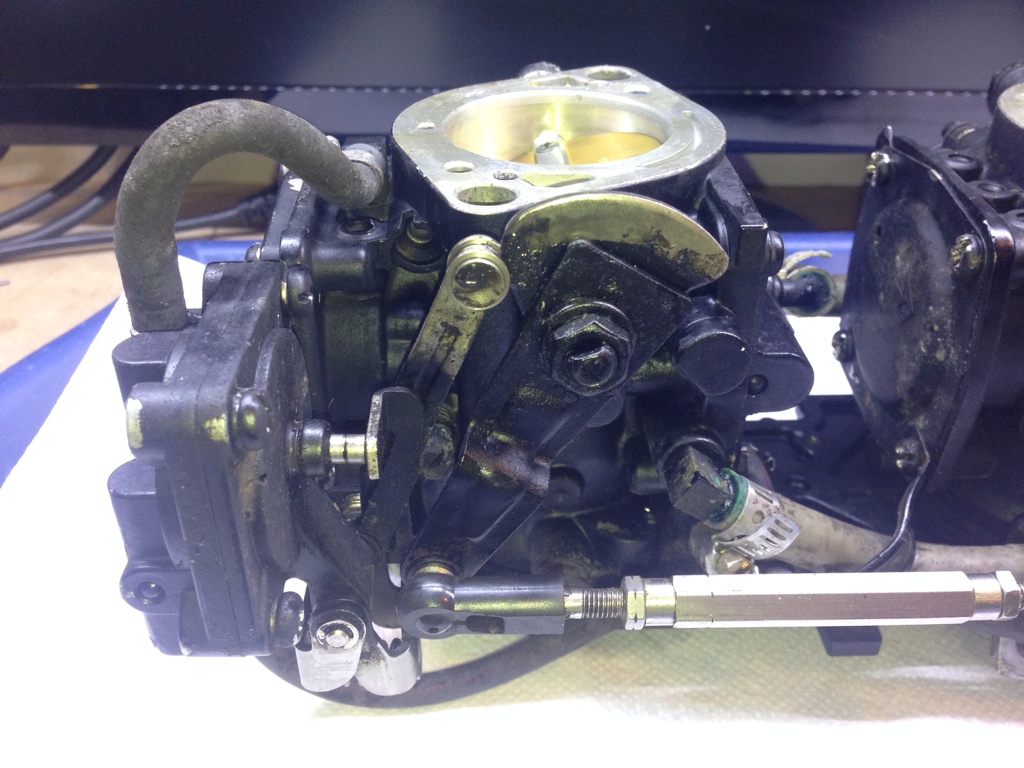
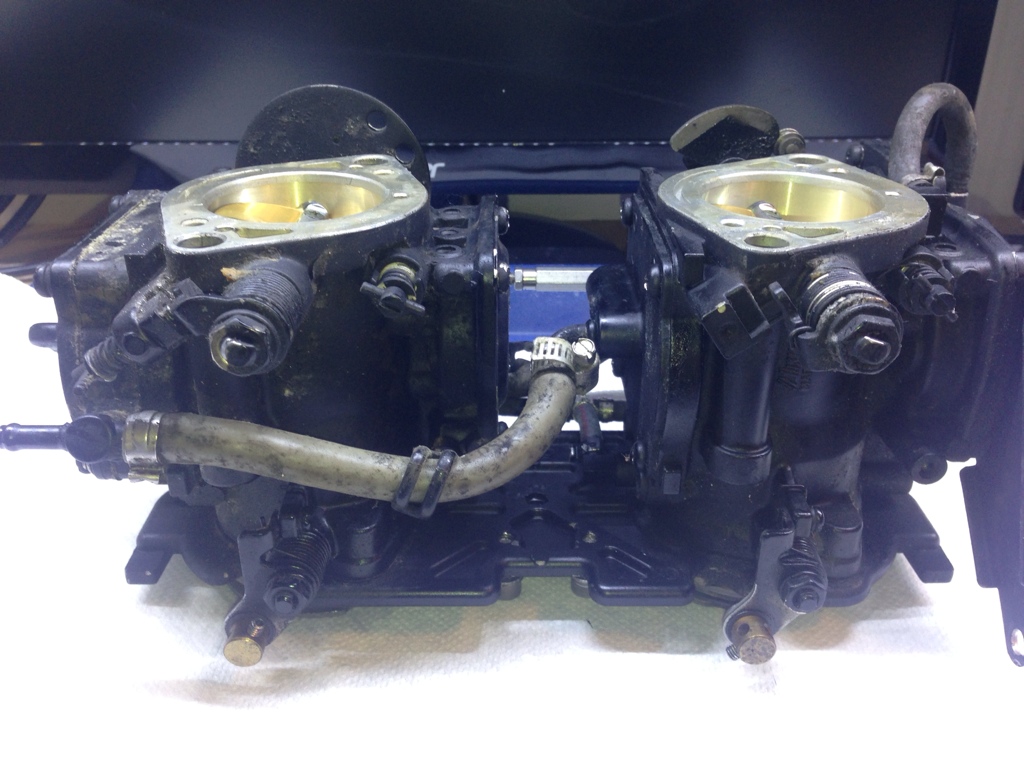
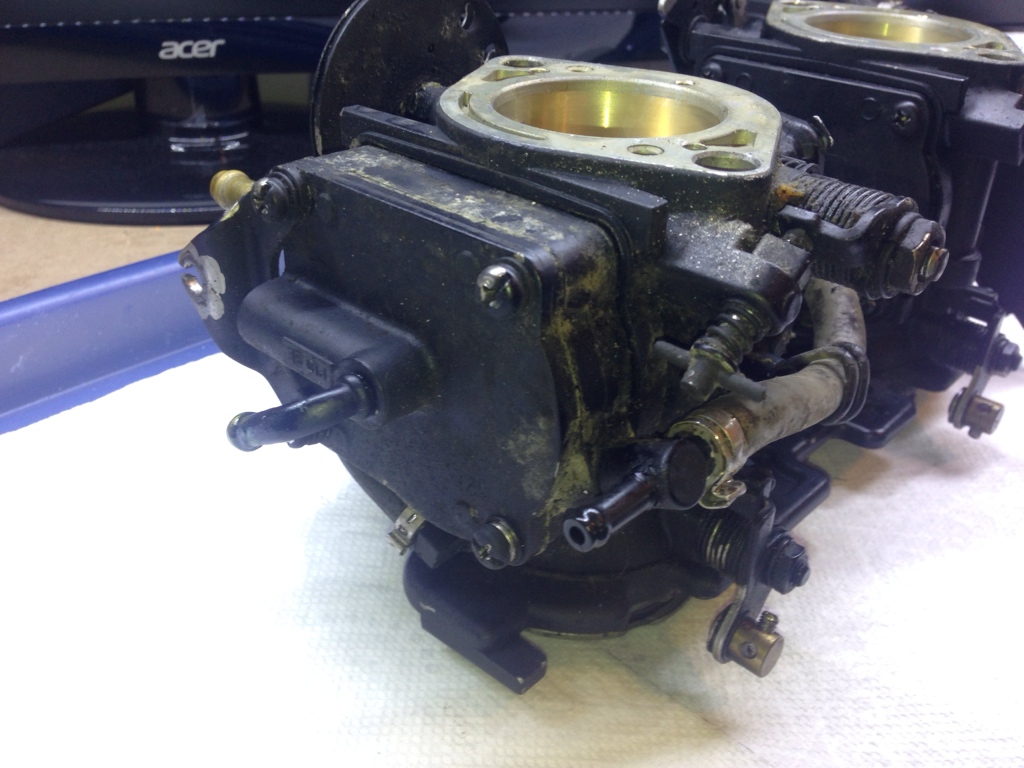
I should start carb rebuild tonight. Where do I start? Start with some super duper pictures from 18 different angles? :-D


Sent from my iPhone using Tapatalk
 
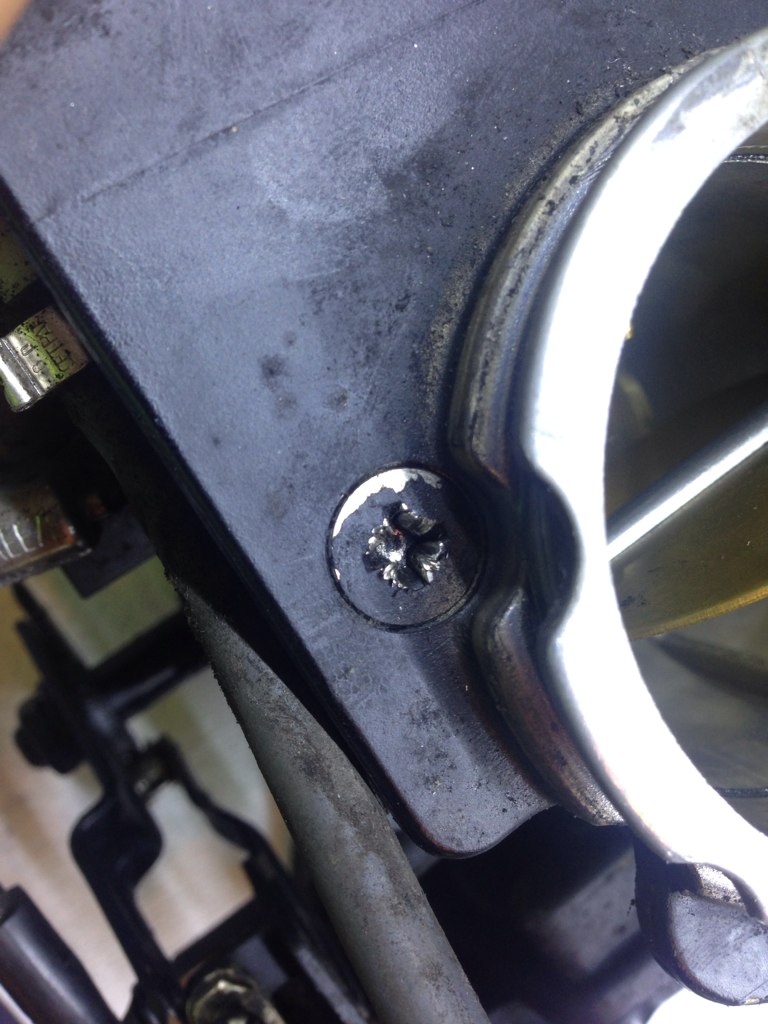
Start with your impact screwdriver, some of those JIS screws are tough to get out of there without stripping the heads.
 
They are in very bad shape already.
Soak with WD40 for 30 minutes?

Sent from my iPhone using Tapatalk
If they won't come apart with a lot of downward pressure and want to strip I would stop right there and get an impact screwdriver tomorrow, they make those screws that won't budge turn right out.

I'll go take a picture of the tool I'm talking about brb
 
I always start by laying out a white cotton bed sheet on the counter top.

Press the Phillips bits hard so the driver doesn't slip and use a good quality hardened #2 bit instead of a dimestore screwdriver.

But they shouldn't be too bad as long as the PPPPPO didn't round out the heads they should come right out.

I did need my impact to separate one of them from the bracket, broke the two #3 countersunk screws lose before removing the carbs. My carbs hadn't been apart yet, so those Philips screws were plenty tight still.

I used anti seize on those screws that thread into the aluminum(bizarre) carb body.
 
Is it powered? I will check if I can get one in the morning.


Sent from my iPhone using Tapatalk
Yea, by a hammer blow to the heel. It instantly breaks the galvanic bond that causes them to strip the heads out and they turn right out of there with a normal screwdriver. I usually end up needing it for most of the screws in a carb or none at all.

I replace all those with stainless hex cap screws in every carb I rebuild. You can just take all the old stripped hardware to the store and match it up with new ones.
 
Status
Not open for further replies.
Back
Top