Sportster-2001-951C-Stock
Well-Known Member
Everybody loves applying sealer on everything despite what the factory procedure calls for.


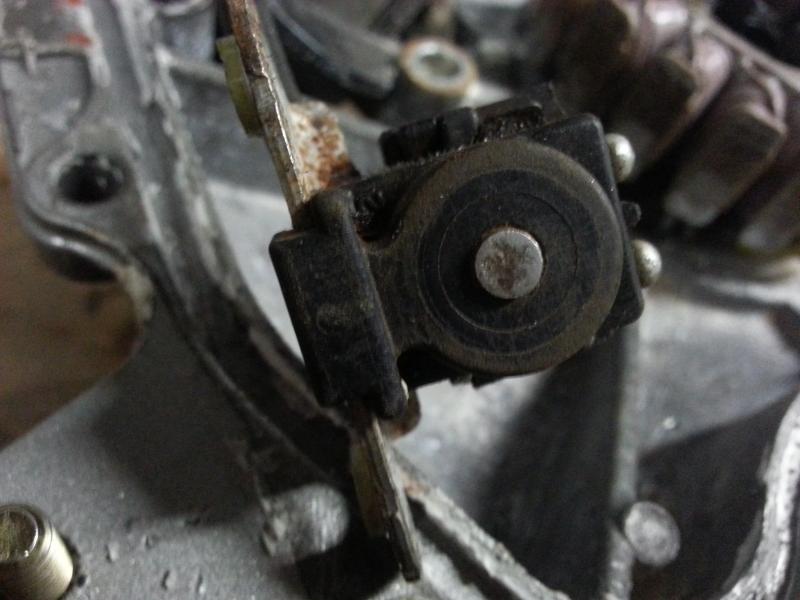


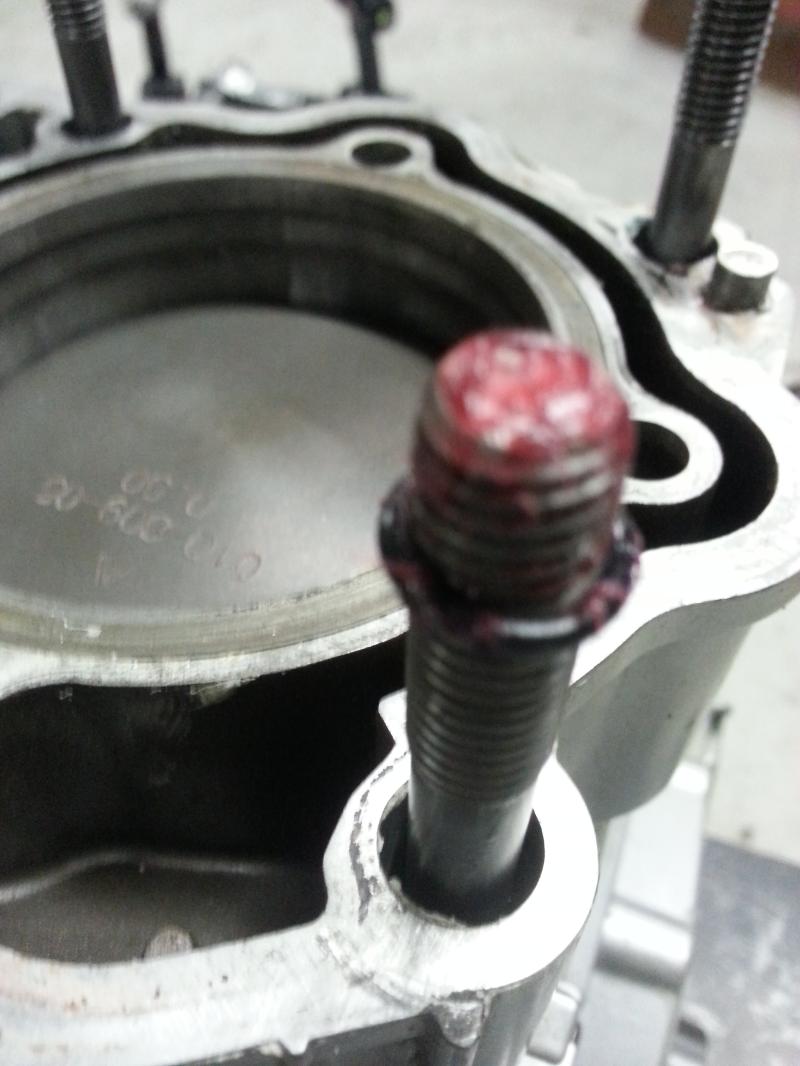
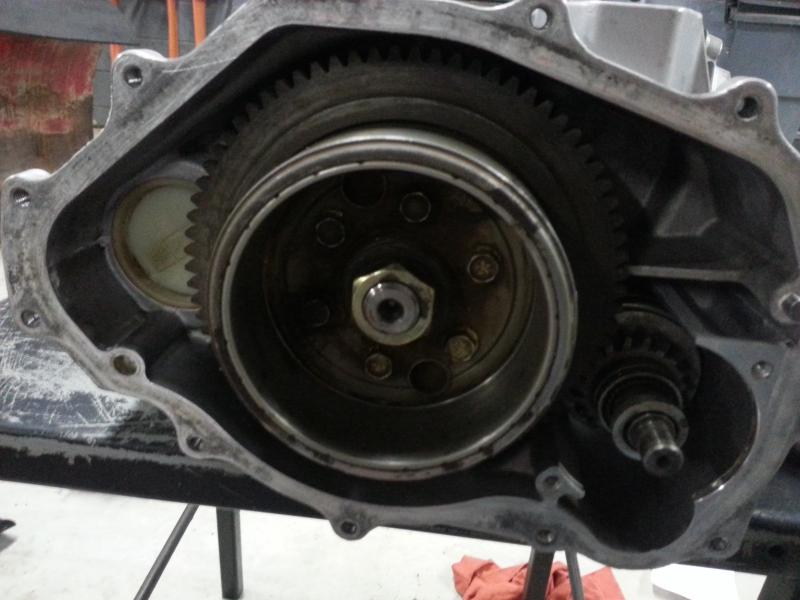
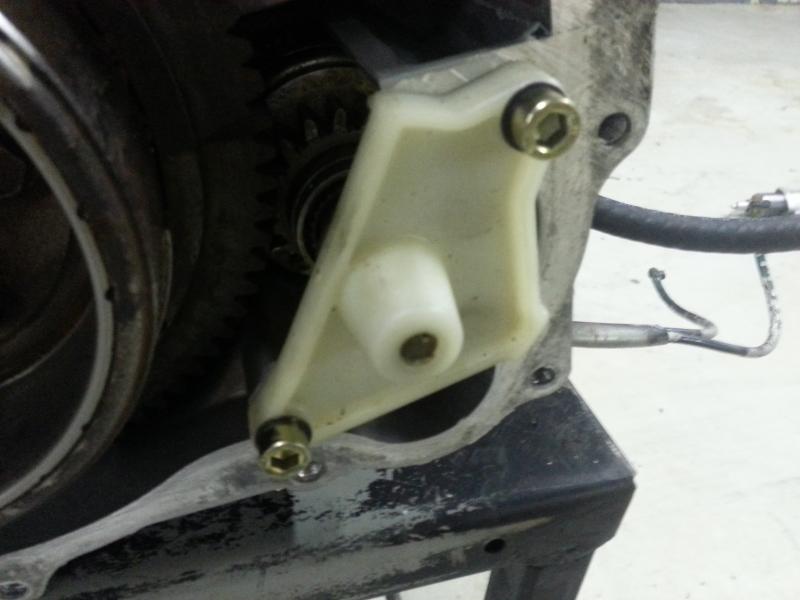

Makes sense. I think some of the people who use a ton of that stuff are probably from the old school car era of where they'd use gasket maker in lieu of the actual gasket that is called for. I've NEVER used just gasket maker. I've used it in CONJUCTION WITH the intended gasket (just a tiny bit to HOLD the gasket in place, especially if you're installing something from a top position where the gasket can fall off or misalign) but NEVER by itself.Prob good that they coated the pickup, that motor wouldnt have lasted 10-15mins. Ive pulled apart some motors that looked similar. They at least used RTV though...not bathtub caulk.
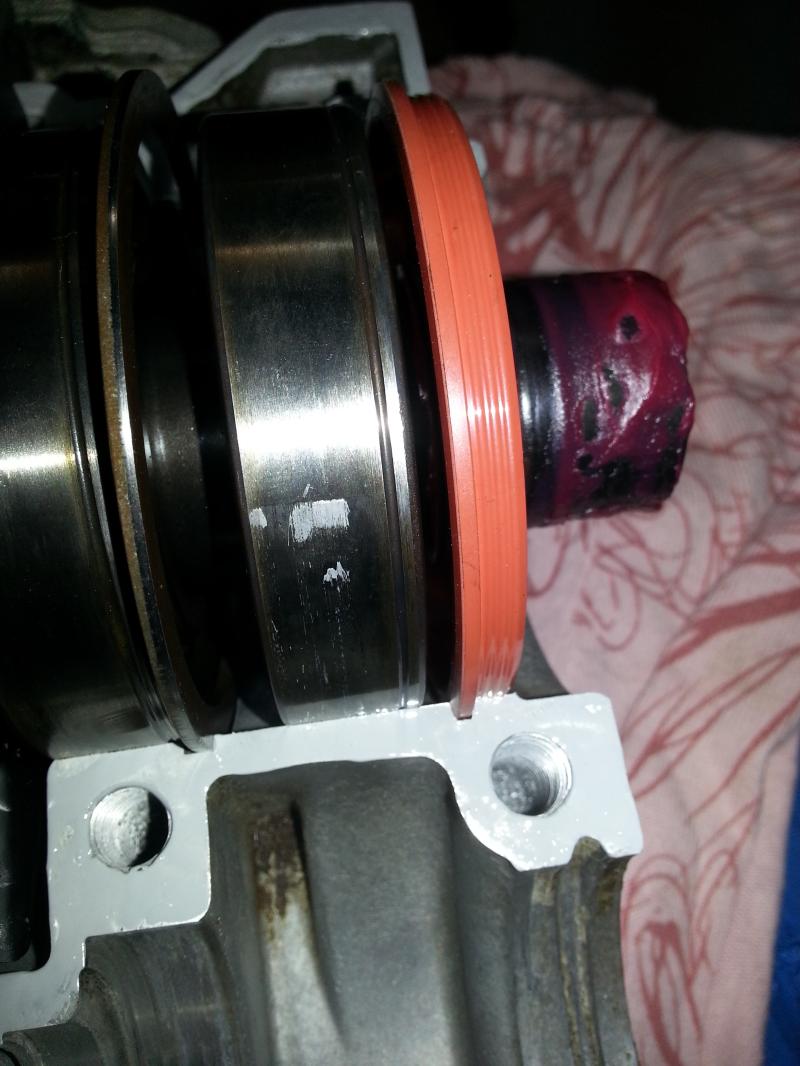
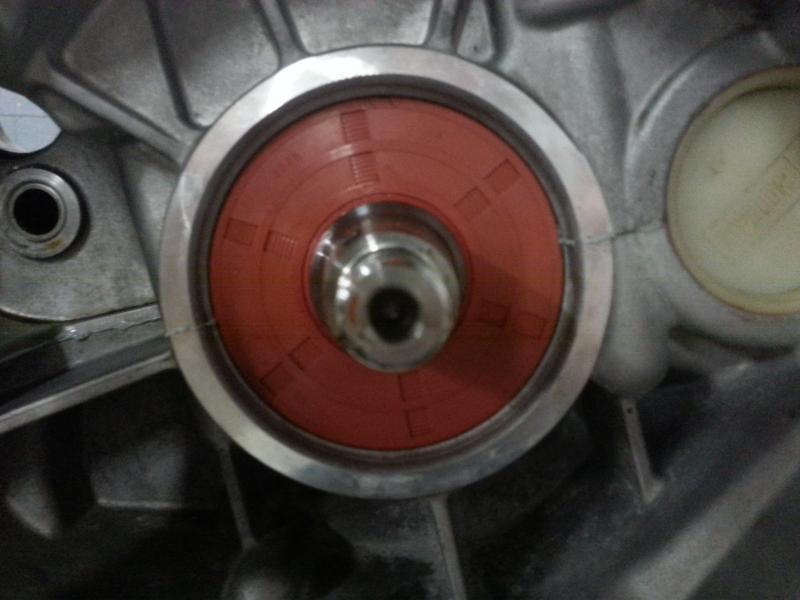
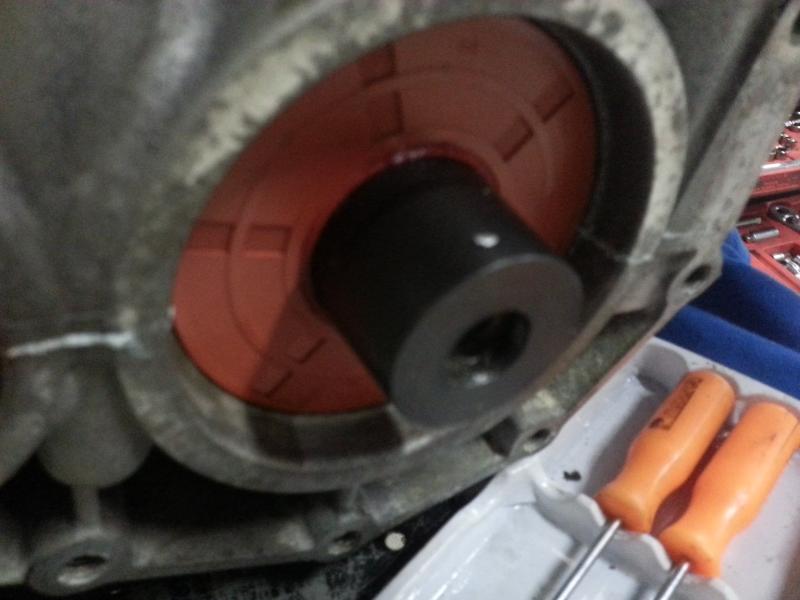
On the front mag cover....obviously this one was done insanely bad, but I do put a light coat of RTV on the seal on the mag cover. Just a little...and a little on the starter when that gets installed. It will keep water from getting inside if it has a moment with a bunch of water in the hull.
Makes sense. I think some of the people who use a ton of that stuff are probably from the old school car era of where they'd use gasket maker in lieu of the actual gasket that is called for. I've NEVER used just gasket maker. I've used it in CONJUCTION WITH the intended gasket (just a tiny bit to HOLD the gasket in place, especially if you're installing something from a top position where the gasket can fall off or misalign) but NEVER by itself.
they do make gasket holder that is made just to hold gaskets in place for assembly, comes in a brush can. i use it all the time for those carb gaskets that love to slide under the engine when installing carbs.