RESTO 96 xp stock restoration

Status
Not open for further replies.
Seadoo's have a gelcoat finish not paint. It is much thicker than paint. It cleans up really nice. Many times we do not need to wet sand the hulls, we just rub them out.

The styrofoam is under the handlebar pad.
 
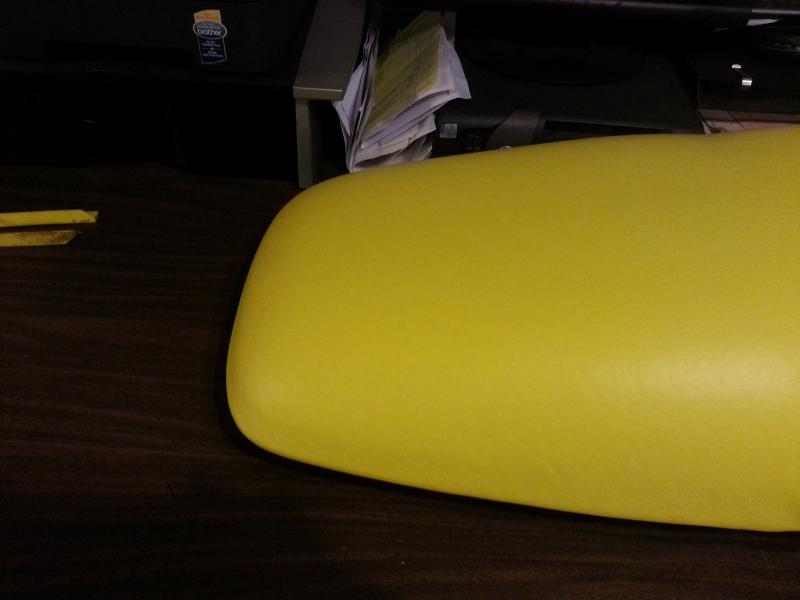
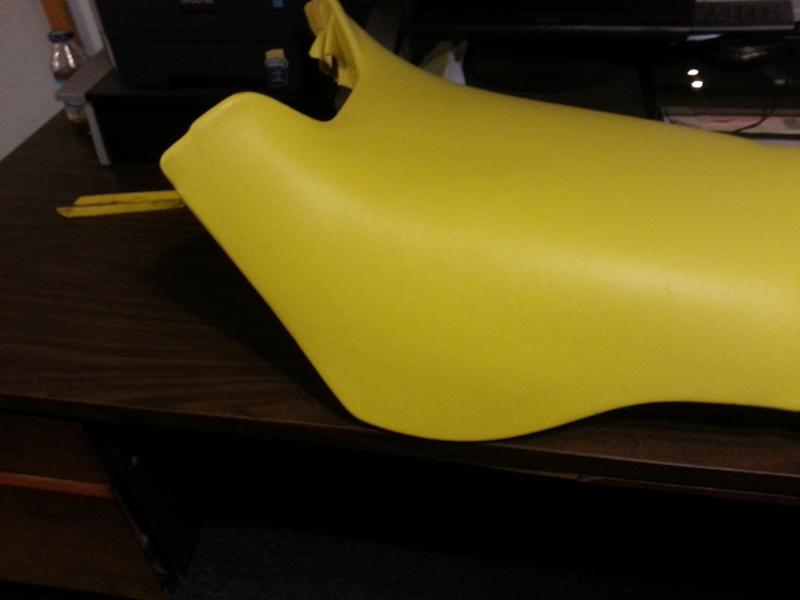
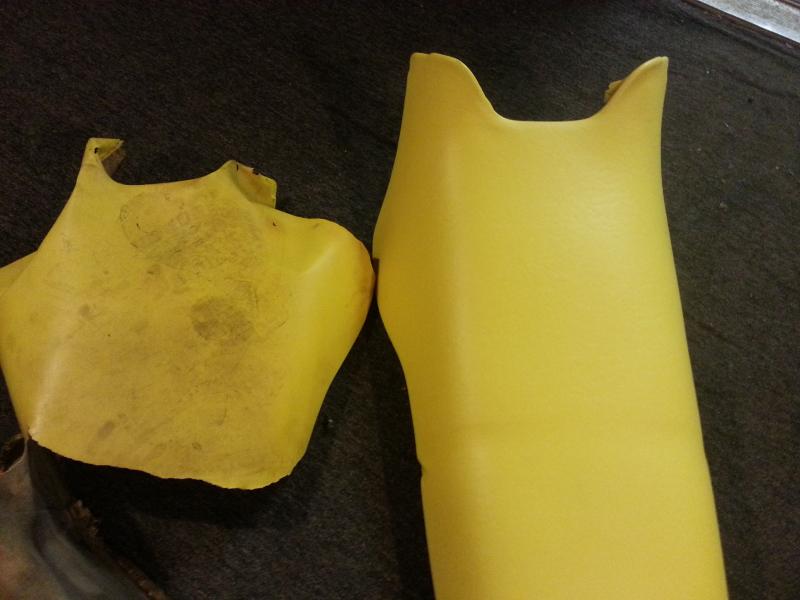
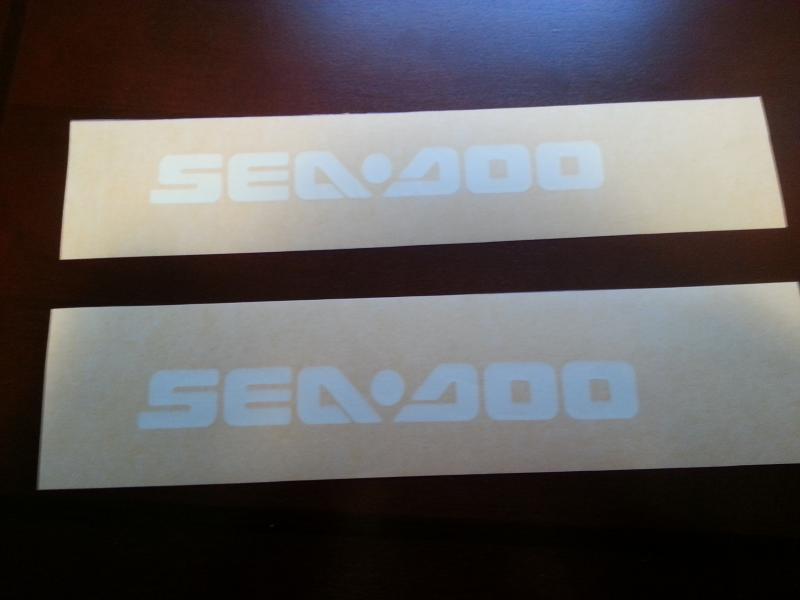
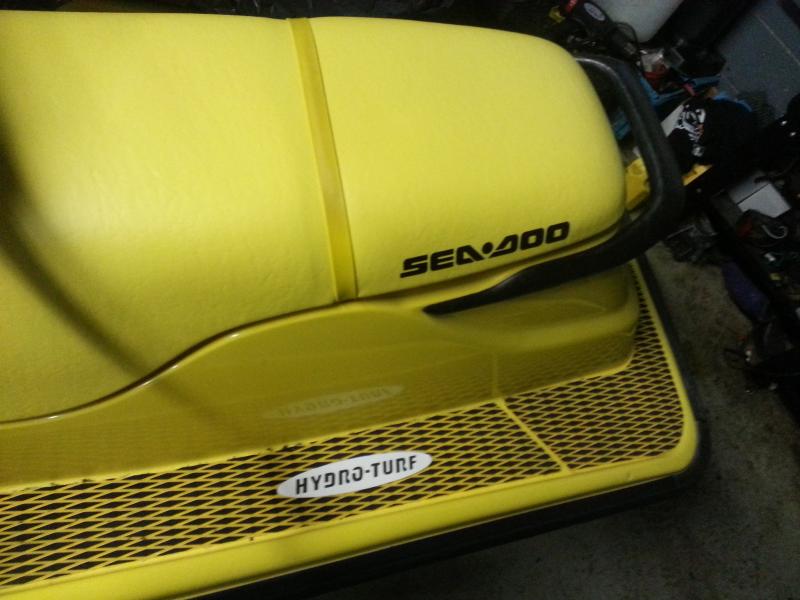
It has been a while since the last update. We have been waiting for the replica decals and trying to find a close replacement vinyl for the seats.

So today the fuel lines were replaced, exhaust bolted down, the wiring was all hooked back up, the rave valves were installed.

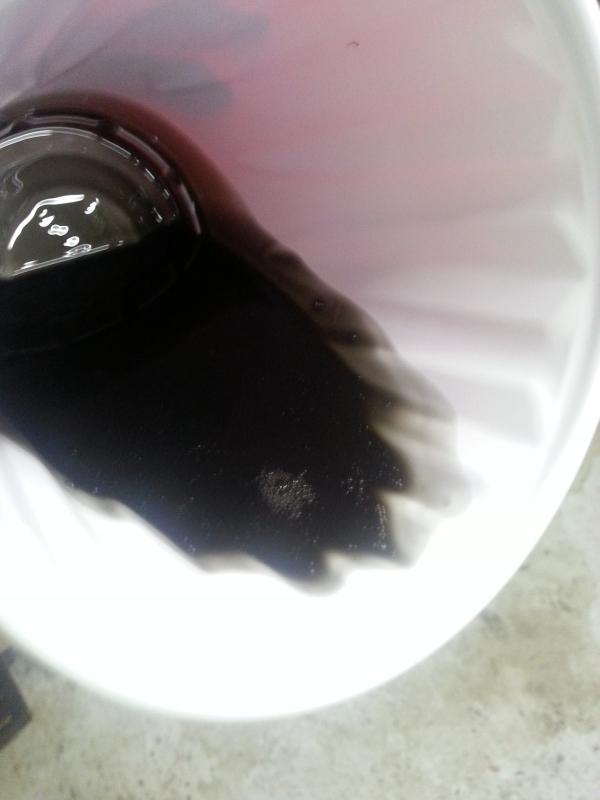
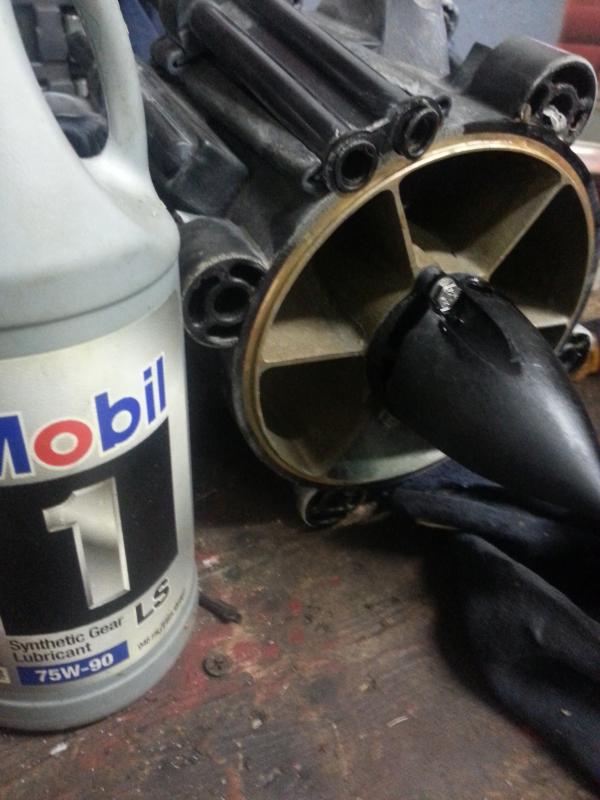
The pump oil was changed. It was very black but no signs of water.

11.jpg


We use mobile 1 75w 90

12.jpg


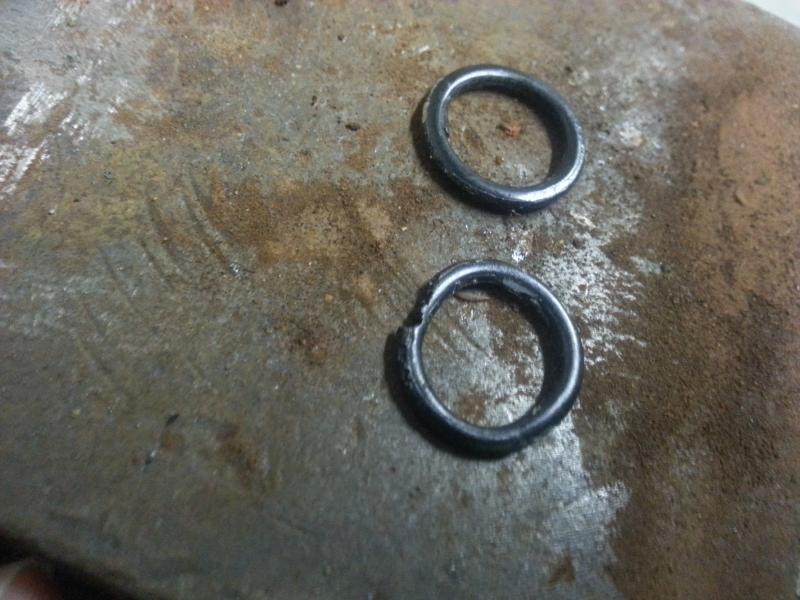
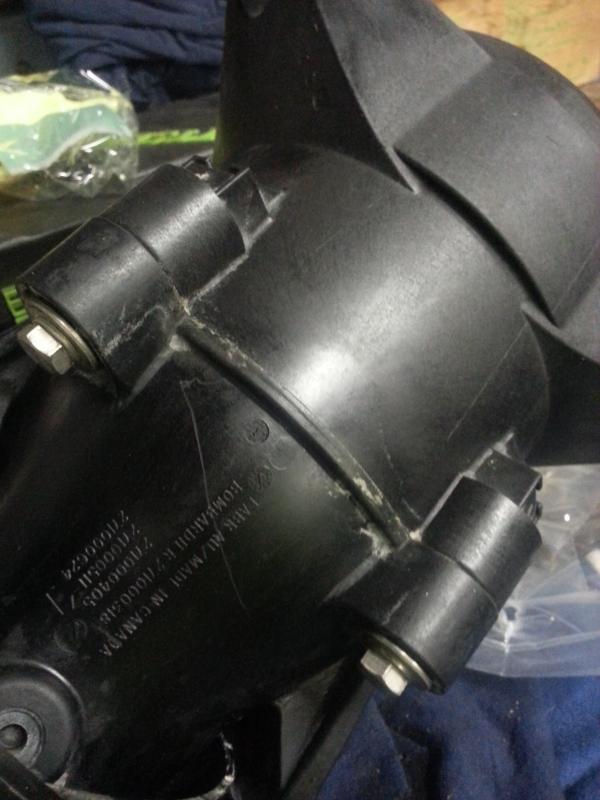
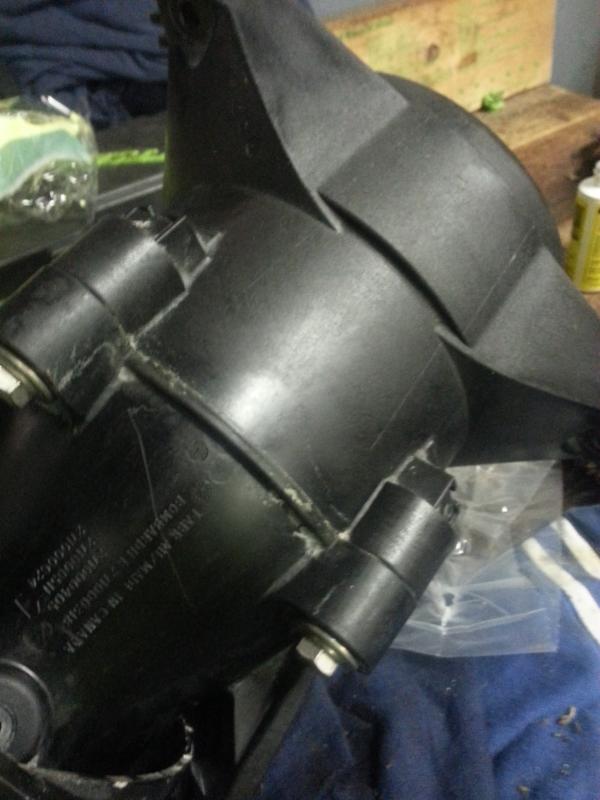
The o rings were hard and 1 had a chunk missing
13.jpg


They were replaced with these. We bought a large oring assortment pack from harbor freight. They are a little thicker but work fine.

14.jpg


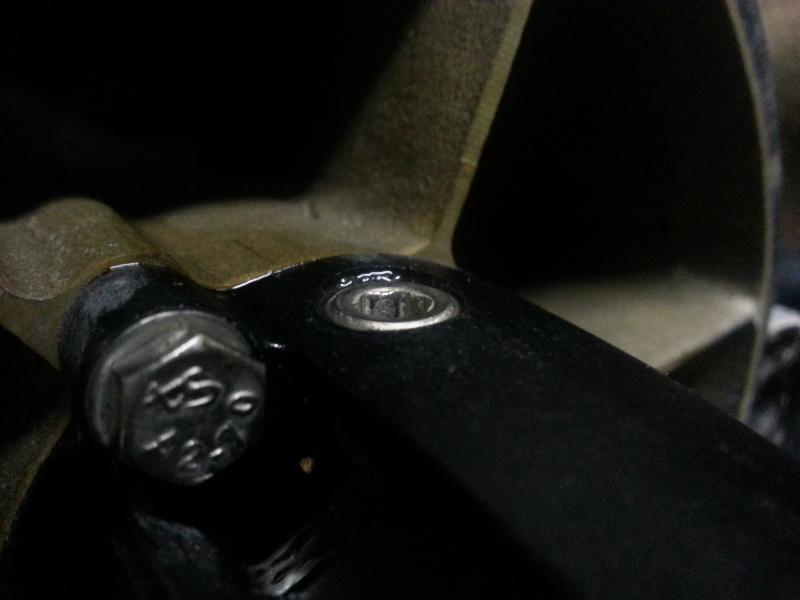
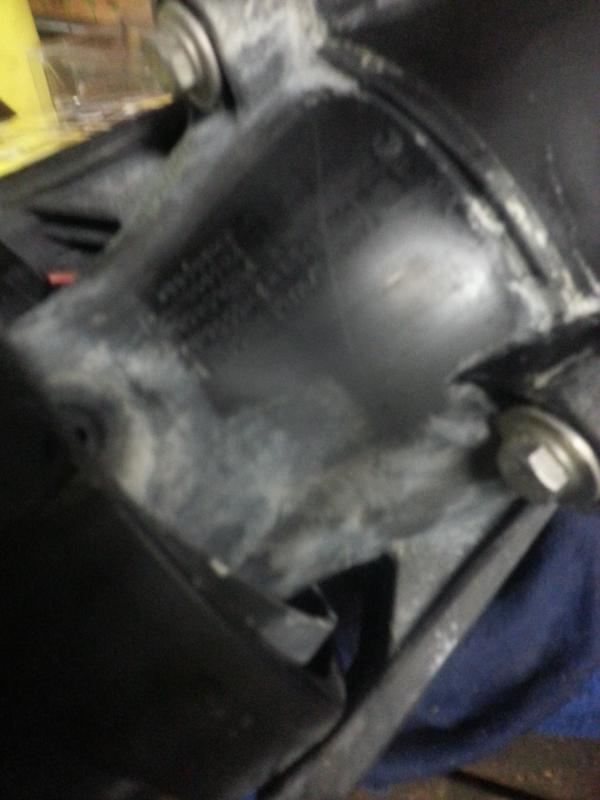
Whoever changed the pump oil last screwed the fill plug down too far. It was almost bottomed out. It only needs to be flush with the housing like this

15.jpg


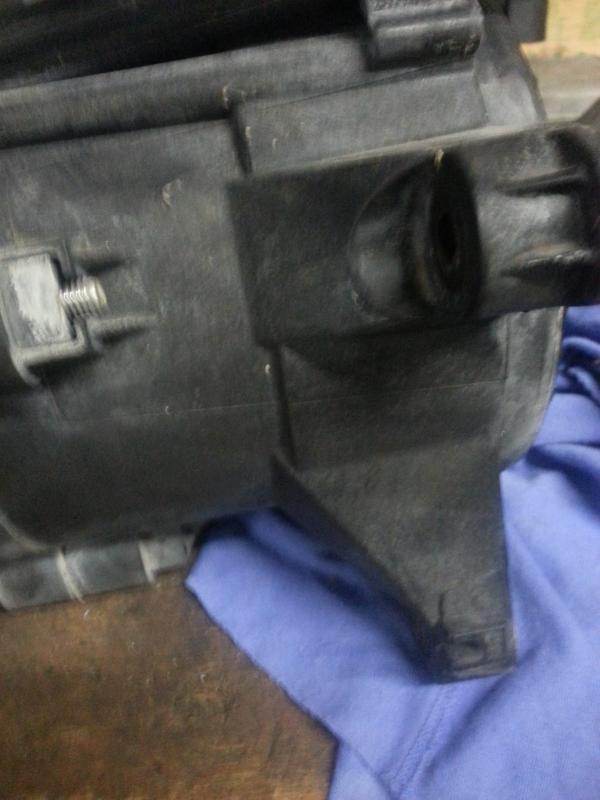
The plastic looked pretty faded so we busted out the wipe new

These pictures are bad but you can make out the fading

16.jpg


17.jpg


Started wiping the center

18.jpg


19.jpg


20.jpg


21.jpg


I need to hit the corners with some acetone and qtips to get all the crud away but as you can see it is a big improvement.
 
Last edited by a moderator:
Wow. I need to use wipe new for the reverse gate on my boat. So that it can have a better back view trailing on the high way.


Sent from my iPhone 6 using Tapatalk
 
Today we wrapped the seat for this.

It started out like this

146.jpg


We ordered key west yellow marine vinyl from yourautotrim.com The grain is different and it is a little lighter but looks pretty good.

We started by taking off the seat latch(2 10mm bolts) then the seat strap(2 5/32 allen screws) then removed the side yellow plastic parts(6 #2 square bit screws). After that we pulled the hundred or so staples to remove the old cover.

We then cleaned the seat strap and plastic parts.

On the plastic parts i just washed the dirt away

Before
147.jpg


After
148.jpg


The strap we scrubbed it with a scotchbrite pad and some orange hand cleaner.
Before
149.jpg


After

150.jpg


Here is the seat, pretty good, no creases
151.jpg


152.jpg


153.jpg


An old cover next to the new one
154.jpg


Seat stencils will go on soon
 
Last edited by a moderator:
Not anymore, we have done this many times. The key is to not try to finish it right away. What I mean by that is people try to put alot of staples in right away. This is how creases are formed. When you put in alot and work around the seat, you will end up with alot of excess matrial all in one area. At that point it is nearly impossible to stretch it because you put staples close togethor all the way around. We flip the seat so the foam is facing down. We put 2-3 staples close to each other on one of the sides about 8 inches from the back of the seat. Then on the exact opposite side, in about the same location we will put in another 3 staples. So at this point you should have a small section that is taught with no creases. Now we will stretch the material and work our way about 8 inches towards the front, putting a staple in every 3-4 inches. Then again go to the other side and repeat. We found it is easier to not go right up one side but to go a few inches up one side and then switch to the other side and repeat. This way any excess material will end up in the corners where it is easier to work out. The reason you only staple every few inches and not close to each other is so when creases and wrinkle form you can strech the material and force it to an area between staples and the staple it down to eliminate the crease. Also we will pull staples back out to get a better grip on the material to stretch out wrinkles. When you get to the corners you will find there will be alot of material. You just need to play with what angles to stretch it. Once you find a good way to stretch it you will just pop in a couple staples and trim the excess off. The hardest part is between the corners where it dips and the seat wraps around the dash decal. There will be alot of tension there and the vinyl will want to fight the staples. They will either blow through the material or it will tear. The way around this is to make relief cuts. Be careful not to cut them to far. It is a learing curve. After you have the cover mostly done there will be little wrinkles, just pull the matrial and staple it to the nearest spot without a staple. After all creases and wrinkles are gone finish it by putting alot of staples all around and trim the extra material off. Try to follow the old staple line when stapling. Oh and do yourself a HUGE favor and buy an air stapler from hf for $20. My advise would be buy a sponge and cut a peice of wood the same shape and then place the sponge on the wood and try to wrap vinyl around that. This will give you an idea of how the material stretches and how to deal with corners.
 
thanks for taking the time and the tips, i may give it a shot one day as mine is good but the vinyl is hard.
 
We made our first set of stencils and used them on the seat for this.
277.jpg


278.jpg


280.jpg


285.jpg


286.jpg


287.jpg


All we need to finish this is the decals from pwcgraphics. I talked to Mike and he said he is a little behind but he said the artwork is coming along nicely and he will let me know when he is done with them.


If you want more details on the stencils I have a thread on it.

http://www.seadooforum.com/showthre...ts-Step-by-step-Pictorial&p=445828#post445828


We can now make and sell them. Just pm us if you need some. We will send 3 stencils just incase you mess one up.
 
Last edited by a moderator:
JSG- how many yards of material do you order for one seat? I need to redo two seats, but want to be sure I order enough.
 
We have not really done much to this lately, we are waiting on the graphics. Today we were buttoning up a 97 xp and we found these laying around.

51.jpg


So we put them in this 96xp
52.jpg


53.jpg


$10 really make a huge difference. We change the start stop button on all of them. I think we should start doing the vts buttons as well.
 
Today I was sent an email from Mike at pwcgraphics.com, the decals are ready

366.jpg


So I placed my order and they should be here very soon. He said they will take a few days to do.
He said he prints them, lets them dry a day, then applies a clear film.

Time to start getting your orders in
 
Status
Not open for further replies.
Back
Top