• This site contains eBay affiliate links for which Sea-Doo Forum may be compensated.

Step by Step Guide on removing your upholstery and reupholstering your seats!

The horseshoe section of the spotter seat has shorter staples from the factory. Unless you have a selection of SS staple lengths, I would make sure the staples are put in at a slight angle to prevent poking through the foam when sat on.

Also as I have found, even though I thought everything was dry after being off the boat for a week, once I stripped the old vinyl I found the cushions were still damp. Plan ahead to allow time for these to fully dry if this is a weekend project.. [emoji6]
 
Ok guys...I pulled my seats off last year and are trying to reinstall them now. Yes, I forgot half of what they looked like coming off. My horseshoe cushions only have 1 dart left in them....what/how do I replace the others and put back in? Thanks in advance. 1998 sportster 1800
 
16.jpg
 
I have the bolts for the top of the armrests but don't remember what goes on the bottom side and how to get to the back one
 
One more picture.

How did you get the seat bottoms back on....the part where the white is in the middle and the color piece is like a horseshoe. It's been awhile since I took them off and I thought I kept the screws together but I don't have any extras and also no way to get to the bottoms....any help is appreciated.
 
I thought I would post photos of re skinning the bottom seat. I've never done upholstery before and I have to say this was very challenging.


the biggest problem was getting staples to hold the inner horseshoe area. they either pull back out of the hard plastic shell or they have a tendency to pull through vinyl. my solution was to cut 1.5" wide strips off the covering from the old seat, fold it in half, and then staple through that.


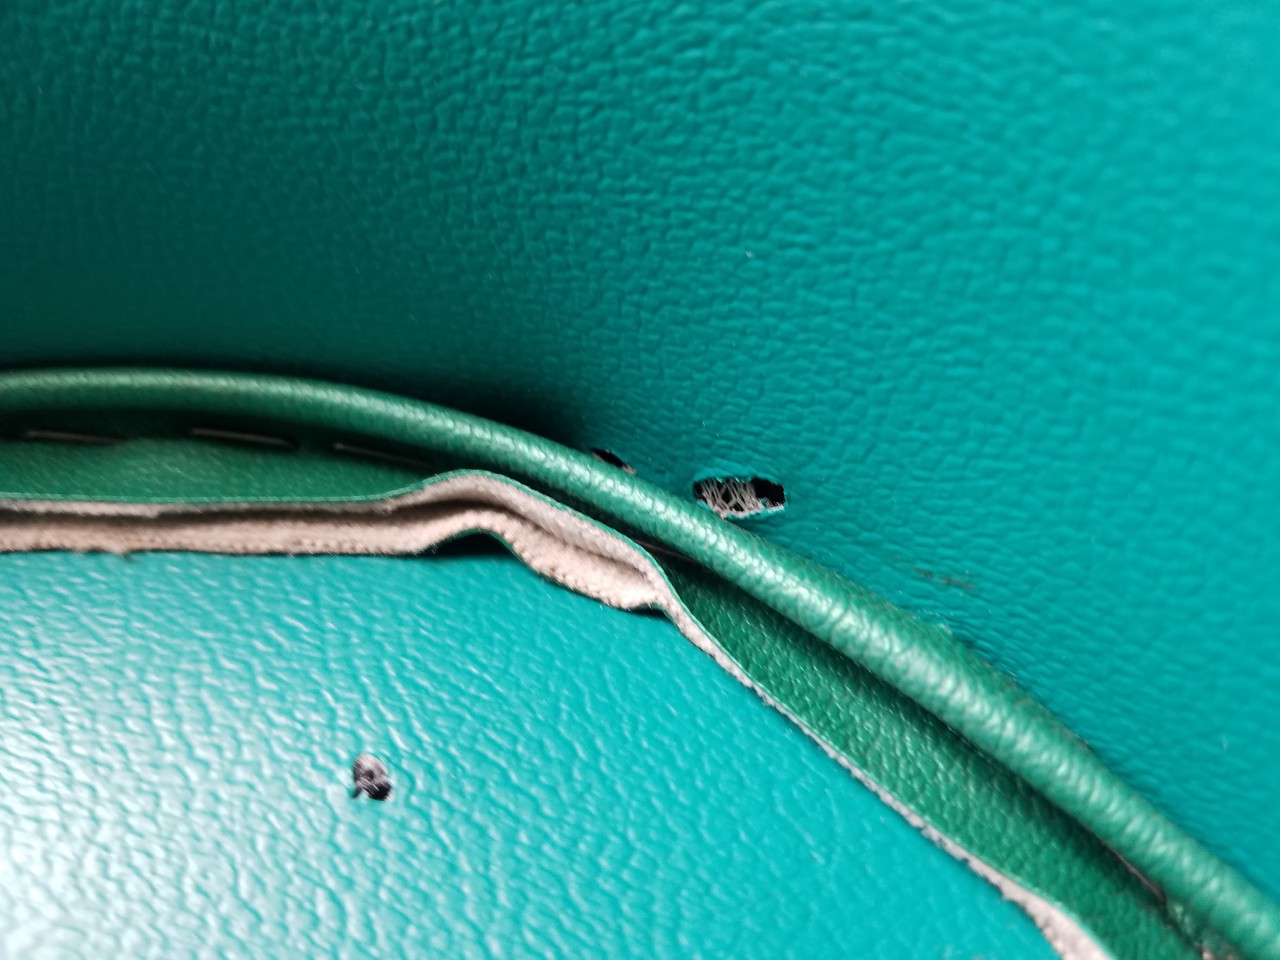
here is a pic of one of the places where the staple pulled through before I started using the vinyl strips. needless to say the cussing that ensued would make a sailor blush. I found that every time I shot in a staple, I had to hold it in while turning the seat over to bend over the protruding staple to keep it from pulling back out. in some of the photos below, you can see all the staples in the horseshoe are bent over. the little round hole on the left side of this pic was intentional. this is the locator hole for my seat inserts. I poked a scratch awl through.


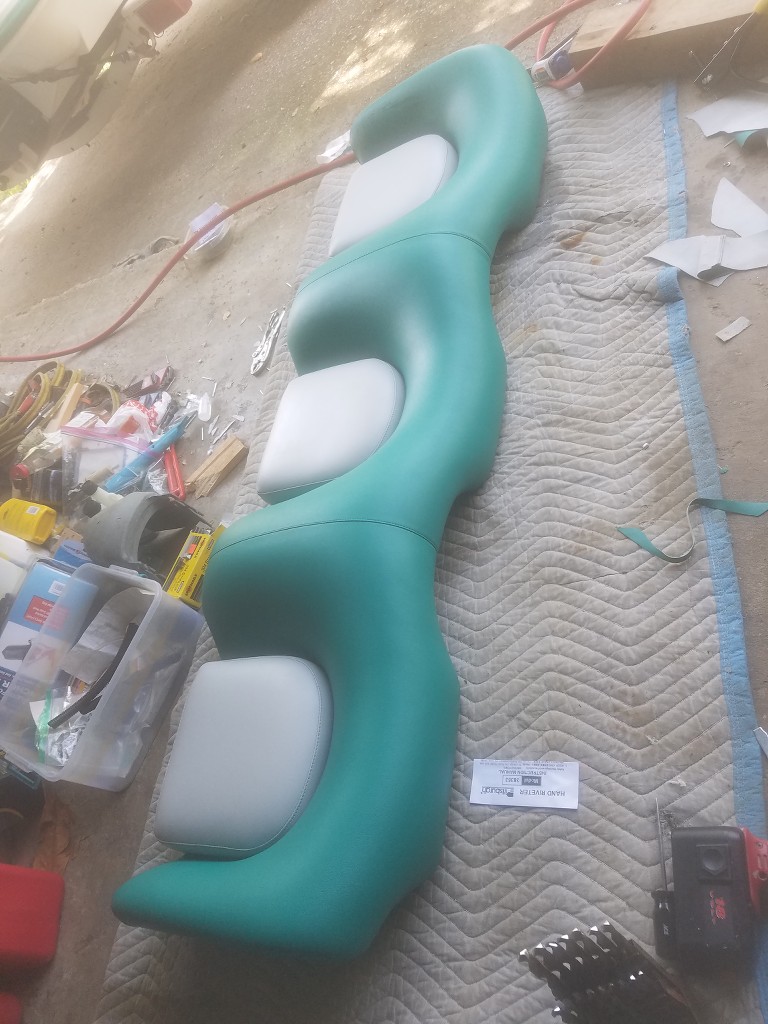
this is the finished product. well...almost.


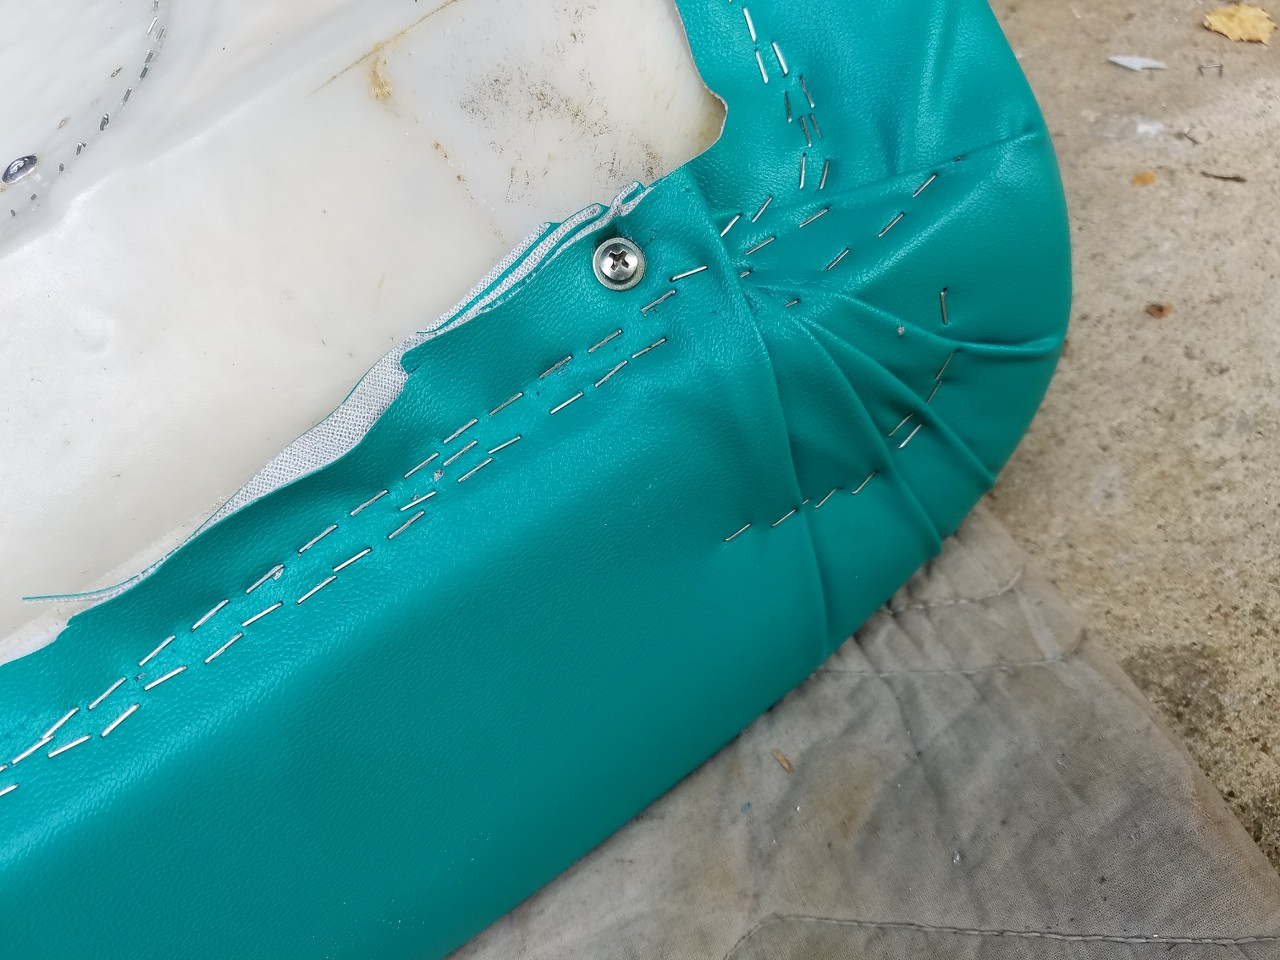
there were a coupIe of modifications. i added a #8 screw with washer in each corner on the back side where the fabric is bunched up. I didn't want to count on the stapes to hold it together in those areas.


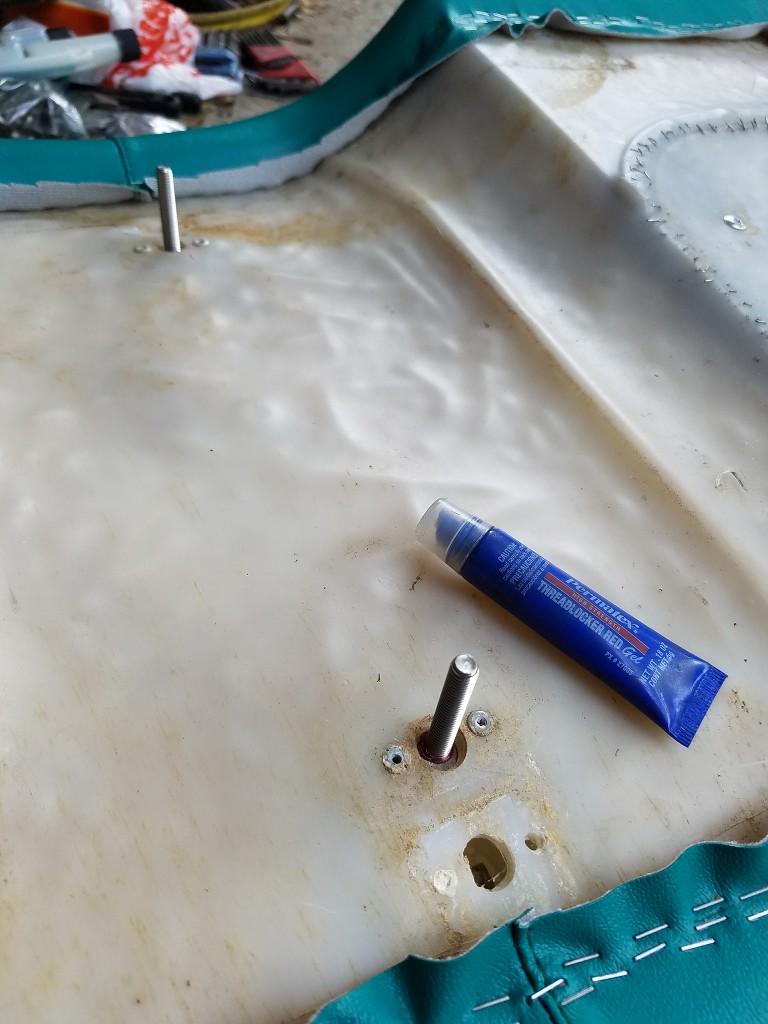
I took some steps to make this seat a LOT easier to install and remove. I added studs! I went to the hardware store and bought 4 new metric stainless bolts about 2" long. I cut off the heads with my band saw, I then fouled the threads about 1/4" from the end. finally, I used red Locktite to hold the studs from spinning out.

there are some folks above that mentioned using 1/4" stainless bolts in lieu of 3/16" pop rivets. I looked at this closely but I just don't see how this is a good idea. you can buy a box of 100 long aluminum pop rivets from harbor freight for about 5 bucks. you can also buy a cheap pop rivet gun for the same price. yes, the shank is steel and it probably will rust at some point. you can go to the boat store and buy stainless shank rivets if this bothers you.

the reason for the rivet is that it will be easy for the next person who re-upholsters this seat to take it back apart with a drill. if the stainless bolts get corroded, there is no way to get to the other side of the fastener. just doesn't seem like a good idea.....


I went with wing nuts and washers. I put tacky grease on the washers to hold them up on the inside of the hull while I install the wing nut. it worked easy as pie.


and finally, here is the bottom installed.
 
Last edited:
I re-upholstered the top half of my back seat yesterday. pretty happy with how it turned out. I sent pics to Keith and he was ecstatic.


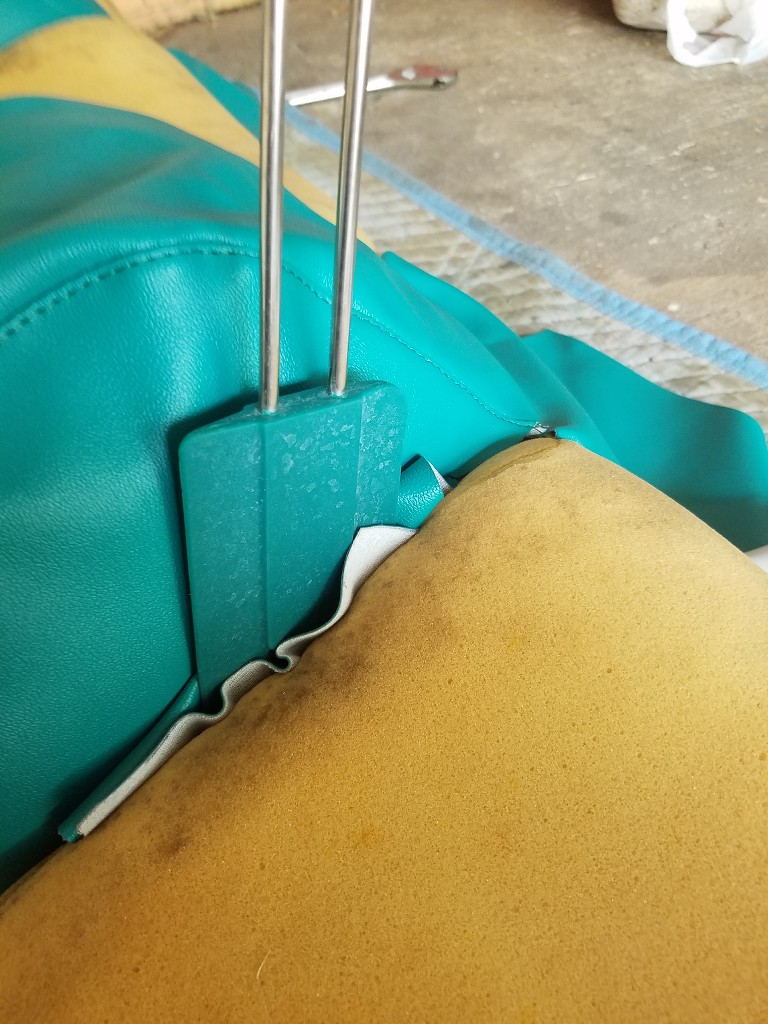
if you have done this re-upholstery job or have the kit, you will know what I'm talking about here. you need to push these fabric tabs through a slot to get them through to the back of the seat. I found the best product for the job was this silicone kitchen spatula. sometimes the tab will get jammed behind the plastic. just pull it back out and try again.


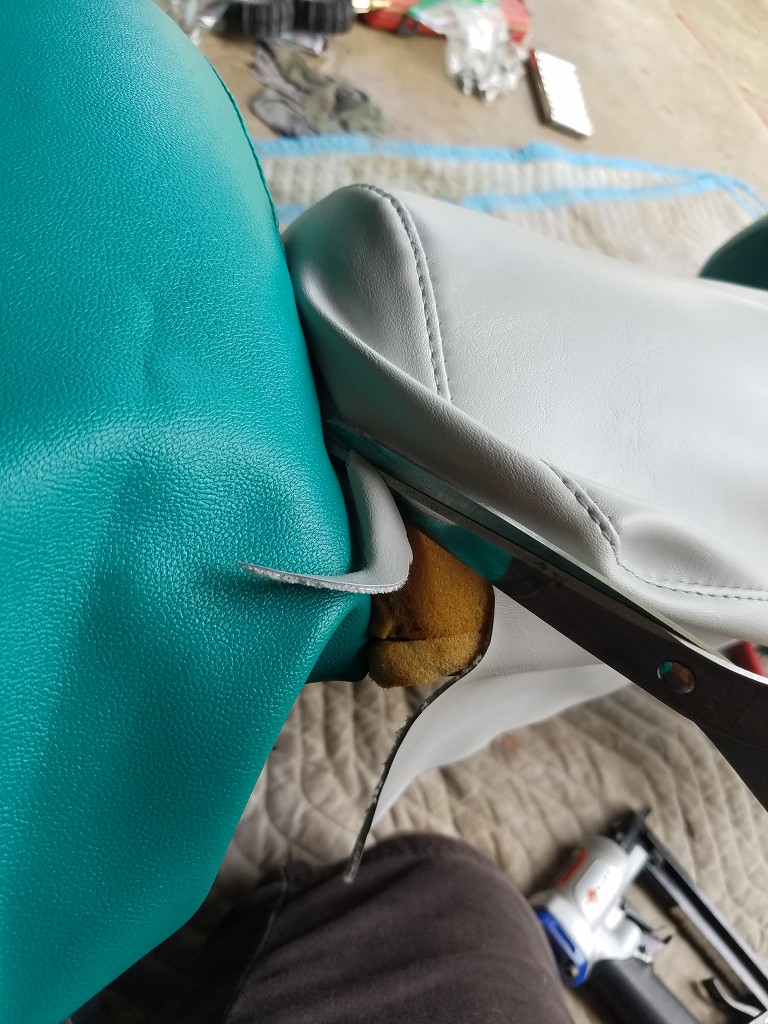
I found that there was a little bit too much fabric in this area. I had to trim a little off so that it would pull down properly. be careful and go slow here. you don't want to take off too much or it will show.


I suggest pulling all the pieces over the foam before you staple anything. try to get them situated as best you can. in order to install this upholstery kit properly, you WILL need a heat gun. I used it (A LOT) in the horseshoe area of the seat bottom and I used it on the two green "boobs" on the seat back. the temperature here in east Texas is well over 90 degrees right now and its just not enough to get the wrinkles out by itself.


this is a pic of the rear side after completion. I trimmed up the excess and I think it looks pretty professional. I purchased that nail gun new specifically for this job. I have to say it is a dirty piece of crap. If you have the opportunity to buy another brand, I would do so. I had to oil it constantly to keep it from misfiring staples. once the magazine gets down to about 15 or 20, it shoots blanks, apparently because the spring isn't strong enough to push the staples into the hammer. the hammer will jam in the downward position after about 100 staples or so. I had to keep a can of silicone spray handy to lube the hammer area from inside the magazine every time I reloaded staples. total Chinese crap I say!

speaking of staples, the only box of 3/8" stainless staples I could find was 5000 pieces. as a result, I double row stapled everything. since I don't have an old Korean lady as my sweatshop boss yelling things like: "you use too many staple!", I figured I would go hog wild. I don't know how this vinyl compares to the factory material, but I assume it is perhaps not as robust. it seemed like a good idea to use extra fasteners since I have 3x more than I need anyway. better safe than sorry.


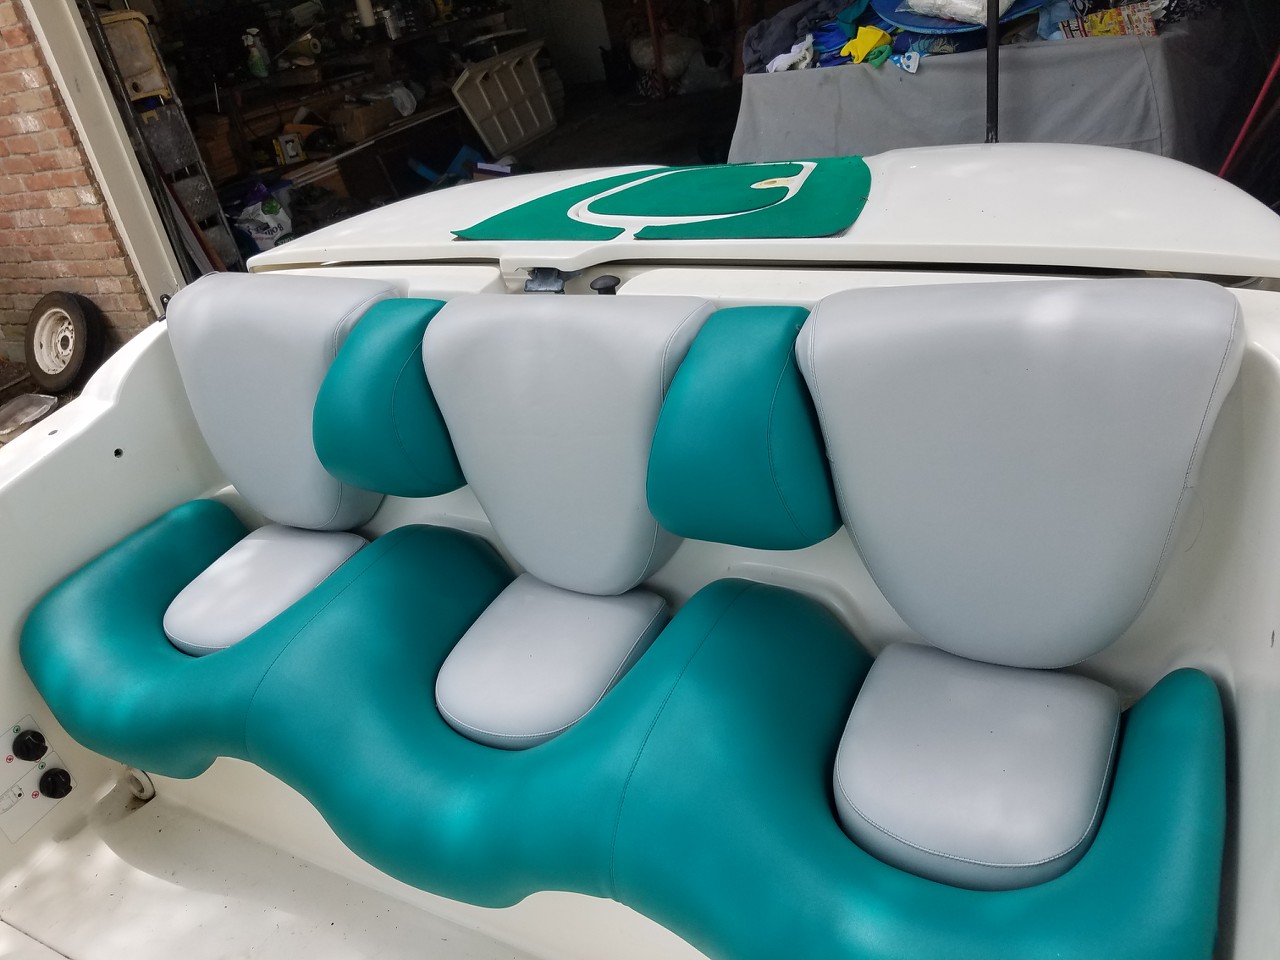
and finally, here it is installed with the seat bottom. I am pretty happy with how it looks. as I mentioned above, I had never done upholstery work before, but I am very mechanically inclined, persistent, and like to put a lot of effort into doing a good job.

a few notes about the kit: it was not easy to install. on a scale of 10, I would say the difficulty level is probably about 8+. Keith did a really good job making the parts. I can tell he put tons of thought into it and probably has re-engineered the pieces many times. however, the factory fabric was pre shaped in some sort of heat press. particularly the green vinyl for the seat bottom. without investing thousands of dollars in equipment, there is just no way to reproduce this perfectly. the truth is, you can have results that look like mine but its going to take a LOT of hard work. if you don't think you have the fortitude to make it look right, I would still buy the kit, but take it to an upholstery shop for installation.
 
I hope these are helpful. I didn't take any pics during the removal as it was just me and didn't have a free hand to snap any pics. These are views of the bolt locations and seat backs/benches and anchoring locations. This is the tear down of my 1997 Challenger.

Rear seat back:
(4) 10mm bolts. Remove bolt above MPEM and near the top right corner of the oil tank (pic is upside down for some reason) from inside the engine compt.
View attachment 30050
View attachment 30051
Remove the port side cup holder to access the armrest bolt. You must reach into the hole and remove the bolt that is screwed up into the armrest (approx 13.25 inches from the edge of the hole)
View attachment 30052
Remove the throttle controls and do the same for the starboard side bolt (approx 10 inches from the edge of the opening)
View attachment 30053


How did you reach to the one that's on the cupholder side?
 
How did you reach to the one that's on the cupholder side?

It certainly wasn't easy, but if I recall I used my left arm and stood outside the boat. You need to reach in up to your elbow and bend your arm up to reach the nut. I used a stubby ratchet that I had put a lanyard onto and around my wrist. If your forearm is too large, get someone else to help. You can't reach it from inside the engine compartment.

Once the nut was loose, I finished removing it with just my fingers so that I didn't drop it out of the socket.

Hope that helps.
 
^I pretty much did it the same way. if you are a really big guy, I suggest having your kid or wife reach in there. it was a very tight squeeze to get my arm in the hole. I had to work it back out by pressing on my skin a bit in one spot and pulling that part back out then moving to another area of my arm and doing the same thing until I get to a part of my arm that was thin enough to slide through.
 
I'm in the middle of this project and it is pretty difficult. My issue is the disintegrating foam inserts and the hassle of rebuilding them. Does anyone know what foam density is used in the molded and or flat portions of the cushions? I'm going to try a pourable foam to fill in the missing chunks and want a similar density. The stuff comes in 3 to 25 pounds per cubic foot density.....
 
I guess i'll answer my own question. I went for a 3 pounds per cubic foot foam since that what some descriptions of High density marine foam indicate.

Smooth-On Flex Foam-It! 3 Pourable Flexible Foam Trial Unit 692621528041 | eBay

The problem is that seadoo used some sort of molded foam process so if you try to repair it with sheet foam, it doesnt match up well. The seadoo stuff is pretty rubbery and was more firm than the 3# stuff I tried. I used all white fabric which makes the quality of the underlying foam critical. If its not all smooth, it looks like cellulite in the cushions. Almost every piece of foam I had needed repair so this made my project a true nightmare. The end result is about a 7 out of ten but the difficulty level was about 9 out of ten, so sadly I can't recommend this project to others. (unless your foam is nearly perfect)

Boat turned out good and I guess I learned a lot but if you get an estimate for less than $2000 to redo a thrashed 18 foot Seadoo, Its probably a fair price...
 
This site contains eBay affiliate links for which Sea-Doo Forum may be compensated.
Thank you for this terrific thread. Very educational for a newcomer that just purchased a 2001 Sportster. I have just one rear seat cushion I want to repair and I think it may be too much for me to do myself.
 
I'm going to start putting mine together Friday when the covers come in the mail.
 

Attachments

  • DSCN9986.JPG
    DSCN9986.JPG
    441.6 KB · Views: 75
  • DSCN9987.JPG
    DSCN9987.JPG
    479.6 KB · Views: 75
  • DSCN9989.JPG
    DSCN9989.JPG
    917.7 KB · Views: 77
  • DSCN9990.JPG
    DSCN9990.JPG
    832.2 KB · Views: 79
  • DSCN9997.JPG
    DSCN9997.JPG
    906.1 KB · Views: 79
  • DSCN9999.JPG
    DSCN9999.JPG
    841.5 KB · Views: 74
yikes. someone did a very amateurish job on your seats previously. please post pics of your results. certainly, they will be much better than this.

your foam seems to have a lot of damage from before the first recover. if you expect good results, you really need to repair that before you reskin these.

also, i sure hope you have a heat gun.
 
Well ladies and gentleman, since I love this forum and I get so much help on here, I wanted to contribute a picture by picture tutorial and explanation on how to remove your seats and reupholstering them. If someone else had this write up, oops, here is another one.

Getting to the bolts under the seats behind the gasoline tank is torturous, also, I put a fan to get air in there, I believe its dangerous working so many hours in the engine bay and only breathing gasoline.

And questions please ask :)

Here it goes:
First, the bolts are connected here:

rearseats.jpg


Ok there is a bolt under the Starboard side (right hand side) of the boat under the control lever to the rear, is easy to find...


upholstery06.jpg


Here is the first bolt right on top of the gasoline tank
upholstery07.jpg


You have to remove the cup holder to get to the bolt (port side - left hand side)
upholstery08.jpg

upholstery09.jpg

upholstery10.jpg


I think Im pretty smart, I attached a electrical wire to my socket wrench so it doesnt fall inside the hull (im always dropping things, it is very convenient in case you drop your socket wrench), I found a old ac adapter that I didnt need anymore and used that wire.

Also when you are removing the bolts be very careful you can drop your bolts under the hull.
upholstery13.jpg

upholstery15.jpg

upholstery16.jpg

upholstery17.jpg

upholstery18.jpg

upholstery19.jpg

upholstery22.jpg

upholstery23.jpg


I recommend a fan blowing air in there I was getting dizzy its hard to be there for so long breathing fumes

upholstery24.jpg

upholstery25.jpg

upholstery26.jpg

upholstery27.jpg

upholstery28.jpg


Ok this is the first round of pictures, next will be applying my new upholstery!
I think Im being a little bit of service! :)
G’day,
I’m in Australia and looking at purchasing a used twin engine sportster. The engines apparently had the bottom ends rebuilt however, the carby’s and exhausts require to be refitted along with the nozzles and associated cables etc. I’m skilled enough to complete all of the mechanical requirements no problem. The upholstery is totally destroyed in every position. There is nothing left of the vinyl and foam only the nylon frames used to build the seats. My question is can I purchase the complete new sets of seats OEM parts. I’ve tried searching online from the manufacturer however, that’s seems do be a dead end. Can anyone provide me some guidance and advice as to how I might be able to purchase new or even recovered seats. From what I know it’s a 1997 model twin engine two stroke version.
I can pick the boat up as is for $3000. If I can complete the mechanical work and replace the seats I’ll have a fun little boat worth much more than it cost me but I don’t want to spend a penny if I can’t purchase the OEM seats as it will look like a pile of garbage with the correct seats fitted.
Any help will be greatly appreciated
Kind Regards
Blu Turner
 
Just wondering if everyone used “kits” as in already shaped vinyl or if anyone just shaped their own water-proof material and attempted going that route? If so, any pics of how that came out?
 
Well ladies and gentleman, since I love this forum and I get so much help on here, I wanted to contribute a picture by picture tutorial and explanation on how to remove your seats and reupholstering them. If someone else had this write up, oops, here is another one.

Getting to the bolts under the seats behind the gasoline tank is torturous, also, I put a fan to get air in there, I believe its dangerous working so many hours in the engine bay and only breathing gasoline.

And questions please ask :)

Here it goes:
First, the bolts are connected here:

rearseats.jpg


Ok there is a bolt under the Starboard side (right hand side) of the boat under the control lever to the rear, is easy to find...


upholstery06.jpg


Here is the first bolt right on top of the gasoline tank
upholstery07.jpg


You have to remove the cup holder to get to the bolt (port side - left hand side)
upholstery08.jpg

upholstery09.jpg

upholstery10.jpg


I think Im pretty smart, I attached a electrical wire to my socket wrench so it doesnt fall inside the hull (im always dropping things, it is very convenient in case you drop your socket wrench), I found a old ac adapter that I didnt need anymore and used that wire.

Also when you are removing the bolts be very careful you can drop your bolts under the hull.
upholstery13.jpg

upholstery15.jpg

upholstery16.jpg

upholstery17.jpg

upholstery18.jpg

upholstery19.jpg

upholstery22.jpg

upholstery23.jpg


I recommend a fan blowing air in there I was getting dizzy its hard to be there for so long breathing fumes

upholstery24.jpg

upholstery25.jpg

upholstery26.jpg

upholstery27.jpg

upholstery28.jpg


Ok this is the first round of pictures, next will be applying my new upholstery!
I think Im being a little bit of service! :)
How many yards for the bottom seats, pic not showing
 
I'm am currently doing the upholstery in a 2004 challenger x and I am having a hard time trying to get to the 2-8mm nuts holding the shoulder bolsters to the hull on the stern sides....any ideas? Do I need a small kid to do it??? It's most inconvenient!
 
Back
Top