RESTO Our Gsx Restorations and modifications

Status
Not open for further replies.

Jetskigoodies

Well-Known Member
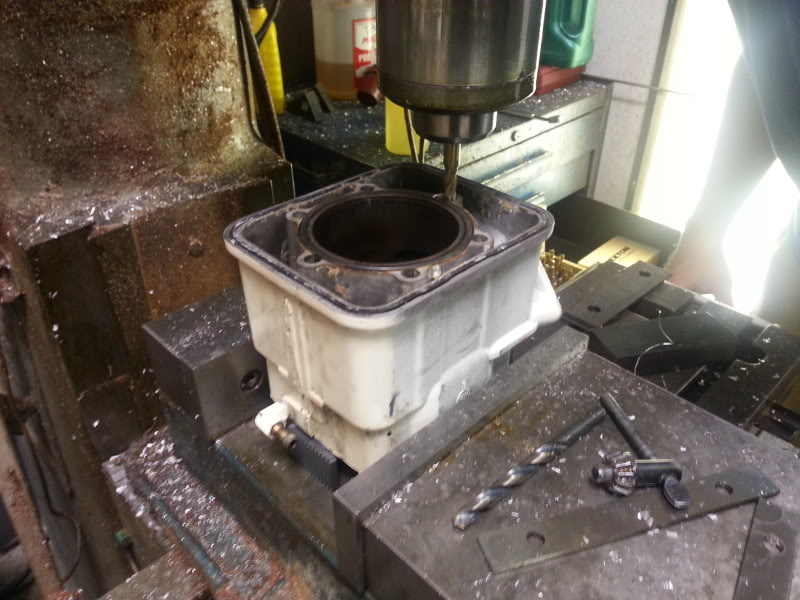
We have had quite a few restoration/ modification threads. Right now we are working on a few different ones right now and instead of cluttering the 2 stroke section we are just going to do one thread per body style.


Here is a link to our past gsx resto

http://www.seadooforum.com/showthread.php?60706-1996-gsx-resto

Past gs body after pics
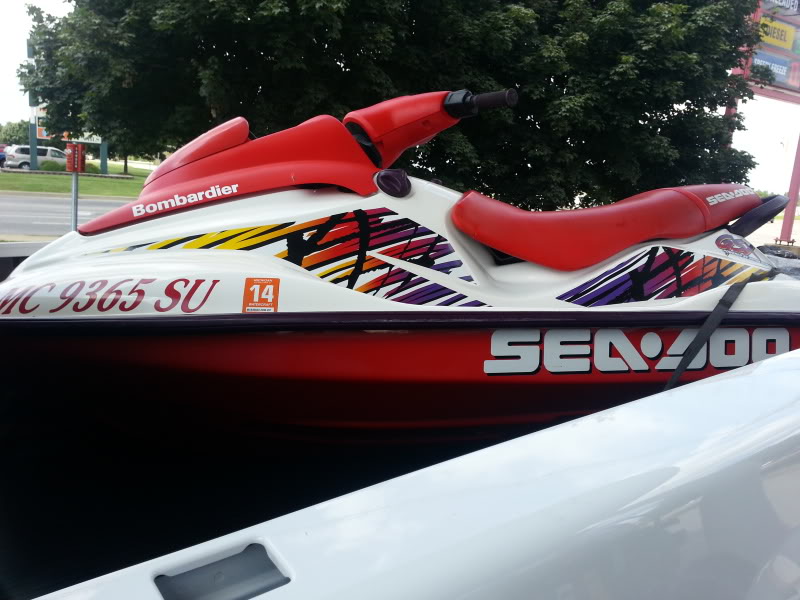
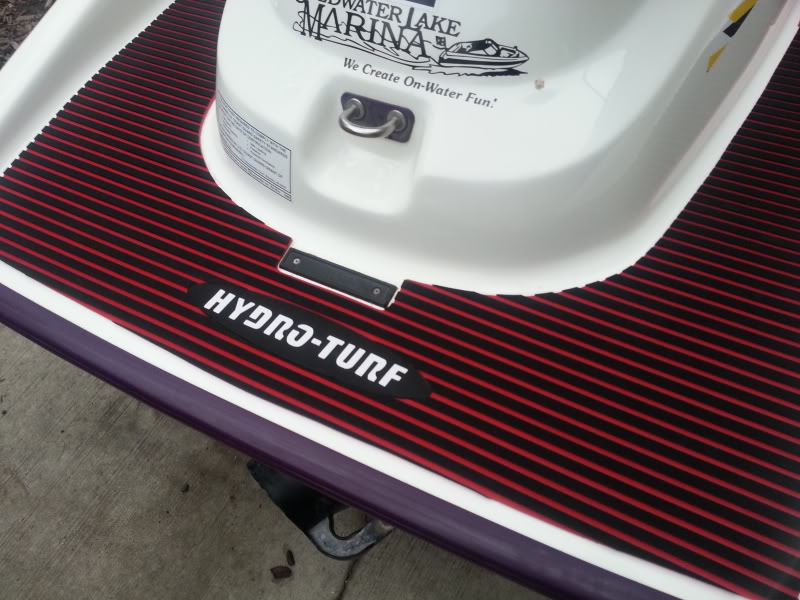
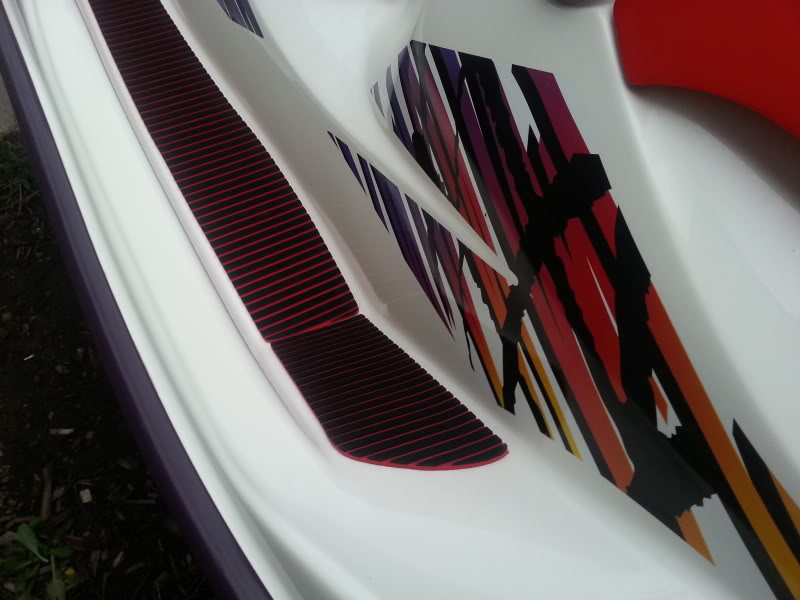
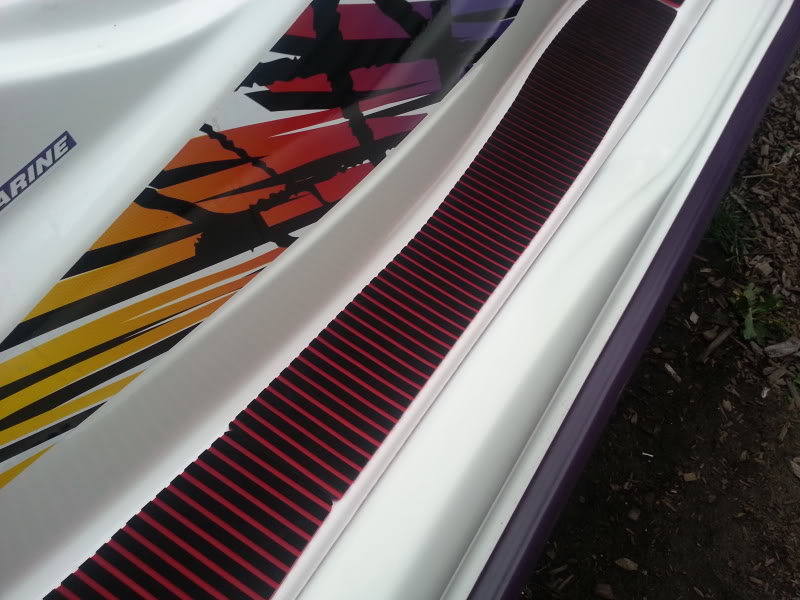
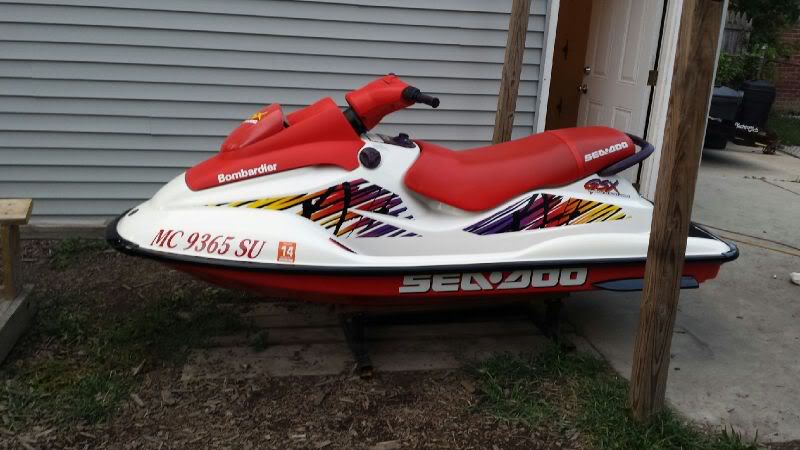
96 gsx
92.jpg


97 gsi
501.jpg


Another 96 gsx
527.jpg
 
Last edited by a moderator:
So now that we have a little backround on the thread here is the newest gsx addition. This is going to be a personal seadoo.

We bought this on ebay about 3-4 weeks ago and the seller was a dealership. It was being sold as non running with 148 psi per hole which it was higher than that. They said it would crank but not run. We drove 2 hours to get it and paid $1000 which is way more than what we usually pay, but we were gambling and we were confident it would be a simple fix. So we get there and it was in great shape so we take it home. We get it home, put in a battery and within 6 seconds she fires right up but only idled a few seconds and died. We tried starting it a few more times with no luck and then it back fired. So after pulling the carbs we found a few issues. #1 pop off was set at like 15 and #2 the hi and low screws were way out of whack. The pop off was set to 34 and the hi screws turned in to 0 and the lows 1 out. She now fires right up.


On the way home with it


374.jpg


375.jpg


It is super clean.

New hydroturf installed

369.jpg


370.jpg


371.jpg


372.jpg


368.jpg


376.jpg


Next will be painting the trim black and getting some registration numbers from [MENTION=16022]Dr Honda[/MENTION]
 
Awesome man!! I'm currently restoring my VERY clean 97 GSX (270 hours - I put nearly 200 of those on in 4 years, even while having other skis) also.. I will be following this thread closely... Please PM me if you find anything interesting with your ski, or have any personal tips..
 
Last edited by a moderator:
Will do, the only thing is, this gsx is sooooo clean we wont be doing much to it.
However we are starting another 96 gsx that is getting alot done to it.
 
After the first day we got it was covered up and didn't get any attention until the other day. We have so many projects that we didn't want to start another one until we finished some of the others.
 
I saw this GSX when it was listed on Ebay a couple weeks ago... Sounds like it turned out to be a good pick up.
 
The decals may be coming off and being replaced with a newer models oem decals. These are really nice though. The marina we got it from was a 2 1/2 hrs from us. It was well worth the drive.
 
Pulled off the dash decal and changed out the purple selector with a black one

2.jpg


3.jpg


4.jpg


Also changed out the gas cap

5.jpg


Also changed out the rear grab bar from purple to black.

6.jpg


7.jpg


8.jpg
 
Last edited by a moderator:
Pulled off the dash decal and changed out the purple selector with a black one

Dumb question that you probably already answered in this thread..

Where did you find all these black parts?

... If I wanted to get my purple bumper trim to black, also.. What's the best way to do that? I'm not quite looking forward to drilling out and riveting every single spot again..
 
Dumb question that you probably already answered in this thread..

Where did you find all these black parts?

... If I wanted to get my purple bumper trim to black, also.. What's the best way to do that? I'm not quite looking forward to drilling out and riveting every single spot again..
I believe he painted some parts black while they were still on the ski ( i could be wrong ) yet other parts he had to remove to paint them
 
The trim and sponson were painted. The fuel selector, grab bar, and caps are off different models. The grab bar a 96 gtx, the gas cap a 97 spx and I do not remember what the selector came off of. It is hard to keep track. We have bought somewhere between 35-40 seadoos in the last 18 months
 
If you want to paint your trim black it is simple and if you use the right paint it will hold up just fine. First clean the bumpers with soapy water and a brush. Next air blow dry to make sure any and all water is removed.Then clean the bumpers again with grease and wax remove or you can use acetone (some color will come off of the bumpers dont worry about it) just wipe it a couple of times you dont have to scrub it or anything. Be sure not to touch any stickers if using acetone it will remove the color from them. Now go to the store and pick up duplicolor bumper and trim paint. This is a special paint for rubber. On the back it should say flex black. Make sure it says flex this is very important if it dosnt you are holding the wrong paint. Also pick up some 1in masking take. Tape your top and bottom and give the bumpers 2 light coats followed by one heavy coat to finish it out. Just dont spray it so heavy it runs. You now have black bumpers. you can also do this with the read grab bar and gas and oil caps. As long as you prep the surface right by cleaning it it will be fine and wont wear off from being touched over and over


jetskigoodies looks like its gloss which i have never done mostly because its to shiny for my taste. Heres a picture with semi gloss black trim and sponsors. Sorry about the picture quality its not the best camera phone

 
Last edited by a moderator:
We had a set back today. After putting new fuel and oil lines on she started backfiring today again. First thought timing so the rv cover comes off and the oring was blown out. So we hope this is the problem but we wanted to just check over everything. We pull the head off and the cylinders and head look good. I start to put the head back on and the torque spec is 30 ft lbs. I first tighten the bolts in sequence to 20 and then I go over them again at 30 and with 3 bolts left to go I hear snap. Yep the head bolt broke. We pull the head back off hoping there is enough of the shank hanging out to grab it. Nope. So I call my buddy [MENTION=8596]Jimnut[/MENTION] and this is what he did.

Jug with the bolt in it.
18.jpg


In the bridgeport and he milled the bolt flat
19.jpg


20.jpg


Then he used a center punch and drilled a pilot.
21.jpg


After that he drilled it out with a 7/32 bit so he could use an easy out.
22.jpg


Finally the easy out
23.jpg


24.jpg


25.jpg


A huge thanks to Jim. We would have had a hell of a time trying to get that out.

I broke the bolt at about 6pm and it was out by 9pm.


The base gasket was falling apart. Hopefully we have solved all the issues. Tomorrow we will find out. It is timed, we have put a new oring on the rv cover and the new base gasket will go on and we will have it all togethor soon.
 
Last edited by a moderator:
We also changed out the grips today. We will be ordering the 2 toned black and red grips that we used on the 98 spx we did, but until then we put some oem black ones on it. All the purple is now gone besides the graphics of course.


Oem purple ones that were all gummed up.
26.jpg


27.jpg


Black ones
28.jpg


29.jpg
 
@ jetskigoodies, just a heads up, re read the shop manual. I made the same mistake today when torquing my head back on i went 30 ft pound as per manual so i thought, then i went on reading and found that 30 ft pounds is for the cylinder jugs! ouch! (i was reading the wrong section! kinda tricky.) and is only 17 ft pounds for the head. so i quickly loosened them up and re torqued. i seriously thought i was going to break a head bolt as i was torquing them but thought naw, that's what the book says. just a heads up buddy!
 
You are 100% right. I am going to have to harass my buddy tomorrow. I had him read off the torque spec when I was putting the head back on. No wonder it snapped.
 
i guess i was dang lucky i didn't break one! do you think there may be possible damage like stretched bolts?
btw nice collection of seadoos you have there. also nice to have a gsx thread
 
We have a huge stock of hardware so if any are damaged we have plenty of backups.. My buddy was actually cleaning up some head bolts on the wire wheel while we were extracting the broken head bolt.
 
Well we looked at our manual again, the clymer manual shows 30 ft lbs and the seadoo manual shows 17 ft lbs. We have a few manuals and never really compared them. So we followed the book
 
Yup I was reading that up top when you said "30 ft lbs" and I remembered doing all of mine I did 17ft lbs cuz that's what my seadoo shop manual said. Just shows mistakes can happen to even the most veteran 'Doo'ers
 
The mill makes that soooo nice! I have never easy outed mine. We just work up to just remove the screw(minor diameter). I have helicoiled a few of them after we had a drill bit snap in one then had that Wire EDM'd out. My XP has one or two that are helicoiled. I guess when Bombardier engineered these they left just enough space for a helicoil tap, they must have know it was going to be a problem down the road. I barely get any tap markings on OD of the cylinder wall, then I use the 16mm long inserts. Just for your reference they're available from Mcmaster.
 
Status
Not open for further replies.
Back
Top