• This site contains eBay affiliate links for which Sea-Doo Forum may be compensated.

How screwed am I? Broken fuel fitting and accelerator pump question.

Status
Not open for further replies.

Racerhoze

New Member
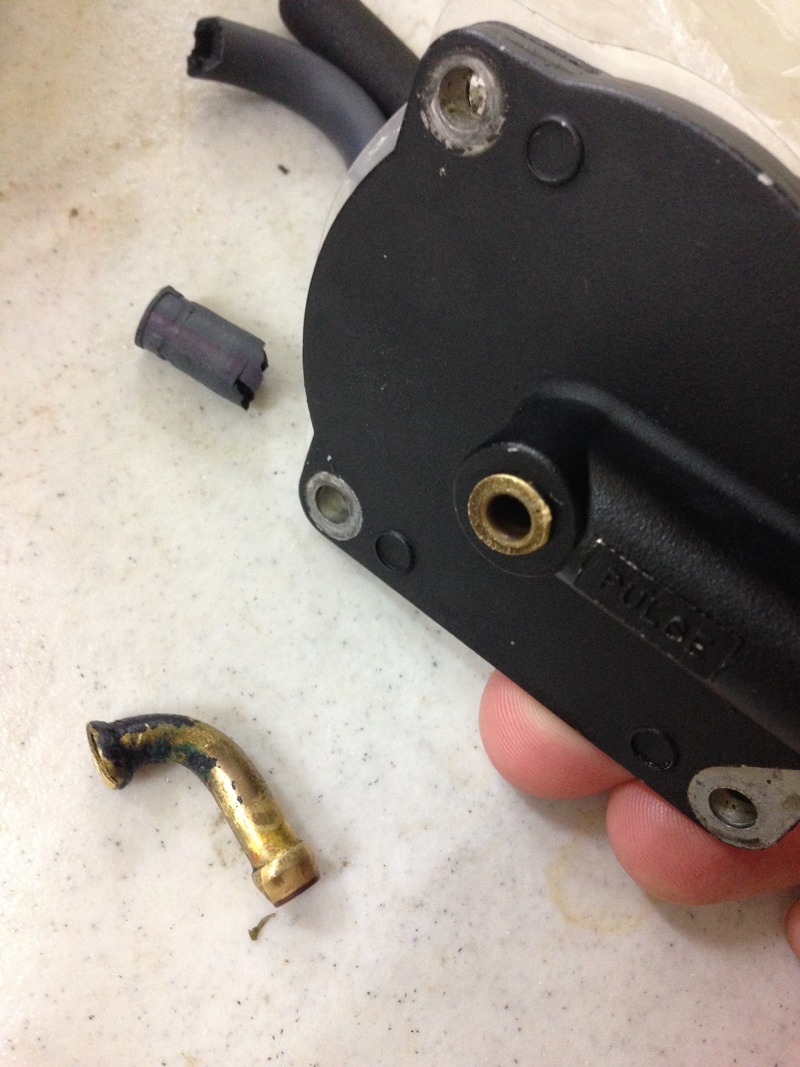
So I was pulling my carbs again to clean out my accelerator pump and managed to break the fuel fitting pictured below. It appears to be a press fit, and I probably could punch out the rest from the backside, but I have no idea where to get a replacement fitting.

Also, there appears to be a tiny rubber check valve in the accelerator pump that is disintegrated, but it shows up on NO parts diagrams, the only part I can find is the diaphragm.

HELP!

Note: I have already rebuilt the carbs and run the ski, I just did not clean the accelerator pump.

If I have to buy new carbs, which would suck, is OSDmarine the best place? They say theirs are tuned for the 947 and not the 951...


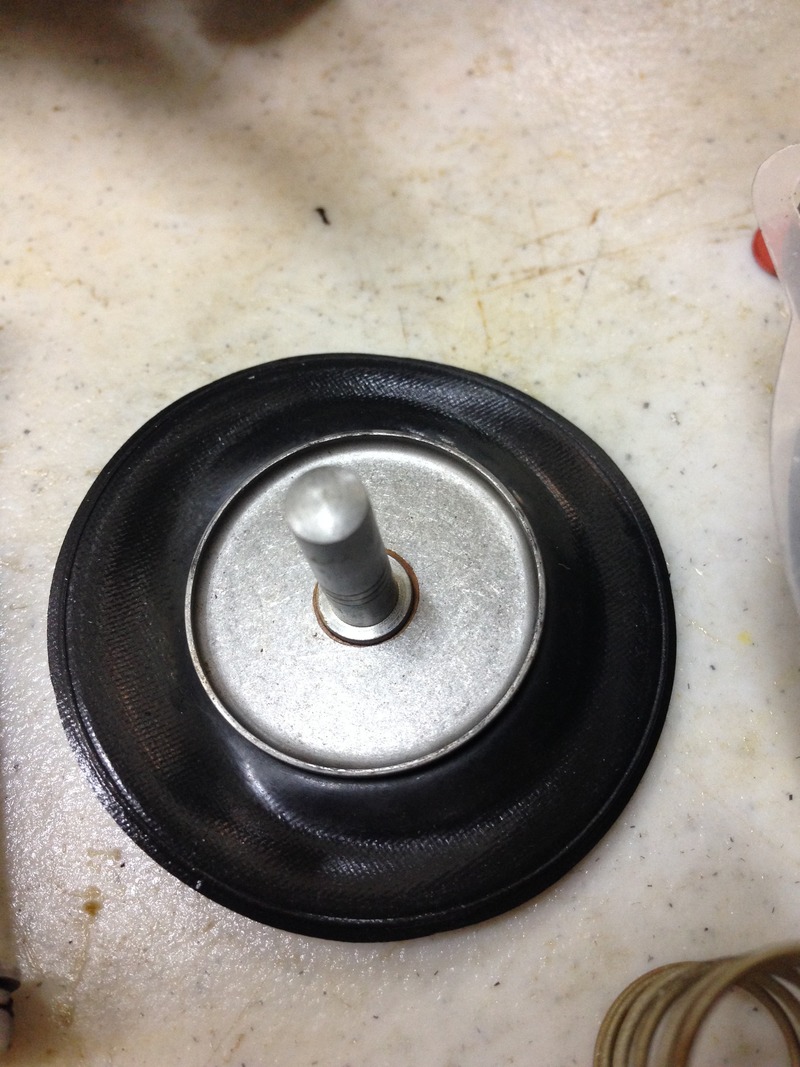
You can see the little orange check valve disc in the upper right of this last pic
 
Last edited by a moderator:
End plate $75

http://osdparts.com/index.php?main_page=product_info&cPath=0&products_id=8851

Or find a 90 deg hose barb that you could tap the port and thread in.

hmm that isn't too bad. Better than the 114.00 I was finding.

Any idea on the check valve? I can't seem to find it on any parts break downs. Really I need to replace everything wear related to the accelerator pump. Diaphragm, check valve and the feed fuel line.

There are two diaphragms on OSD,

http://osdparts.com/index.php?main_page=product_free_shipping_info&cPath=595_602_1&products_id=4007

http://osdparts.com/index.php?main_page=product_free_shipping_info&cPath=9&products_id=19

mine obviously does not look like the one in the picture, so I assume it is the other one?
 
Just solder the fitting back in. I've done it a bunch of times in my shop. The reason is... when they make that end plate... the way they flair the brass... it's almost broken from the factory.


Anyway...

1) file the ends clean.

2) Dab on a little rosin.

3) Heat the part in the cover with a pecil torch. (a soldering iron isn't enough, and a big torch may melt the cover)

4) Flow on some solder.

5) Repeat for the elbow.

6) Once you have solder on both sides... heat the base again... and stick the elbow back on.

The tricky part is getting it clean so the solder flows. AND... holding the elbow still long enough to let the solder set up.


The other way to do it is... drill and tap a fitting into the end cap.


If the solder is done correctly... the joint will be stronger than the original part. (just like the plumbing in your house)
 
I can't get the solder to flow worth a crap. I have the pieces clean and I get them hot enough to where the solder melts as soon as it touches the part, but it doesnt adhere to the fitting in any way whatsoever. I have done some plumbing not too long ago so I am not a total noob at this... Wtf
 
You've wasted $75 in time already, just buy the new one. The when it breaks of while you're on the water and you loose a weekend of ride time it was a further waste of money. Consider it a lesson not to do that again.
 
alright, well I have a plan for everything but this tiny umbrella check valve. It seems that nobody discusses the check valve in this accelerator pump design. It seems the more common umbrella valve size is about 15.5mm in diameter. The one from this accelerator pump is about half that at 7mm in diameter.
 
I can't get the solder to flow worth a crap. I have the pieces clean and I get them hot enough to where the solder melts as soon as it touches the part, but it doesnt adhere to the fitting in any way whatsoever. I have done some plumbing not too long ago so I am not a total noob at this... Wtf

There's lots of old fuel and oil. It's not like "Clean" plumbing pipes.

Silver solder works well... but you really need to clean the brass... and get enough heat to get it to flow. (and rosin) Also.. the pencil torch is needed to focus the heat.
 
Status
Not open for further replies.
Back
Top