RESTO 96 Challenger cosmetic resto project

Status
Not open for further replies.
391.jpg


finally got around to replacing this bad boy. Also attempted to remove the exhaust boot but the screws just spin and never come out. Tried getting to the backside of them but it's damn near impossible.

Any ideas fellas?

P.s there was a tiny bit of water that I didn't see that settled in the very bottom of bilge and holy moly this stuff was gross. It had a skin like film on top, and reeked! Def. was a distraction when attempting to get to those screws, yuck!
 
Last edited by a moderator:
Racer, I actually fixed the plug no problem. The way I wrote that post was confusing, I was actually referring to another part of the boat. Apologies, but thanks for the great reference if I ever come across a leaky plug again

Grind, I've got a roofing flash I'm going to attempt to use in place of a boot (got the idea from on here) if I can ever get the screws out. If it doesn't work I will Def. Hit you up about purchasing it. This thing is gonna be a bi*ch
 
Dagre you can make a tool for that job that get's you into two places at once, take a 10mm wrench and put a 90* bend into it so the closed 10mm end on the short leg can be inserted into the hole and get on the backside of the nuts while you turn the bolts out from the transom side.

I burned a couple welds onto the backside of the 10mm open end so it holds the nut in place to reverse procedure when you install the new boot, little bit of epoxy like JB or similar would work ok to make a crown to keep the nut from being pushed out if welding is not an option.
 
Waterluvr that's a great idea! Any idea of an easy way to bend the wrench? Also, did you find it necessary to remove the tank that is in the way from the inside? It definitely keeps me from seeing most of the nuts
 
Yep the exhaust tank has to come out first and from there it's not as bad of a job as it's seems. I used my acetylene brazing torch to soften up a spare wrench to bend it. You just reverse procedure for the new seal and slide the muffler back in and put the clamp back on.

Before I do a job like that on a jet boat I take a five gallon bucket of really hot water, 1/3 cup TSP powder and a capful of Tide laundry detergent and install the drain plugs and dump it all in and go for a 10 minute drive to make it all nice and clean in there to work in better conditions.

Your boat is really looking good btw, nice to see one in good hands being restored.
 
Last edited by a moderator:
Thats a good idea lol I'm still blindly trying to figure my way around this bad boy and love the advice yall are giving me. It is very much appreciated!
 
Thats a good idea lol I'm still blindly trying to figure my way around this bad boy and love the advice yall are giving me. It is very much appreciated!

An alternative suggestion if bending the wrench isn't in the cards for you for lack of vise or heating apparatus, I just remembered having some of these ratcheting wrenches with a 180* pivot point in a spare tool box and these would work to. The other end of this wrench is a standard open end that would need to be cut off to clear the bottom of the platform to do the lower bolts but that's easy enough.

419.jpg

420.jpg

421.jpg
 
I reupholstered my entire boat my self but got the seat covers here: www.zz-autogroup.com It's totally worth it. The boat looks like new. They even advised me how to fix the foam on one of my seats. I also got the bimini top and traction mats from them (couldn't find better price). Missing cup holders purchased from WalMart (fit great).
 
Sorry it's been a while since I've posted an update, been all around in the last few weeks (Seattle WA, Cheyenne WY, Denver CO, Savannah GA, Boise ID, BFE Kansas) but finally getting back to my projects.
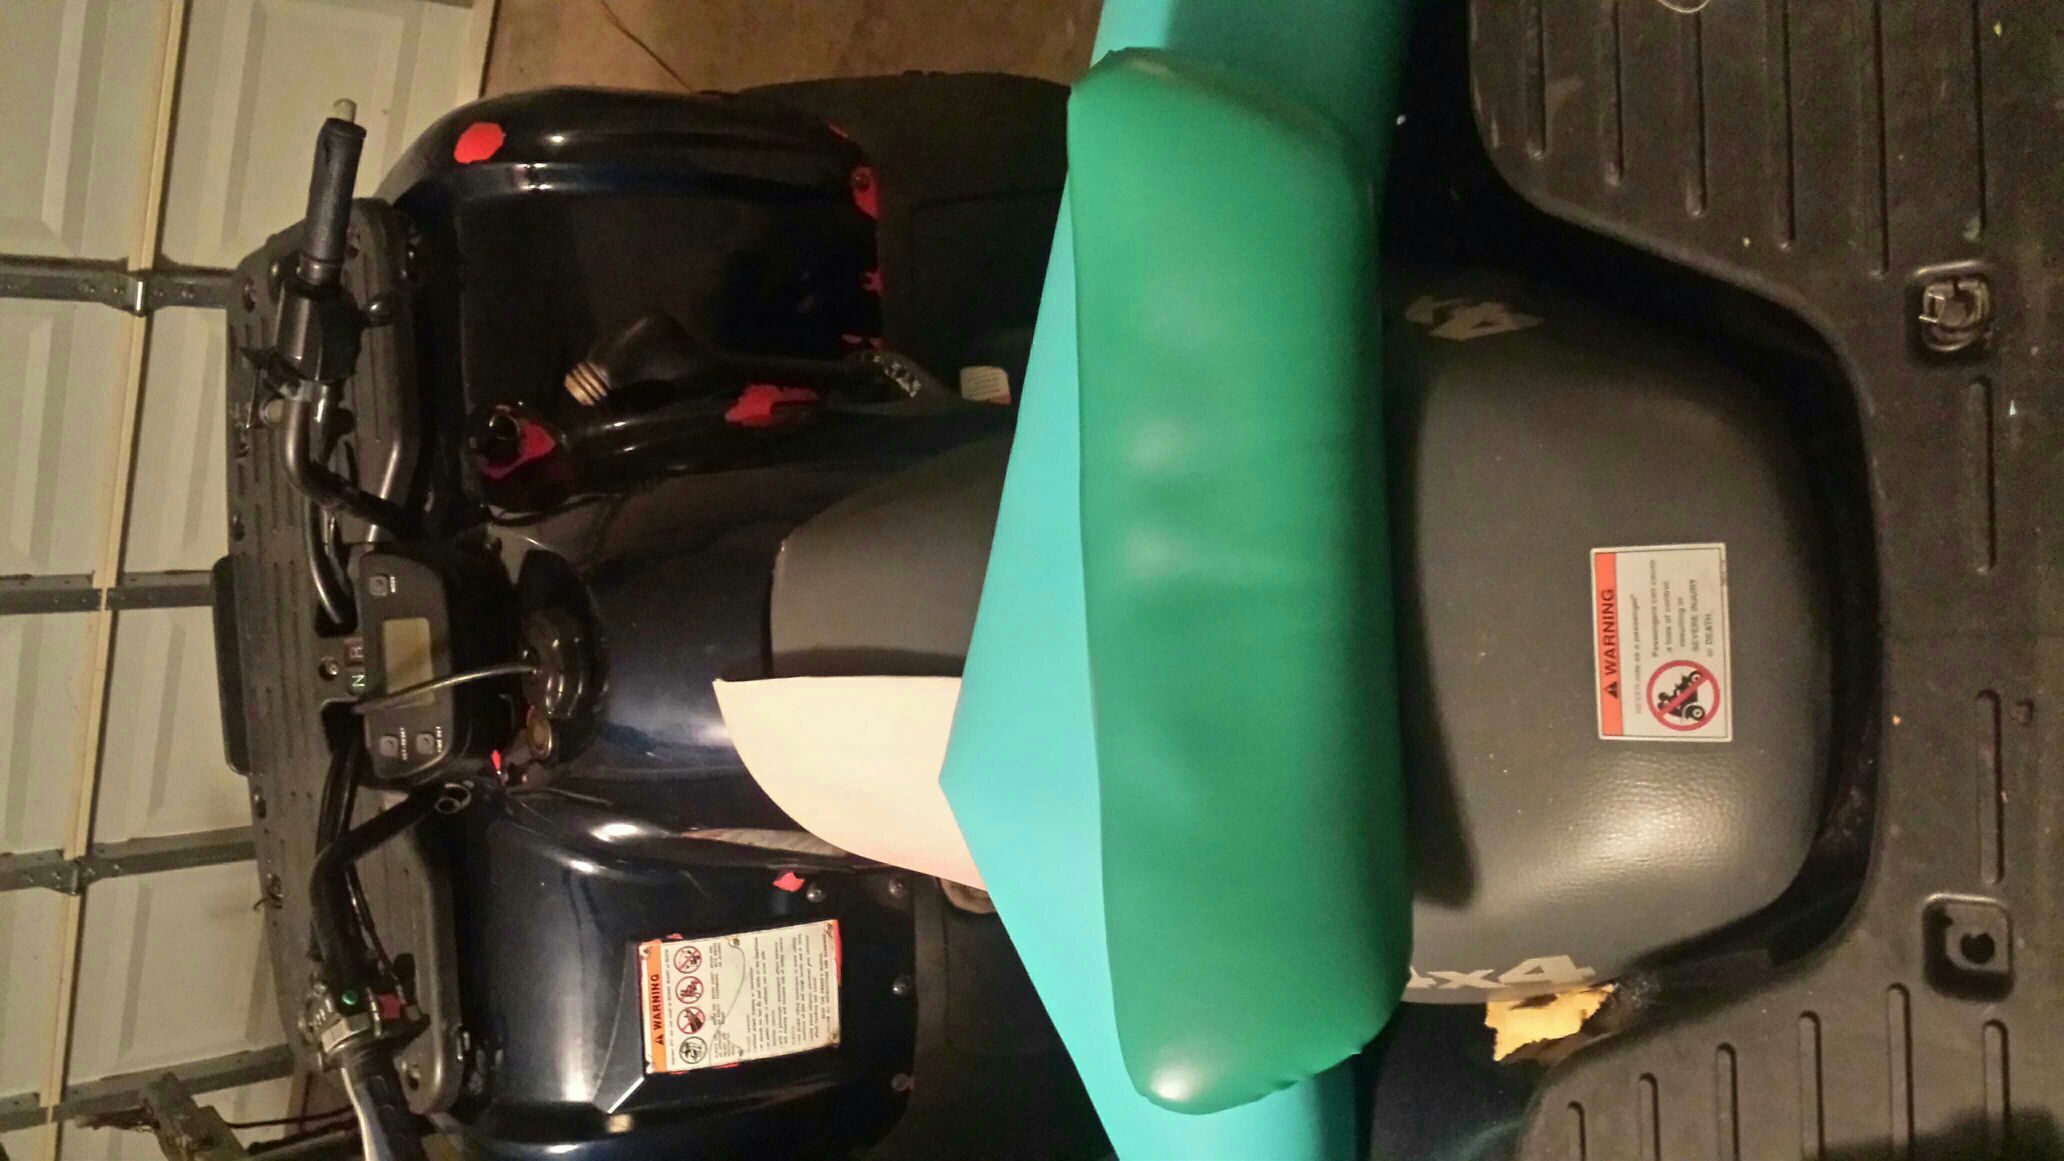
[MENTION=51824]Matt Braley[/MENTION] snagged me a 'unicorn' part in the rope box door for cheap, and I also snagged some seats off of him which I'll try and salvage some use out of.
7.jpg


I also finally got my radio installed "properly"instead of rigged up, though I still want to paint them to fit the color scheme better, regretting the black speaker choice

8.jpg


9.jpg


10.jpg


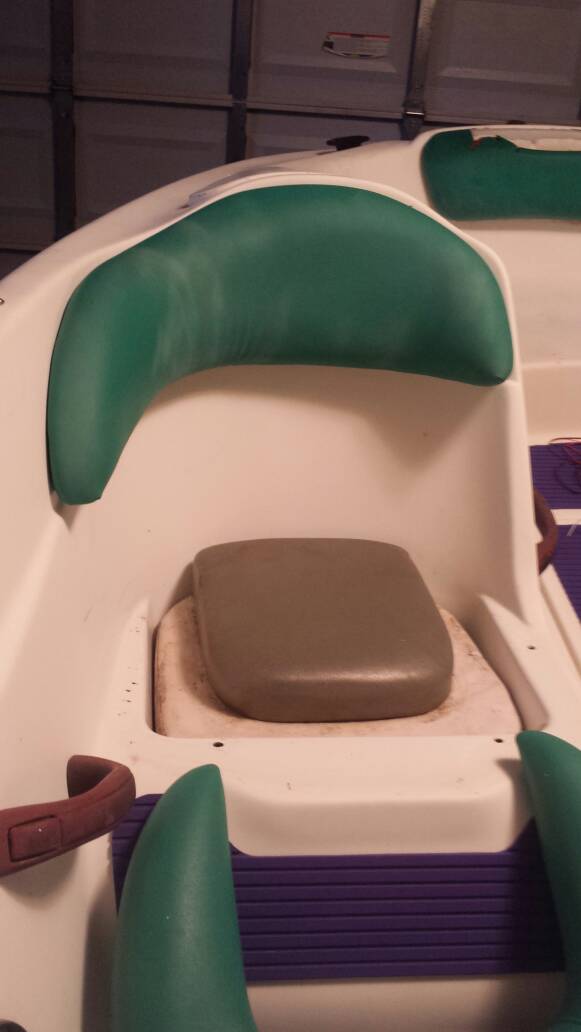
I also got the spotter seat backrest installed although it looks chalky bc I sprayed a protectant on it to keep the marine vinyl paint from coming off (see previous posts about that). Still haven't installed the actual seat due to a snag in how to properly do it and lack of the little tree fasteners

11.jpg


I took a heat gun to some of my plastics to test it out and I like the outcome so far, except for the purple bumper..... not so well

12.jpg


13.jpg


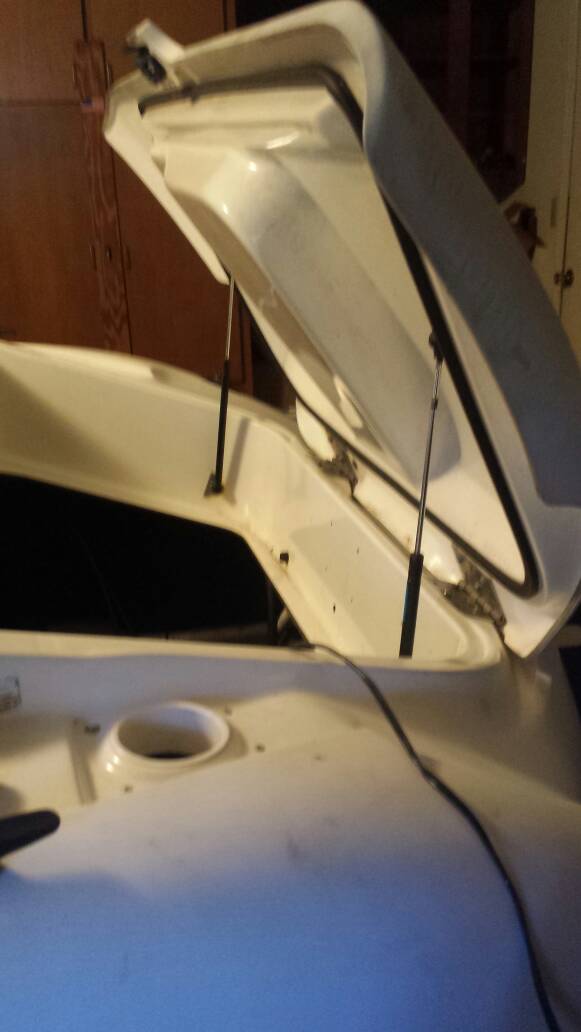
And lastly (I think?) I got some shocks for the engine cover bc I got damn tired of propping it open and it falling etc etc. It's the little things....

14.jpg


P.s don't put the bottom of a vacuum on the seat while using the vacuum hose.... rookie mistake

15.jpg
 
Finally reupholstered the bow seat backrest today. I used a roll of marine grade vinyl and foam from the seats I grabbed from Matt earlier today. I think it turned out great considering the shape of the seat. I then painted the seat with the same marine vinyl paint from before.

17.jpg


Installed

18.jpg


You can look back at the first round of pics to see the extent of the prior upholstery damage. Definitely happy with my cheap fix!
 
I don't think this is the best spot for the radio (lots of water down there) but the upholstery work looks nice.
 
If water ever gets that deep in the boat, I think my last worry will be the radio lol thanks, I was nervous about doing it myself
 
I have those purple rails on the 95 as well as a purple hood(three gauges though. You can have that stuff if you want to come over and pick it off. I have a old ratty bow seat bottom somewhere if you don't have anything to start with. Me and the kids are gonna start putting the Blacktip turf on our keeper 95 today.
 
If I can convince the wife to head that way instead of destin for our 'date' then I'd be more than happy to grab that stuff. I'll let you know
 
So got a small little problem for you electrical folks out there. I unhooked my battery 'in haste' the other day to plug into my new SPX CL find, but I forgot to take note of what wires went where on the battery terminals. These included my radio pos and neg. Well I think I figured out which were the pos and neg, but now when connect them to battery, my speakers make a fuzzy noise (radio off and on) and my radio turns on but doesn't make a sound. :poop:

Also, the black and white wires coming from the grey e-box that connect to the battery i'm brain farting on if one of those wires are a ground or if both connect to positive. I think they both are for positive but can't recall.
 
When I go black to negative and white to positive, the bilge pump turns and stays on, even with switch off.
 
ok figured it out for the black and white, white was neg and black was pos.

radio i think i fried the wiring bc i had them switched, and when i looked near the radio i saw a little bit of smoke. glad i noticed before things got worse lol
 
This just isn't my week. Found fiberglass damage on my 94 spx, and now I'm getting no beeps from DESS. I hope it's just a fuse...
 
Status
Not open for further replies.
Back
Top