• This site contains eBay affiliate links for which Sea-Doo Forum may be compensated.

Ultrasonic Carb Cleaning

Status
Not open for further replies.

YouCanDooIt

New Member
Hey Guys,
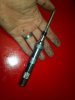
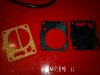
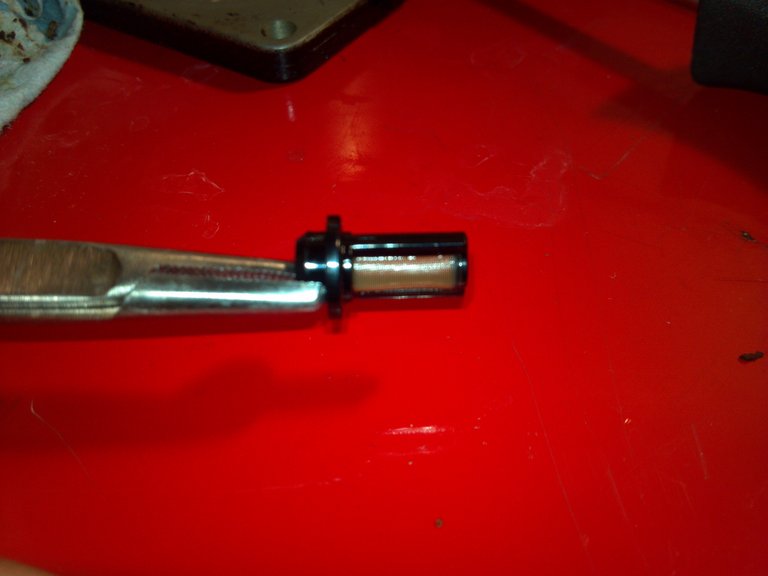
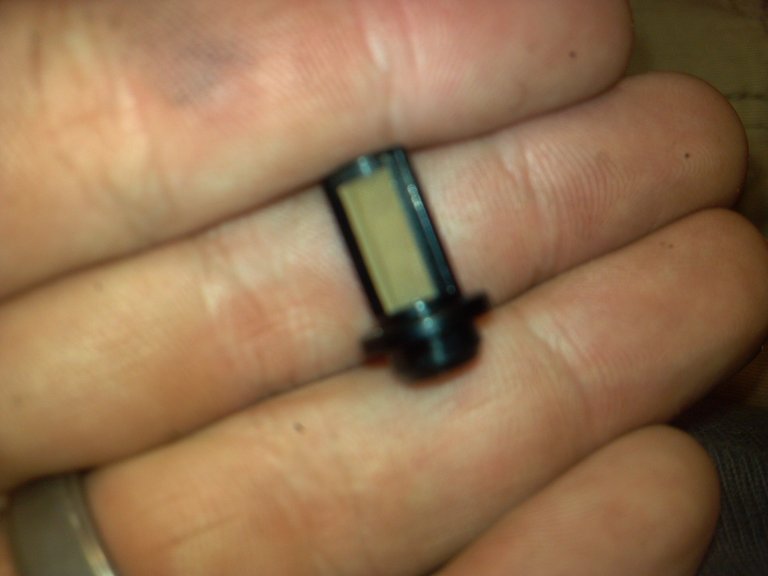
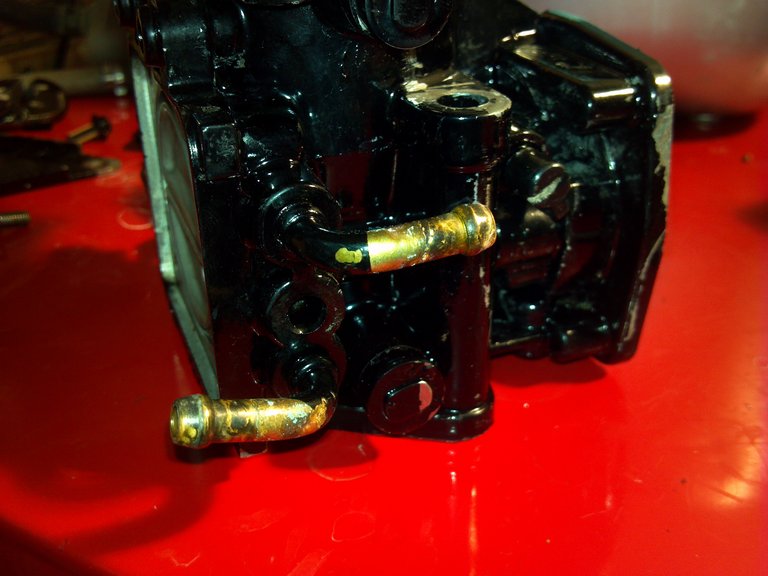
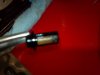
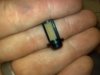
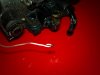
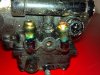
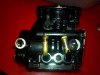
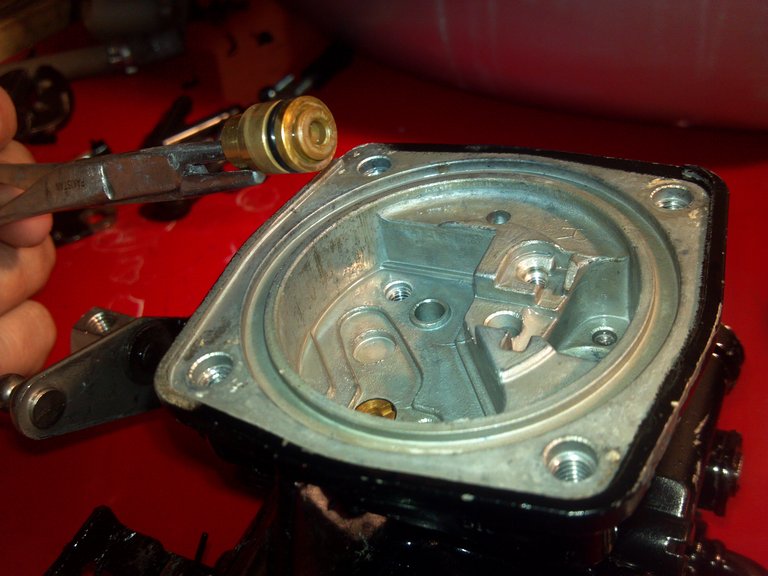
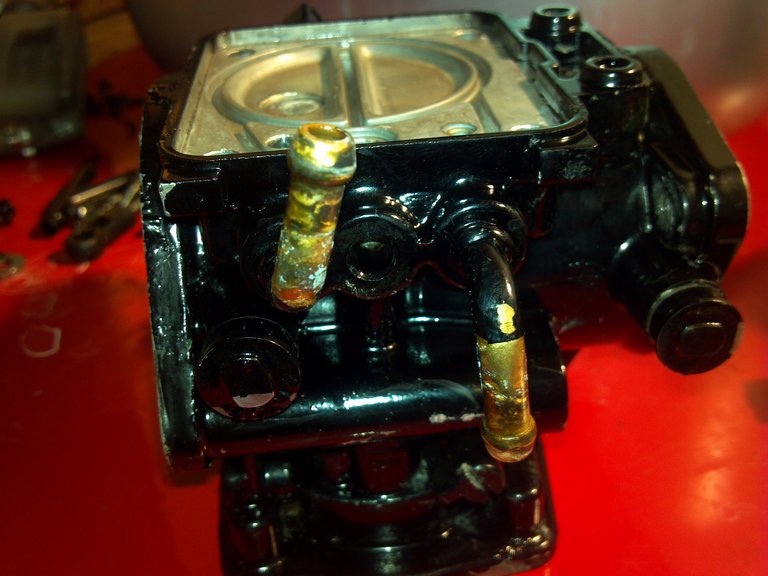
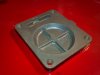
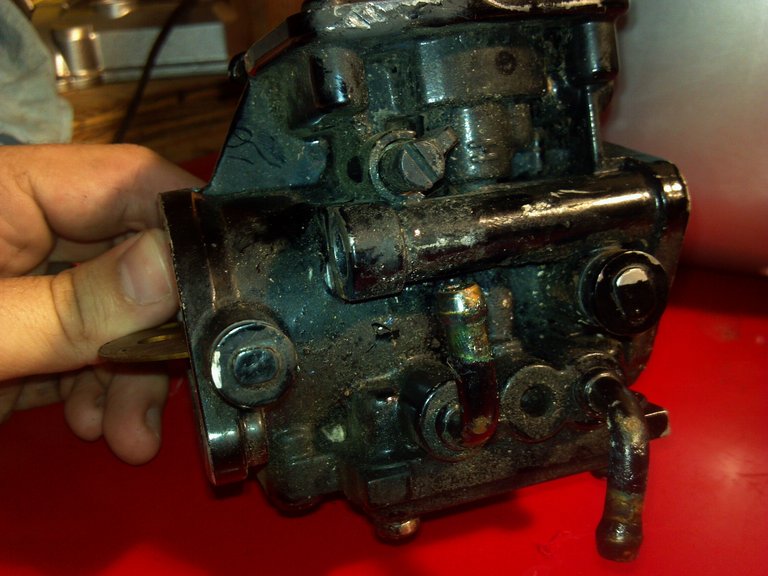
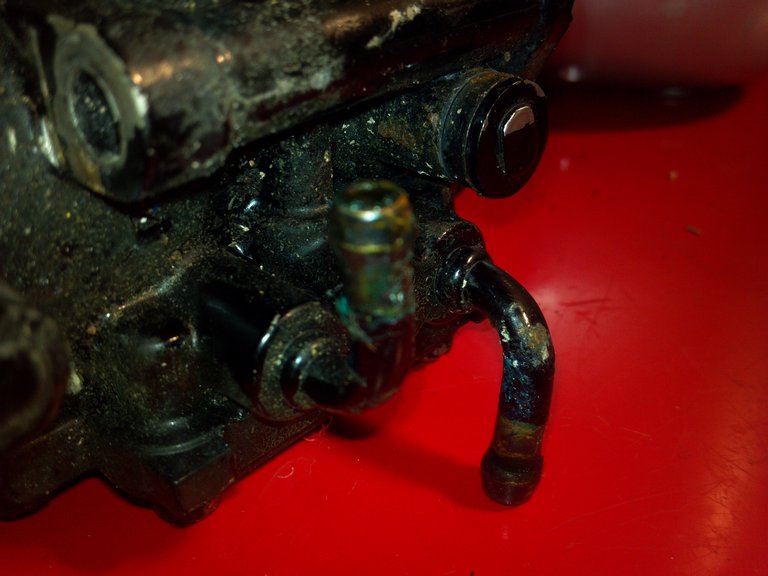
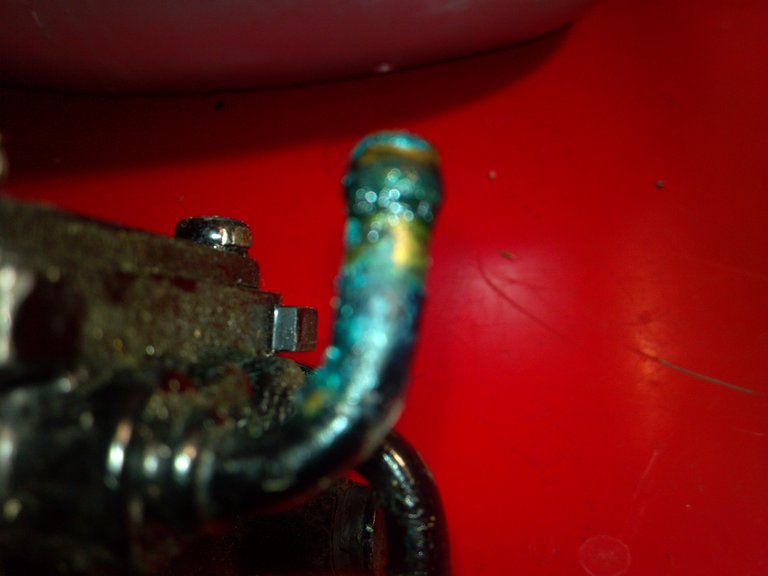
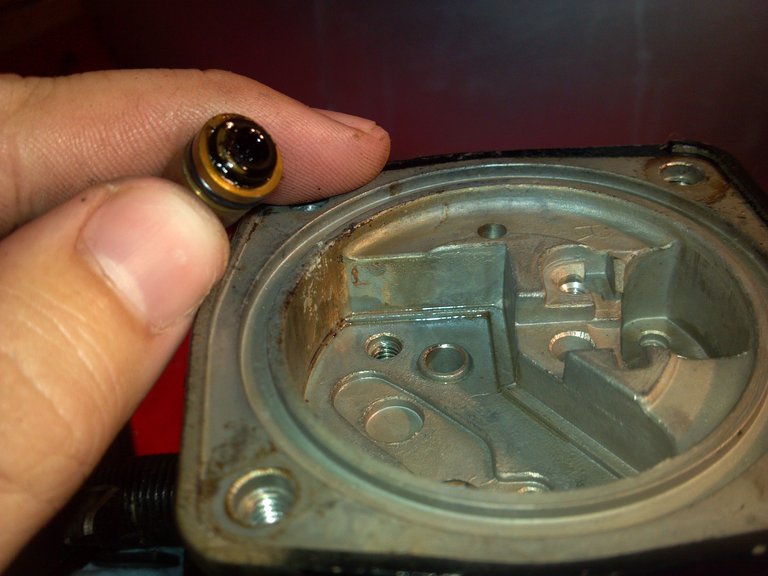
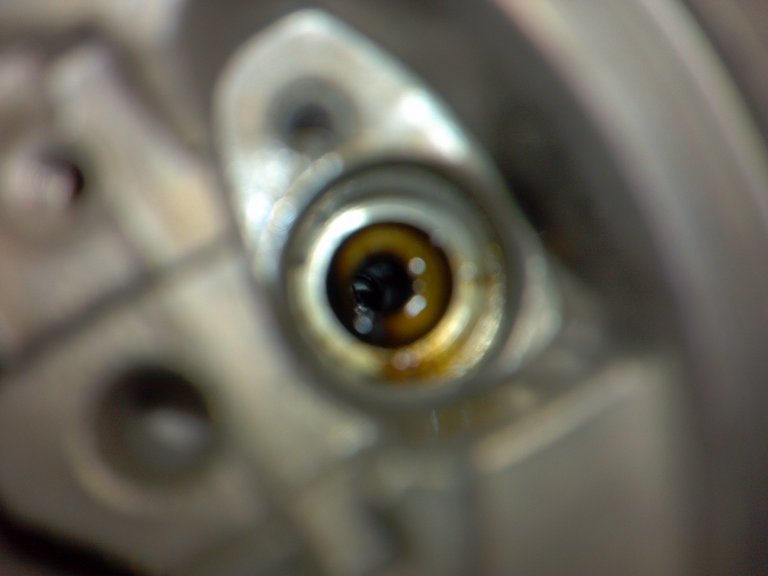
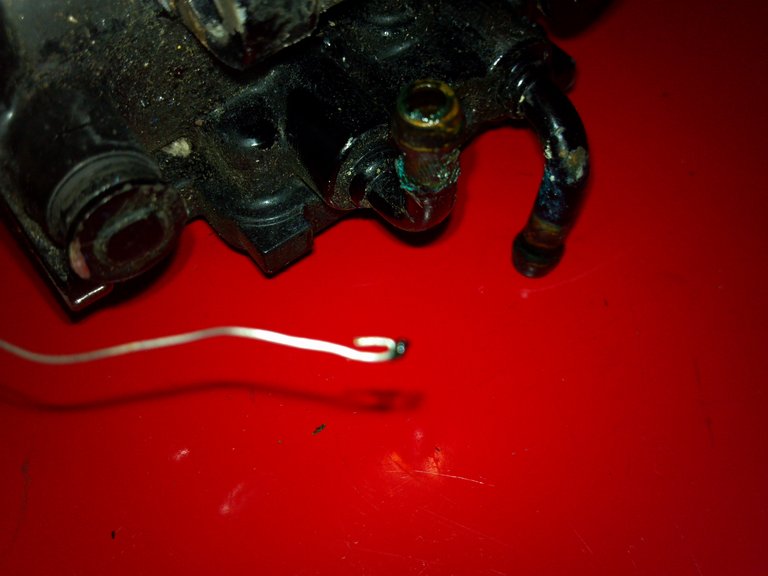
Some of you may know about this, I searched for another thread on this but didn't see one, so maybe not. Anyhow I figured I would pass it along, if any of you are interested in reading this it may help some of you out. I clean a lot of carburetors I work on a lot of quads and dirt bikes and also sell used parts, I was tired of using a can of carb cleaner ($5) every time I did one and also wanted an easier way of doing them and a better clean. I have also tried the gallon can of carb cleaner made by Berryman that you dip them into, which works good but is very strong stuff and harsh on any rubber or plastic, and also I never trust it deep cleaning the internal parts. My father-in-law owns a small engine repair and he suggested an ultrasonic cleaner. I never really put much thought in to it till I used his one day to clean a nasty old fourwheeler carb, and could not believe how well it cleaned not only the inside but also the outside looked almost new and this was a 25 y/o carburetor. So I went and bought one the next day. Harbor Freight has one, 2.5L I caught it on sale and used a 20% off and picked it up for around $60 I believe. Really not a bad price considering I figured saving on carb cleaner and it would pay for itself after around 10 cleanings. I have been using it for a few months now and it works great, but I wanted to test it with a seadoo carburetor, considering a lot of them I come across are pretty nasty, and the green goo Is usually pretty nasty stuff to get all of it out. Yesterday I decided to try it out on the carbs from my new project, 95 xp800 that has been setting for about 7 years with old gas in them, and of course it still had the green goo maker fuel hoses. Surprisingly they were not as bad as I was hoping, but definitely needed a cleaning. It worked great as I figured it would. I also took some before and after pictures for you guys to see. It may be hard to tell from the pictures, but they came out great. These are a few before:
65.jpg

66.jpg

67.jpg

68.jpg

69.jpg

70.jpg

71.jpg


Bare with me a few minutes I have to break it up into a few post because I can only uplaod 5 pics at a time...but there is more :)
 
Last edited by a moderator:
I fill the machine half way with water and the rest with Purple Power, you can use others simple green or what you may, this was just first thing I grabbed. It has a heat setting witch really helps breaking down all the junk, and a timer. It is just right for two seadoo carbs :thumbsup:
72.jpg

73.jpg


Another must for carbs , small impact driver, another HF special $6. (I promise I don't own stock in the company :D )
74.jpg


I was curious about the rubber and paper diaphragms that are in these mikunis, as normal carb cleaner will pretty much destroy them, so I had some from a rebuild kit I never used. Granted they were new paper and rubber, and older ones may not fare as well, but I had them on the bottom of the machine the whole time (over and hour) with heat and purple and they came out almost completely unfazed. You can not really tell much from the pics (probably because it didn't do anything to them) but here are before and after
75.jpg

76.jpg
 

Attachments

  • photobucket-28632-1349404245719.jpg
    photobucket-28632-1349404245719.jpg
    87 KB · Views: 11
  • photobucket-12489-1349404374843.jpg
    photobucket-12489-1349404374843.jpg
    153.2 KB · Views: 12
  • photobucket-1302-1349404297849.jpg
    photobucket-1302-1349404297849.jpg
    125.2 KB · Views: 9
  • photobucket-1548-1349407032097.jpg
    photobucket-1548-1349407032097.jpg
    116.4 KB · Views: 6
  • photobucket-1594-1349406990589.jpg
    photobucket-1594-1349406990589.jpg
    47.7 KB · Views: 6
Last edited by a moderator:
It cleaned the small filters extremely well, about a forth of the filers on mine were clogged, I dropped them in for about 5 minutes they came out as good as new.
77.jpg

78.jpg

79.jpg


Again kinda hard to tell from the pictures but there was green goo all over the in/out nipples. It broke the green down and removed almost all of it after a few cycles, a couple more and it was all gone. I wanted to see how well it work without touching them, but I did find that after about two cycles it had softened the goo down and you could wipe it right off with your finder, and it didn't stick to my finger! It completely removed it from the inside of he nipples as well. Keep in mind that if a carburetor was really gummed up with it, it may take a few more cycles but I was really impressed with how well it softened and removed it.
71.jpg

80.jpg


and after
81.jpg

82.jpg
 

Attachments

  • photobucket-27349-1349402045812.jpg
    photobucket-27349-1349402045812.jpg
    76.8 KB · Views: 9
  • photobucket-28638-1349403012421.jpg
    photobucket-28638-1349403012421.jpg
    81.6 KB · Views: 9
  • photobucket-28656-1349404148170.jpg
    photobucket-28656-1349404148170.jpg
    88.1 KB · Views: 11
  • photobucket-1142-1349404202711.jpg
    photobucket-1142-1349404202711.jpg
    143.9 KB · Views: 12
  • photobucket-26159-1349404440521.jpg
    photobucket-26159-1349404440521.jpg
    110 KB · Views: 12
Last edited by a moderator:
I let the carbs set, and go through cleaning cycles for probably about an hour, it may or may not have needed that long but I like to get them as clean as possible. I will tell you with the heat setting it does get hot! and the metal parts come out piping hot, so I would recommend using pliers or something when removing the parts. If you put small things in it such as these little filters, I would recommend putting them in a bowl or something. If not you will have to fish them out of the hot water, and if your an idiot like me you will try it with your fingers two or three times before you realize it is way too hot and it hurts! Also it will take off the black paint on the brackets and the caps, It didn't take any paint off the body of the carb. On most of these it is already starting to flake, but it may be something you want to repaint, I don't but due to corrosion especially in salt water you may want to. This is a water based cleaning mix and we all know what it does to metal. After I clean them I spray them off with air compressor and then soak them all over with WD-40. It also take the grease stuff off the springs on the throttle and choke levers, so it would be a good idea to put something back on them too. Here are some more afters:
83.jpg

84.jpg

85.jpg

86.jpg

82.jpg

87.jpg

I should have clarified, the cleaner has a timer you set, this is actually the one thing I do not like about it. You have to set the timer before it will turn on, and after the timer runs out it shuts off. It only gives you the option to set the timer to 180, 280, 380, and 480 seconds. Not sure why they made it like that IMO it would be much better if they just had an on off switch so it would run for as long as you want it too. The heat will stay on though even if the timer runs out. That is what I was referring to tho when I said cycle. When the machine is running it vibrate/pulsates the water which breaks all the particles loose.

I realize I wrote a small book for this and could have probably just said "hey it works good" but I had time and I figured maybe some of you could use this. Some of you may not clean enough of them to use this, but for those of you who do, like my self this thing is amazing. Plus you can clean it out add jewelry cleaner, and use it for what it is really made for..cleaning your wifes jewelry.. major brownie points there I tried it. :thumbsup: Again, sorry I had to break all this up into separate post there is probably a better way, or maybe I should have just used less pictures.
Also I realize this may need to be moved to a different section on the forum, Im sorry if it is in the wrong spot. Feel free to move it if needed.
 

Attachments

  • photobucket-35190-1349402702660.jpg
    photobucket-35190-1349402702660.jpg
    112.2 KB · Views: 12
  • photobucket-29782-1349402582930.jpg
    photobucket-29782-1349402582930.jpg
    87.9 KB · Views: 12
  • photobucket-28874-1349402353882.jpg
    photobucket-28874-1349402353882.jpg
    117.8 KB · Views: 12
  • photobucket-27561-1349402302412.jpg
    photobucket-27561-1349402302412.jpg
    117.1 KB · Views: 11
  • photobucket-16624-1349402414844.jpg
    photobucket-16624-1349402414844.jpg
    115.3 KB · Views: 13
Last edited by a moderator:
I wondered about using these, but I didn't see anyone talking about it so I assumed it was a no no. That looks easy and clean, two words that belong together. Of course that depends on how much trouble it is to re-grease. Nice report and thanks for the ideas.

Kevin
 
That's pretty slick. What kind of store is Harbor freight, I need to get on of these.
 
Thanks. Well I was unsure about it as well when it came to these carbs. This is actually my second set that I have cleaned, others were on my GTX and it worked really good. I tried to test and see if anything would get affected by it, but nothing that I can tell. I do dry them with air really well and try and get every spot on it covered with WD. I am going to see if I can't figure what would be best for grease or what ever comes on the springs back on them. I strip the carb all the way down and everything I can I take off, but I don't see anything on them that would be affected. Plus to me this is way less harsh on things than the cleaners, I was using Berryman in a can, that stuff will take the skin off your hand lol. Oh and yes it is very easy and clean, and cheap. I like that it cleans everything internally as well, even places that you can not really get into.
 
Last edited by a moderator:
That's pretty slick. What kind of store is Harbor freight, I need to get on of these.

Well it is a store that sells a little bit of everything. There prices are cheap, and there tools are cheaply made, but for the price on some of there stuff you can not beat it. I will post there web site. Not sure if they have stores in Canada or not but you could probably order one online.

http://www.harborfreight.com/
 
Thats great, well done report, not that I really need to save time for cleaning carbs our off season is 11 months up here lol, but I love buying gadgets.
 
Nice write up Youcan. I've been eyeing that up at Harbor for a while now. I'm always tinkering with something that could be cleaned. This will be added to the tools shortly I can see. Thanks!
 
Thanks guys. wow kicker, that is not a long season. I don't know if I could do the cold that long out of the year lol. I have a cousin that lives in upper state New York and we took his boat out in the warmest part of the summer, the water was freezing lol.
It is definitely a neat gadget though, and I have cleaned a lot of other things in it as well.
 
Last edited by a moderator:
I will post these pictures of a bowl off an old honda trx200, that had been setting in a field for several years, that I did today. It is hard to tell on the seadoo carbs but this will give you guys a better idea of how well this thing cleans. The throttle butterfly and slide was frozen on the carb normally I would have tossed it in the garbage, same process drop it in, cleaned it, dried it off and oiled it, works like new again lol.
photobucket-3301-1349403069346.jpg
This is after I ran it through a few cycles, only thing I did to help it was use a screw driver to take the half inch of gunk out of the lower center part of the bowl.
photobucket-27078-1349402952102.jpg
and here it is after about twenty minutes.
photobucket-21520-1349402820481.jpgphotobucket-25047-1349402878522.jpg
 
we use one at our shop for doing yamaha outboard carbs on the fourstrokes. the jets are so tiny that u cant clean em and its has prevented so many comebacks or re teardowns!!!! when u havew to rebuild 4 carbs and sync them u only wanna do it once been using for the seadoo carbs too and instant success every time. if u have really bad corrosion from salt u can use a tub of muriatic acid and it will clean all the salt corrosion of but turns aluminum black which is ok cause usually we repaint all our carbs
 
very nice write up.. thanks for sharing...

i remember reading a thread about this about 2 yrs ago and i probably bookmarked it, but never acted upon the impulse.

this might motivate me, along with the fact that I purchased a box of used carbs on fleabay about 4 months ago, all dirty, nasty and messed up, various sizes and condition, from ugly to nasty, but cheap, but had I located an easy way to clean them up, i might have been able to piece together a nice set for a member that just mentioned he needed them. This just might be the ticket to start popping them in one by one and seeing the results, making junk (not worth the trouble) in to serviceable parts.

sorry to ask a stupid question, but i must.. what exactly is a "cycle" when you say a few cycles, can you explain to me like i'm a 3rd grader what the thing does and how it does it and what a cycle is? (ya, i'll probably google it by the time you answer, i know) but the question stands for the sake of the thread, and spreading around good info.
 
Last edited by a moderator:
OH, good question. I should have clarified, the cleaner has a timer you set, this is actually the one thing I do not like about it. You have to set the timer before it will turn on, and after the timer runs out it shuts off. It only gives you the option to set the timer to 180, 280, 380, and 480 seconds. Not sure why they made it like that IMO it would be much better if they just had an on off switch so it would run for as long as you want it too. The heat will stay on though even if the timer runs out. That is what I was referring to tho when I said cycle. When the machine is running it vibrate/pulsates the water which breaks all the particles loose. When it is running it buzzes and sounds like someone getting electrocuted lol.
Thanks for bringing that up I will try and edit and add that description.
 
Last edited by a moderator:
we use one at our shop for doing yamaha outboard carbs on the fourstrokes. the jets are so tiny that u cant clean em and its has prevented so many comebacks or re teardowns!!!! when u havew to rebuild 4 carbs and sync them u only wanna do it once been using for the seadoo carbs too and instant success every time. if u have really bad corrosion from salt u can use a tub of muriatic acid and it will clean all the salt corrosion of but turns aluminum black which is ok cause usually we repaint all our carbs

I could imagine lol, tuning one especially tuning/syncing two is bad enough. I wouldn't want to mess with 4. That's good to know about salt corrosion, luckily we do not have to deal with it here, but good to know none the less. If im not mistaken the seadoo repair manual mentions something about repainting carbs after cleaning to prevent corrosion, it defiantly wouldn't hurt anything. I may paint these before I re-install.
 
Yesterday I went to a friend's shop to get my project 787 engine blasted (no go on the blasting, his machine it too powerful). He had his boat there and asked him if he had it out lately. He indicated that he had been out a couple weekends ago, and just had his carbs serviced. He has a 12 year old Hurricane with a 2-stroke Yamaha on it. He said that it wasn't running right at full throttle so he had the carbs serviced. He shop that did the work used a sonic cleaner on his carbs.

This is a great write up. The before and after photos of the Honda float bowl sold me!

Thanks for sharing.
 
Last edited by a moderator:
No problem Toro, I'm glad some of you have found it useful, I know I did. Oh, and i'm tuning in to your project, nice start so far. Im about to start my own XP resto.

I'm almost out of Purple Power and i'm thinking about trying a few other cleaners to see what to use for the best results. If anyone knows of anything good I should try let me know. Also does anyone know what kind of grease comes on those springs? I will try and check the manual if I get time. It probably tells, because a normal carb cleaning would most likely remove that stuff as well.
 
They are very handy to have around! As for why they have a timer instead of an on/off switch. I'm pretty sure my machinist once told me that he left aluminum parts in it overnight and it made a mess of them. He used just water and dawn, but he was also just cleaning freshly made parts, not old grimy carburetors, so I don't know if dawn will cut it on them!
 
I hope that HF has a ton of these cleaners.
Let's see SDF has about 46,000 members maybe 5,000 are active this past year...50% of those might buy a sonic cleaner=2,500 sold because of this forum. not counting all the guest that log on just to see about a problem but not join as a member.

Greg & Joe, get them as a sponsor of this site.....ie: more discounts.....LOL :)
 
Thats great, well done report, not that I really need to save time for cleaning carbs our off season is 11 months up here lol, but I love buying gadgets.

11 months off season what?!? I ride from april till october, so really only 6 months off season
 
Status
Not open for further replies.
Back
Top