• This site contains eBay affiliate links for which Sea-Doo Forum may be compensated.

Pictorial On how to buff your faded nasty hull

Status
Not open for further replies.
What did it cost for those decals?

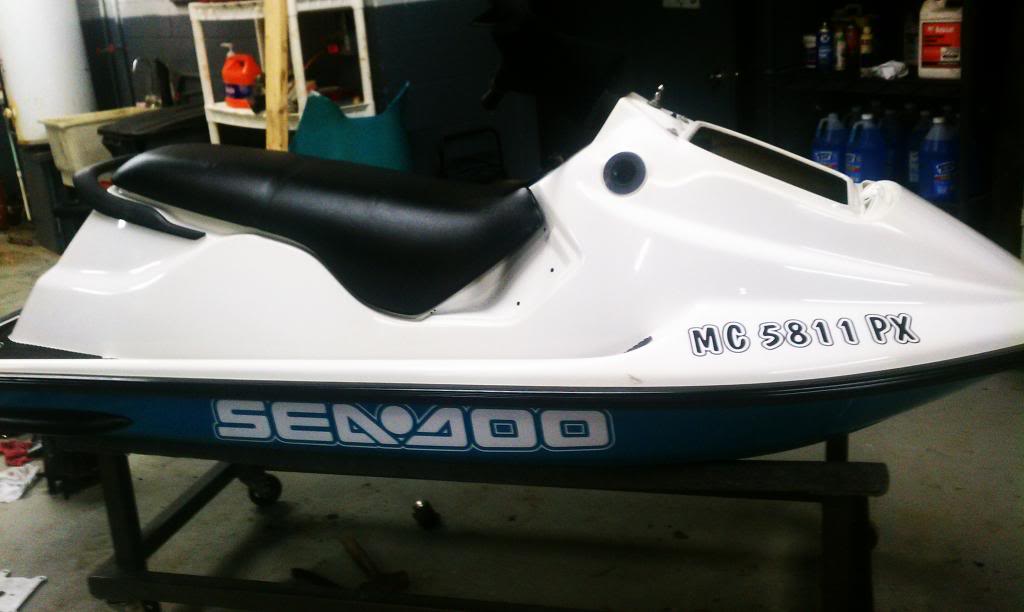
Pricing will vary. But, the hull numbers are $25 for a single color, and $35 for 2 colors. The seadoo logo's are $35~$45. (those are 4"x35")

Contact me if you need something, and I will figure out a price. Also... I always give discounts when you order more.
 
Great job on the Ski!

Tony, Do you sell any of the other decals? Or are there too many variations/models to get into that. I am re-dying the plastics on the 96 GSX & have been searching for decals. Doesn't seem to be much out there.
 
This is awesome! It should definitely be stickied or put in the How To forum.

That looks great. My silver ski is pretty bad, maybe I'll undertake this, I'd be stoked if it turned out this well.

I'd add the option of using a 3M "stripe off" decal remover wheel if you're taking off a lot of decals. It makes a mess but is super easy and gets all the adhesive residue and everything off. They are a little pricey depending on where you get them - maybe $20-30. Look on Amazon and eBay.
 
Last edited by a moderator:
Great write up...I dont think I've ever gotten one to glow that well!!

Only one thing I didnt like...and its only a opinion from a decal snob. Cut the reg. numbers into pairs and follow the curved line.

Sooo...I feel like sharing a few tips here.

#1 Softscrub with bleach....Works AMAZING w/ a scotchbrite on the hoods. Do a couple of good workovers and rinse.

#2 Heat gun...one for decal removal the other for those bumper corners. On the corners I get them nice and hot to get the oils out from the plastic then I hit them with silicone detail spray. NOTE: some will discolor a bit almost like marble.

#3 Maxima silicone detail spray. Mostly b/c I like to huff it. Well not literally but once you buy some you'll understand. It makes an amazing finishing spray on everything and seems to keep the hard water stains off.


Dr honda will make the reg #s with a curve. He actually prefers it i think, i like the straight line look and had him make them the straight way.

With the corners and bump rails, i paint them, i cant stand the purple seadoo used. I even paint over the black bump rails because they usually fade. All the trim on this will be black soon, and then she will be up for sale. Its got all the guts from a 95 xp, so a little bit of a sleeper, at least better than the 657 that was in it.

I will have to try maxima out
 
Last edited by a moderator:
Ok...now we need to teach you how to host your pictures and post them big...then you can redo the whole thread with pictures you can see ;) We need to see that work of art...
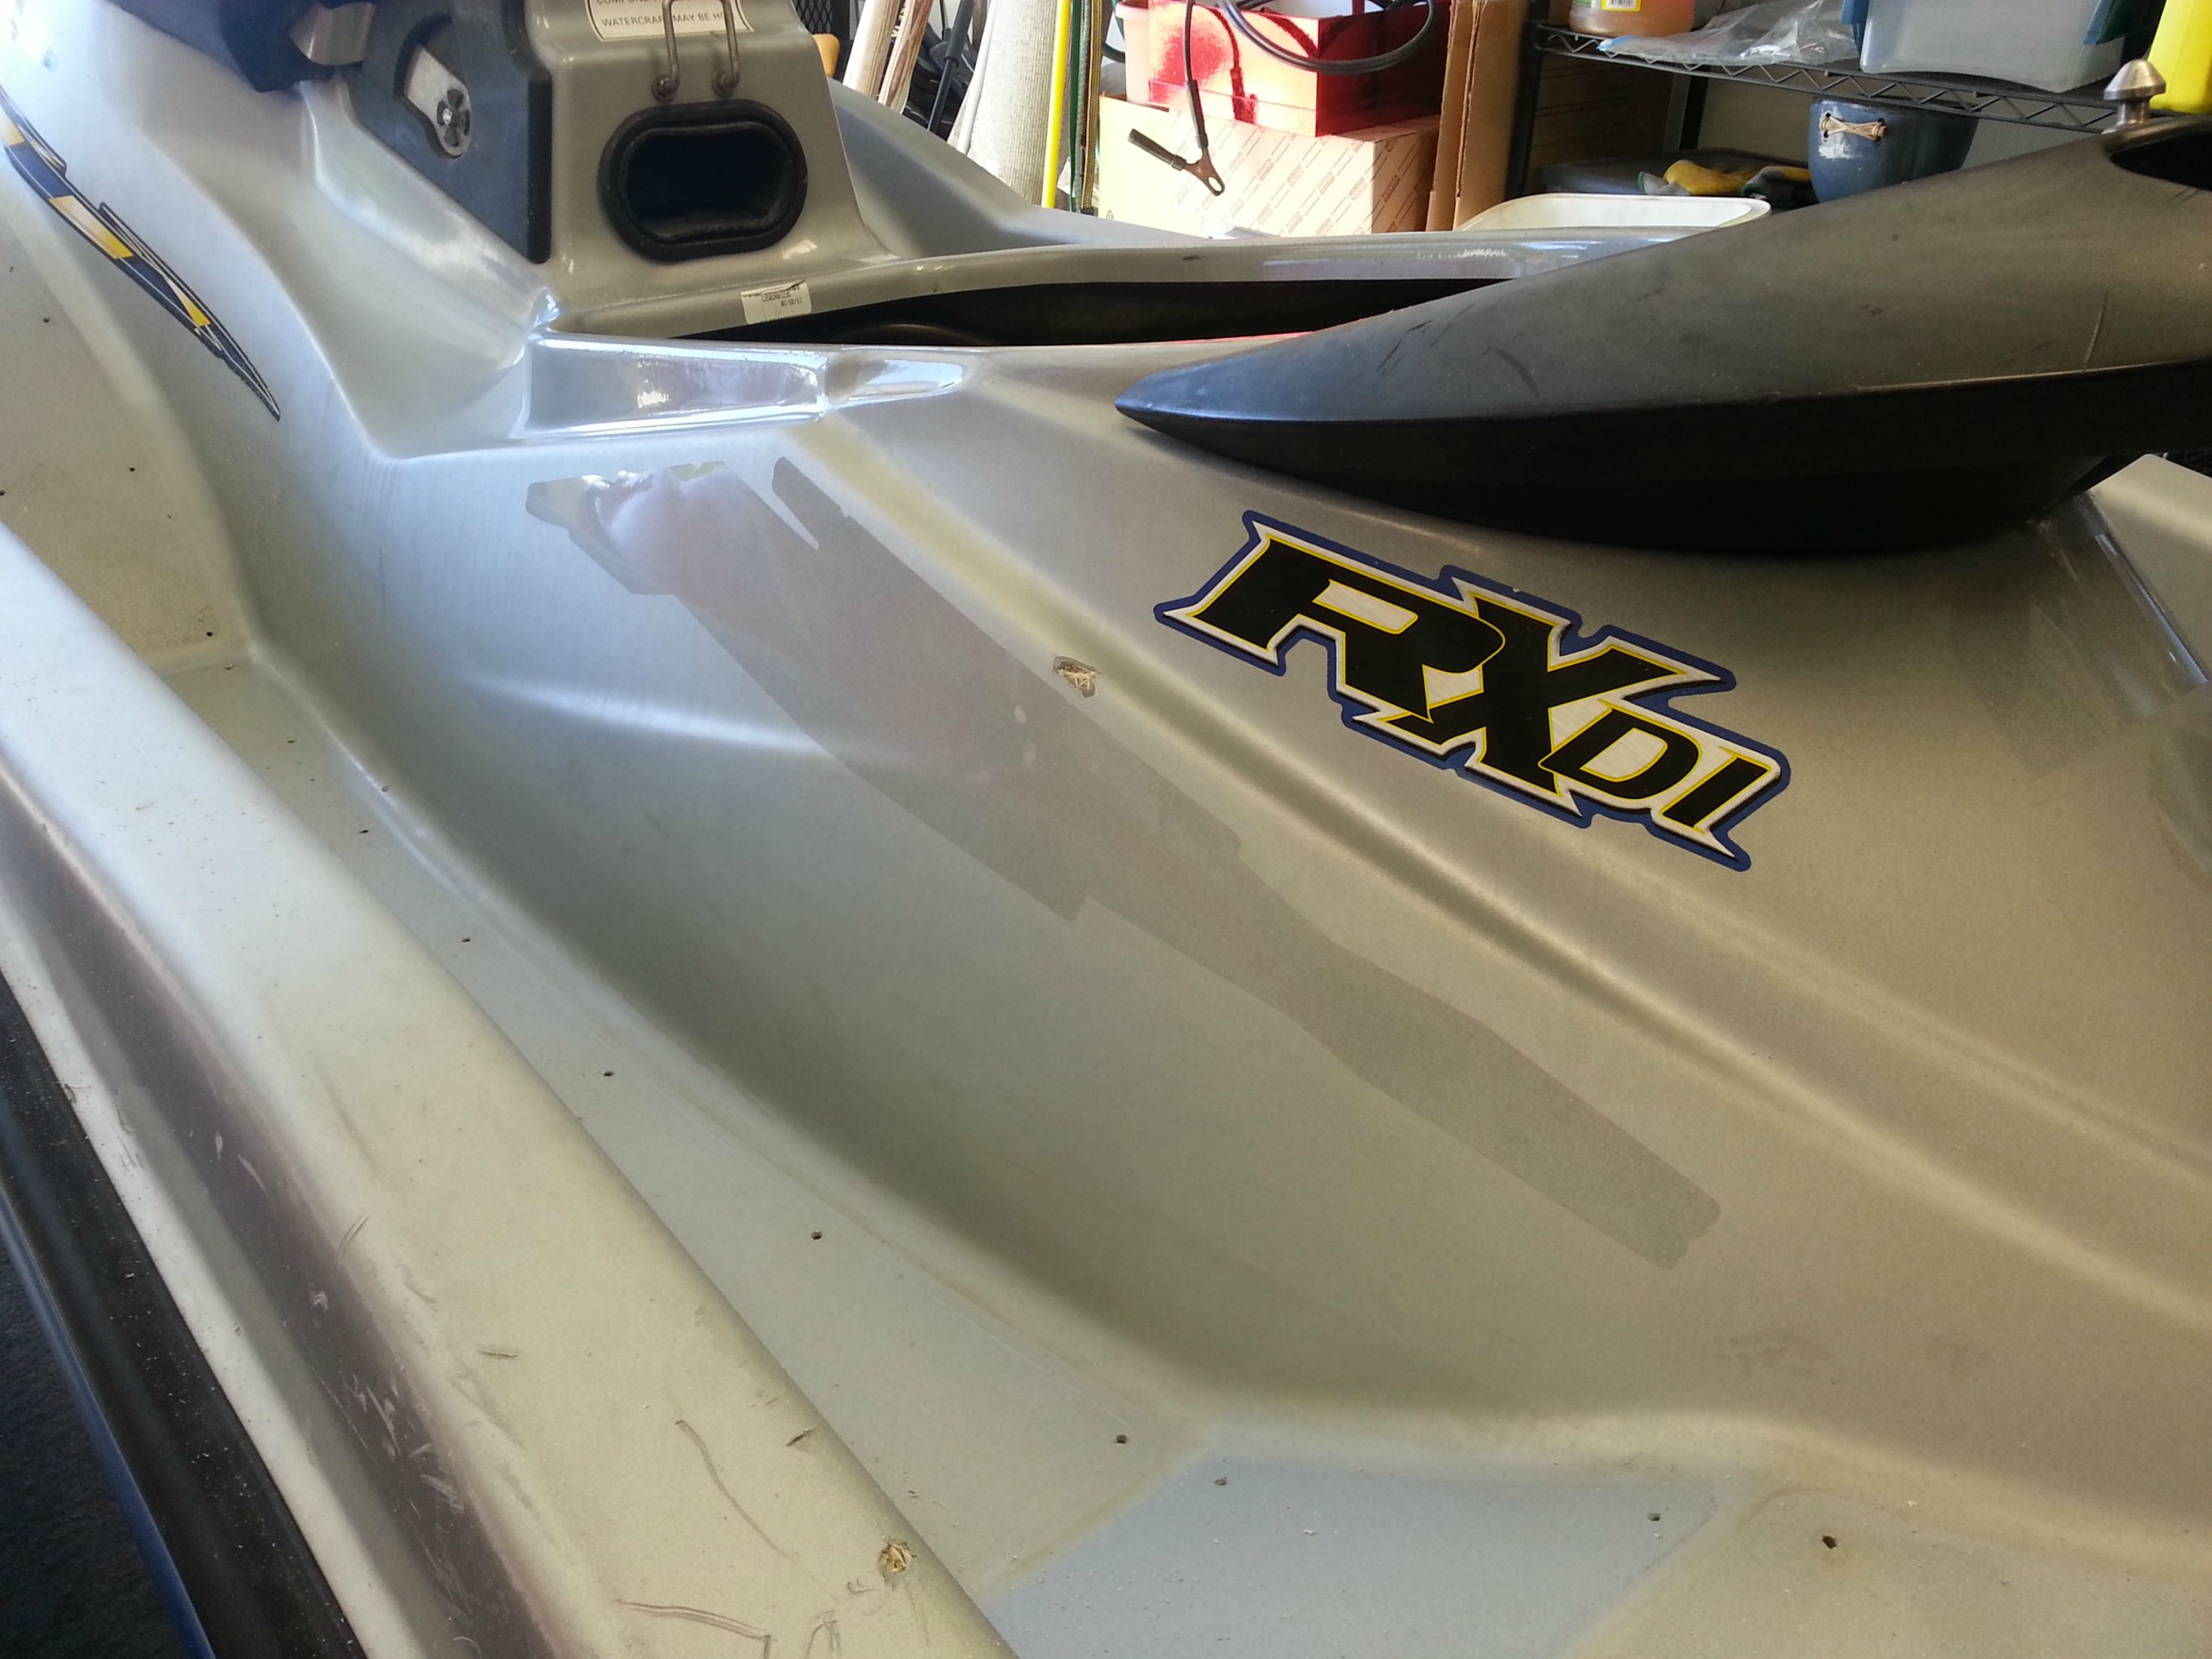
 
I would agree with you there. I hate having to click on the picture to blow it up and then picture by picture. I took forever to get them from my phone to,computer,to the thread. I could def use some tips on how to do that. I use to use photobucket years ago but dont even know if this forum supports it.
 
JSG where ever you host your pics or if you want to do it down and dirty and edit some HTML it's easy to do. You can get the IMG link from where you host your pic or you can do it like I just did to your pic BAM! JUMBO PIC. I host on photobucket and just use the IMG link.

But you can take your current pics and right click on them then click on COPY IMAGE URL.

Then here is the "dirty" part you need to type


You could easily do it in the thread where your pics are, no need to redo the entire thread or extra posts. Then just go back and delete your links

attachment.php
 
Last edited by a moderator:
I like using Imgur, you can upload a bunch of pictures to an album and then post the album link, like this:

http://imgur.com/a/UcCk3

You can also just post the links to the individual images, Imgur just gives you the code to copy.

I like putting the photos in the post directly, rather than attaching them, so people that aren't registered users will be able to see the photos and be helped by your post if they stumble on it.

If you upload giant photos, it will let you make a link to a more reasonable sized version too, so you can get something like this:

[IMG]http://i.imgur.com/OuFKhl.jpg

instead of this (which is ridiculous, sometimes the forum will resize the photo itself and link to the mega-size)

169.jpg
 
Last edited by a moderator:
I like using Imgur, you can upload a bunch of pictures to an album and then post the album link, like this:

http://imgur.com/a/UcCk3

You can also just post the links to the individual images, Imgur just gives you the code to copy.[/QUOTE]

I like the img code and the pics embedded in the post, as soon as I get taken to an album it's an instant turn off, like a butterface. Everything looks good But her face.
 
An album is great if you have a lot of photos you want to share. If it's a tutorial, step by step photos are best in the post itself, but if you then have a bunch of "after" photos for example, I think it's better to have them all in an album. It keeps the post size down, and since the order of the photos isn't important, if someone wants to see all of them they can just look at the album instead of having to scroll, scroll, scroll, in the forum (you can use left and right keys in Imgur albums).
 
I like using Imgur, you can upload a bunch of pictures to an album and then post the album link, like this:

http://imgur.com/a/UcCk3

You can also just post the links to the individual images, Imgur just gives you the


instead of this (which is ridiculous, sometimes the forum will resize the photo itself and link to the mega-size)

169.jpg

On that rx di were you riding it with spurs on lol, holy scratches, we have a xp like that too. We got it that way and have no idea how it got like that
 
Last edited by a moderator:
No prob - on a related note, you should generally try to avoid quoting people's posts if they include photos, it makes the thread REALLY long - you can almost always just reply and the person will figure out what post you're referencing.

And nope, I bought it like that, I have no idea what happened...

You can always erase the picture links off the quote by going to the advanced post page...esp if you are trying to reply to a post a few back.


I am a mediafire.com guy...you go to share, it gives you a few size choices...it gives you the full link to copy and paste and its a done deal.
Photobucket is full of advertising and files expire on there. mediafires interface was really crappy a while back but they just did a huge revamp and it works really great now.
 
You can always erase the picture links off the quote by going to the advanced post page...esp if you are trying to reply to a post a few back.

Yeah, that's true, but nobody ever does that. :) It's good if you're addressing particular pieces of a long post though.
 
Love this Write Up Got my Decals from Dr. Honda Also , but havent installed them yet. I have no place to work on my ski, so unfortunately I have to wait. Whoomp
 
I like the img code and the pics embedded in the post, as soon as I get taken to an album it's an instant turn off, like a butterface. Everything looks good But her face.

Omg lmao
I've been using that butterface for years. Nobody knows what I'm talking about racer.
 
Great write up...I dont think I've ever gotten one to glow that well!!

Only one thing I didnt like...and its only a opinion from a decal snob. Cut the reg. numbers into pairs and follow the curved line.

Sooo...I feel like sharing a few tips here.

#1 Softscrub with bleach....Works AMAZING w/ a scotchbrite on the hoods. Do a couple of good workovers and rinse.

#2 Heat gun...one for decal removal the other for those bumper corners. On the corners I get them nice and hot to get the oils out from the plastic then I hit them with silicone detail spray. NOTE: some will discolor a bit almost like marble.

#3 Maxima silicone detail spray. Mostly b/c I like to huff it. Well not literally but once you buy some you'll understand. It makes an amazing finishing spray on everything and seems to keep the hard water stains off.

As a professional detailer the only thing I'd change is avoid ANYTHING that contains silicone. Silicone will ride on top of the surface and attract dirt/dust, grime, etc. Basically anything nasty will stick to it and discolor it. Stick to things that are water based. If it doesn't specifically say NO silicone it contains it.
 
Now not only does your buff job look professional, so does your thread:thumbsup:

Well done sir.
 
Yup looking good...one last thing...add a return when multiple pictures in succession are posted. It looks sooo much better.

Suke its kinda funny you say what you do...I just looked at the bottle and it says it doesnt attract dust and dirt. Gotta love sales pitches!
 
Here is an update on how the spx is coming along. The bump rails were painted black. A black grab bar was added as well as black vents. The hood is being painted with ppg black base coat, then cleared with ppg reducer,hardener,and a plastic flex agent. The hood is also from the 95 xp so it will have 3 gauges and the mirrors. We are painting the single gauge hood and putting that on the other 96 xp. Everything on the inside of the hull is from a 95 xp, besides the pump extension and the pump although the impeller was changed out. So Next week she will be for sale. Here are some pictures, they are kind of dark because they were taken at 5 pm and it is now dark here this time of the year.

Oh yeah I also recovered the seat from a 95 xp and put it on here

286.jpg


287.jpg


288.jpg


289.jpg


290.jpg


291.jpg
 
Last edited by a moderator:
Hey, I was wondering how those wool drill pads worked out for you. I got the same ones from Oreilly and they distributed fluff EVERYWHERE the first few times.

Also, they loaded up with compound/gelcoat pretty quickly - is there a good way to clean them while in use, rather than taking them to the sink with some soap and scrubbing them out?

I'm working on a silver metallic one, maybe the only color worse than white. :D
 
Status
Not open for further replies.
Back
Top