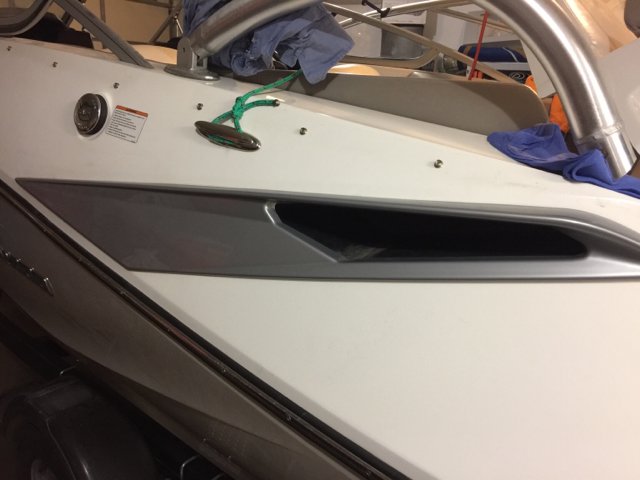
maybe this will help, it was a problem on earlier 210's later on they changed how the mounted the side vents.
PROBLEM
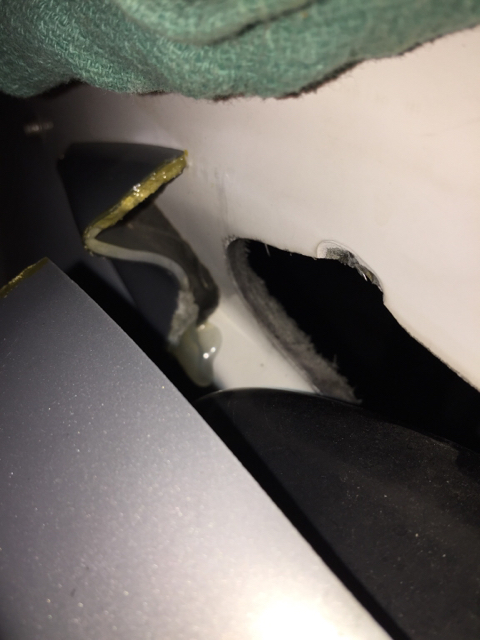
On the above mentioned models, the adhesive between the retaining studsand the plastic side vents may fail. A gap may be visible between the hulland the side vents; this may cause the side vents to rattle.
SOLUTION
Remove the side vents and apply glue to retain them.
PARTS REQUIRED
Parts Part number Qty Glue Plexus MA310*
204 130 4212* Do not use other glue thanthe recommended one.
PROCEDURES
READ INSTRUCTIONS COMPLETELY BEFORE BEGINNINGTHE REPAIR.
Procedure on Port Side
1. Remove stereo speaker.
2. Remove the side vent.
2.1 Using a 11/32" deep well socket, remove side vent retaining nuts.Keep nuts and washers for reinstallation.
2.2 Remove the side vent from the boat.
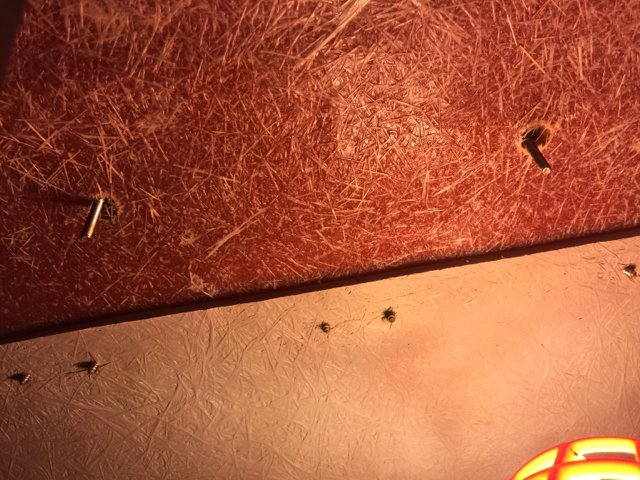
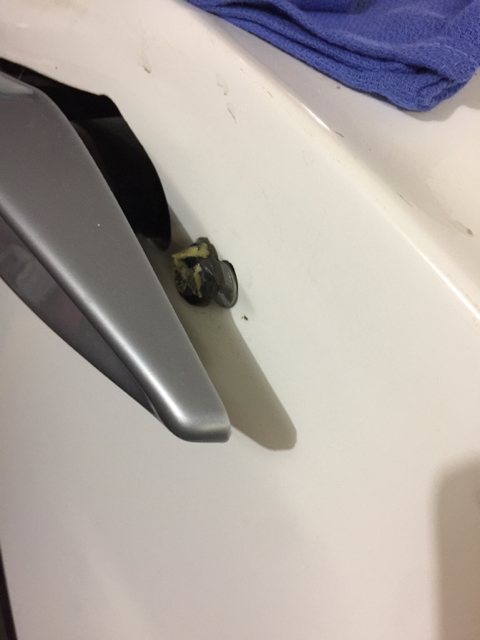
3. When required, remove broken studs from the side of the deck by holdingits head with locking pliers.
If 2 studs or more are broken off from the side vent, order a new paneland replace it.
Parts Part number Qty Port side panel
237 000 0381
NOTE: When installing a new side vent, make sure to remove all stud protectors.
1. Stud protector
2. Stud
IMPORTANTThe next 4 steps must be completed within 10 minutes.
4. Dispense a full cartridge of glue on a piece of cardboard.
5. Using a stirring stick (or a tongue depressor), mix for 1 minute.
6. Apply the glue around the upper studs only. See following illustration.
NOTE: Be sure to pile a sufficient quantity of glue and make sure it willcome in contact with the deck when installing.
7. Install the side vent on boat.
7.1 Outside of the boat, ask someone to hold the side vent in place oruse masking tape to hold it.
7.2 From inside of the boat, reattach the side vent using existing #8elastic stop nuts and fender washers.
7.3 Tighten nuts very slightly. Apply a maximum torque of 0.6 N•m(5 lbf•
in). Watch the side vent oftento avoid dimples formation during nuts tightening.
NOTICE Do not over tighten the nuts. Excessive torque will dimple the outsideof the side vent.
8. Remove any excess glue.
9. Reinstall the stereo speaker.
Procedure on Starboard Side
Remove and reinstall the starboard side vent just like the port side(refer to PROCEDURE ON PORT SIDE above).
NOTICE Pay attention at the blower hoses when removing the side vent fromthe deck.
If 2 studs or more are broken off from the side vent, order the followingparts to replace it:
Parts Part number Qty Starboard sidepanel
237 000 03911/8" Rivet
293 150 0364Washer
234 031 6004Push-in rivet(Christmas tree)
293 730 0064Retaining strap
204 073 5351
1. To install a new sidevent, remove the 4 push-in rivets securing the blower hoses to the side ventflange.
2. Using a 1/8" drill bit, remove the vent flanges from the starboard sidevent by drilling off the 4 retaining rivets (2 by flange).
3. Using as a template the vent flanges (previously removed), drill four1/8" holes in the vent flange support of the new side vent.
4. Install both vent flanges on the vent support.
4.1 Place the lip of the flange inside the support.
4.2 Secure each vent flange using new 1/8" rivets (P/N 293 150 036) andwashers (P/N 234 031 600).
NOTE: Place the washers inside the support.
1. Washer (P/N 234 031 600)
2. 1/8" rivet (P/N 293 150 036)
5. Install blower hoses on vent flanges and secure them using new push-inrivets (P/N 293 730 006).
6. Remove all stud protectors from the new side vent.
Now refer to the step 4 of the PROCEDURE ON PORT SIDE tocomplete the side vent installation. Pay attention to the following detailsduring installation.
NOTICE Be careful to damage the blower hoses during their insertion in thedeck opening.
To secure the stud located in the deck hole, use the retaining strap (P/N 204073 535), a #8 elastic stop nut and a fender washer.
1. Retaining strap (P/N 204 073 535)
The boat can be use 1 hour after the repair has been completed.