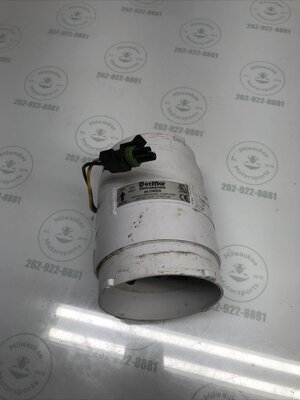
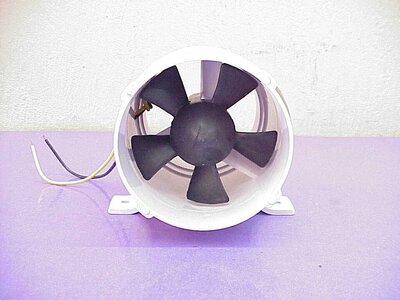
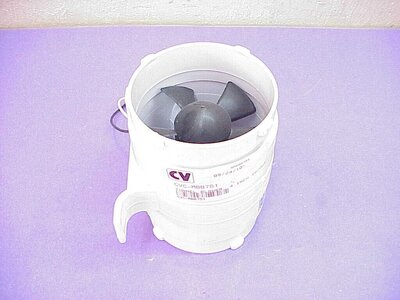
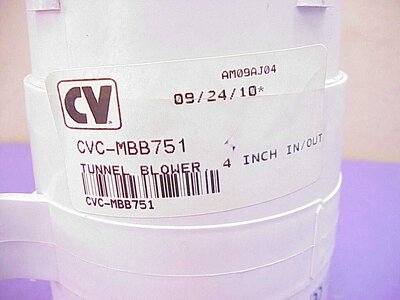
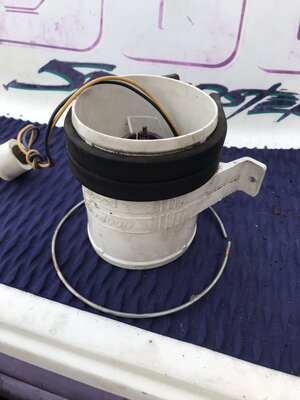
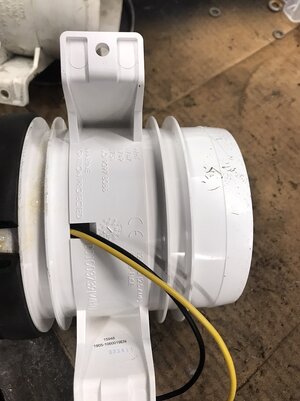
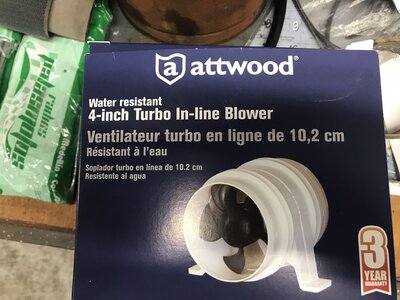
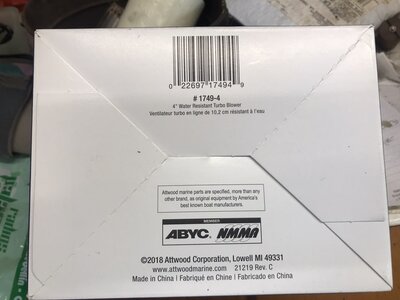
I haven't removed the blower but I did some research and found one like this listed on Ebay as a replacement for a Seadoo Boat. I understand it is a 4" blower which this one is 4". Has anyone done one of these replacements lately?
-
This site contains eBay affiliate links for which Sea-Doo Forum may be compensated.
You are using an out of date browser. It may not display this or other websites correctly.
You should upgrade or use an alternative browser.
You should upgrade or use an alternative browser.
Speedster Blower Replacement
- Thread starter etemplet
- Start date
- Status
- Not open for further replies.
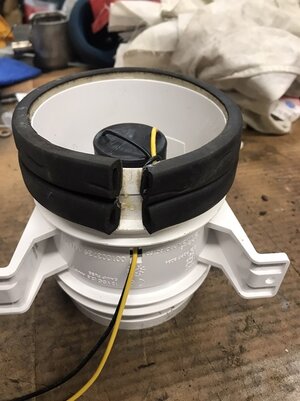
I looked everywhere to find out how to remove and replace this blower. All I can figure is that people may be to embarrassed about not figuring it out and asking questions when they finally figure this silly little mount out. I did find some pictures here on the forum that were not help at all. The only thing I found was a guy saying he could change one out in 32 seconds. That might be true if someone put the ring in the correct position. I'll post some pictures. Basically there is a circular ring that SNAPS in (the ring is 4" outside diameter) after you put the blower in position. There is no tight seal and the mounting feet mean nothing.
No need remove the side insulation panel. You can reach in and get to what is needed. That said, if you have a boat you already know that nothing is easy to reach on a Seadoo Speedster.
 but it is doable.
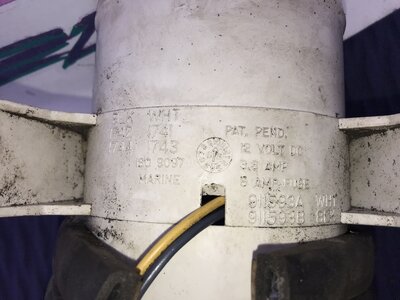
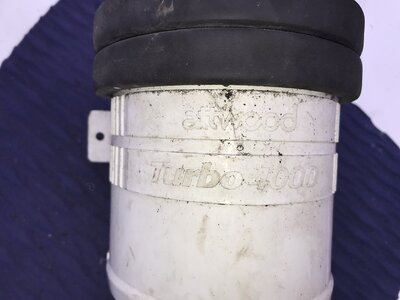
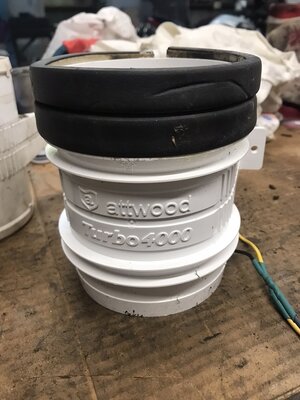
The blower I removed is an ATTWOOD Turbo 4000. (It is a 4" blower
ISO 9097
12 volt 3.8 amp (5 amp fuse)
That little ring at the bottom of the first picture is what holds the blower in place. The mounts are not used in the way they appear.
No need remove the side insulation panel. You can reach in and get to what is needed. That said, if you have a boat you already know that nothing is easy to reach on a Seadoo Speedster.
The blower I removed is an ATTWOOD Turbo 4000. (It is a 4" blower
ISO 9097
12 volt 3.8 amp (5 amp fuse)
That little ring at the bottom of the first picture is what holds the blower in place. The mounts are not used in the way they appear.
Attachments
Last edited:
fierceseaman
New Member
did you already have the ring or did you need a replacement? I replaced my non-functioning one but it is currently wedged into the exhaust stack with nothing really holding it in place. A new ring would be great
fierceseaman
New Member
No I misspoke. My blower wasn’t even installed when I put the new one in.
I wonder how many people don't know the importance of venting fumes from the engine compartment. When you buy these boats new and you have the manual it stresses the importance of the blower but as the boats get resold the information isn't shared so much. People don't realize the value of owners manuals for the uninformed.No I misspoke. My blower wasn’t even installed when I put the new one in.
I don't see any part number for that spring. Probably a couple of ty-wraps across the bottom might hold it in position. The set up I have the blower is loosely sitting in the tube but it isn't coming out with the spring in there. I ordered the same blower. A high amp more powerful blower isn't need and why drain the batteries unnecessarily. This blower is 200CFM so that's good.
I did see that OSD sells a replacement but they say you need a 10 amp fuse. I'm not one for changing fuses without upgrading wiring and such. Basically, we shouldn't have fuel leaks anyway. Good Luck !
fierceseaman
New Member
I think you are correct about the venting. When I bought it the previous owner warned me it wasn’t installed and was using a hand held lead blower to vent fumes.I wonder how many people don't know the importance of venting fumes from the engine compartment. When you buy these boats new and you have the manual it stresses the importance of the blower but as the boats get resold the information isn't shared so much. People don't realize the value of owners manuals for the uninformed.
I don't see any part number for that spring. Probably a couple of ty-wraps across the bottom might hold it in position. The set up I have the blower is loosely sitting in the tube but it isn't coming out with the spring in there. I ordered the same blower. A high amp more powerful blower isn't need and why drain the batteries unnecessarily. This blower is 200CFM so that's good.
I did see that OSD sells a replacement but they say you need a 10 amp fuse. I'm not one for changing fuses without upgrading wiring and such. Basically, we shouldn't have fuel leaks anyway. Good Luck !
I ended up purchasing Sea Doo part number 204000133 “BROACH” which I believe is the correct retaining clamp/band/wire.
I dunno about that guy that posted changing the blower in 32 seconds. Hanging over the side and trying to see under the padding. I ended up pealing the padding which held together. Very difficult when you can't see. A true pain in the azz but not a lot of work. Someone wrapped stick-on padding around the blower I removed and it was a good idea. Sealed the sides of the blower and it stays in position better. 7.5amp fuse under the dash box was bad. I had to get into the wiring diagrams to find the fuse block.
This model worked great. Power supply to the blower 7.5 amp fuse.
This model worked great. Power supply to the blower 7.5 amp fuse.
Attachments
Reach under and grab the ring and work it out. It isn't very tight it is just difficult to get to... sort of like a wrist pin clip... you gotta get under it some and just work it around. Patience.Same problem. I want to get the old one out and replace it. Sure feels like it is bolted on but if it is a ring maybe I can bash it through with a hammer and 2x4 from the top.
I got tired of the Patience thing and eventually just ripped it out. It worked.Reach under and grab the ring and work it out. It isn't very tight it is just difficult to get to... sort of like a wrist pin clip... you gotta get under it some and just work it around. Patience.
- Status
- Not open for further replies.
Similar threads
- Replies
- 0
- Views
- 331
- Replies
- 3
- Views
- 343
- Replies
- 7
- Views
- 1,154


