RESTO Restoring a 1997 GTX- "The Hostage"

Status
Not open for further replies.

dgoodwin10

Active Member
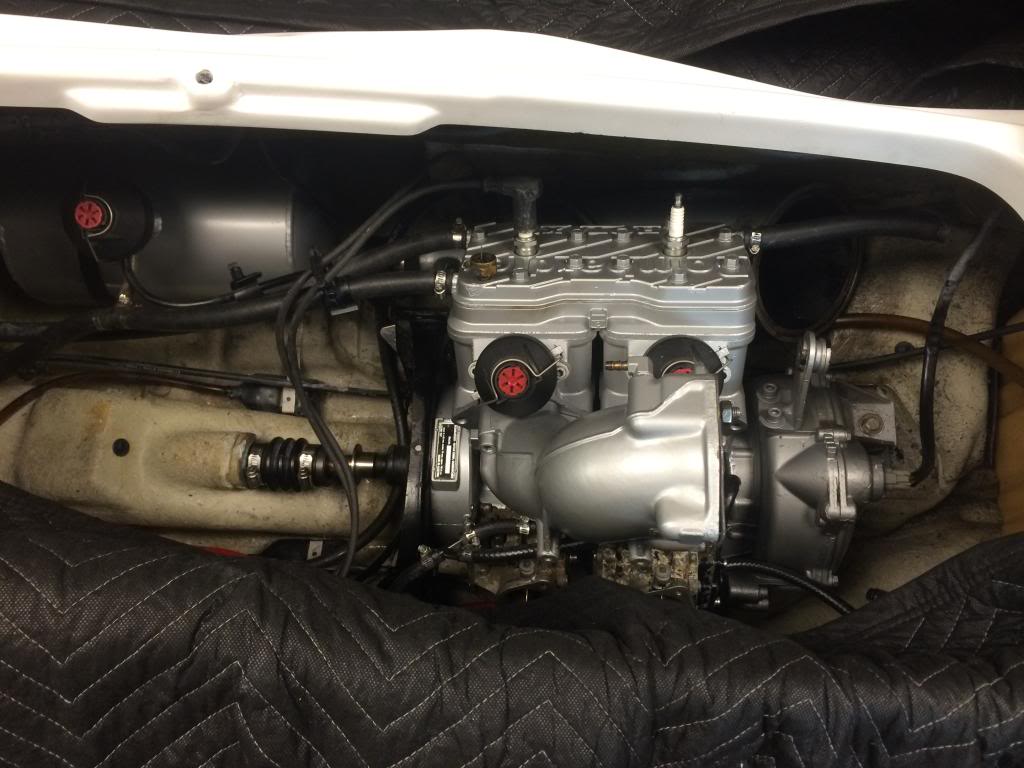
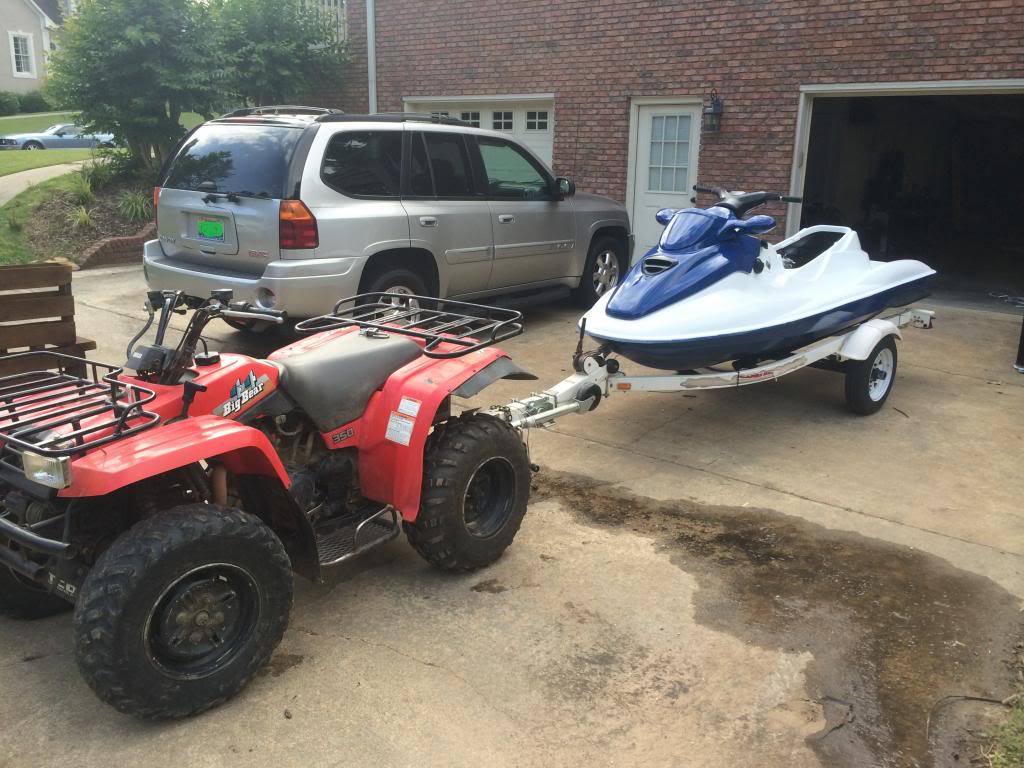
First, a little background on the ski: I'd always wanted a Seadoo and being fairly handy with a wrench decided I wanted to get a fixer-upper and found a 1997 GTX on CL back in Janurary 2011. The PO had let water sit in the motor and cracked the MAG side jug, but it did run. It came with a trailer and for $800 I figured it was worth a shot. We had a welding shop TIG the jug back together and had a friend help with a top end rebuild. The motor had 170 hours and was original so I should have done the bottom end while I was at it. More on that later. I replaced fuel lines and a few other odds and ends and took the ski out Memorial Day of 2011. This is when the original bottom end came back to bite me and a crankshaft bearing went out. I was taking classes that summer (Freshman in college), so we opted to have a shop rebuild the motor. It took over 2 months to get it back, which didn't sit well, but I was busy and didn't have the time to ride it...or stay on top of the shop rebuilding it. We got it back only to find bolts missing, a rave that had been turned upside down and destroyed a piston, and water shooting out from around the spark plugs. :facepalm: After calling the guy, he agreed to make it right. Or so we thought. After 10 months of dodging phone calls, finding out the guy had the wrong address listed online, my dad managed to track the guy down and ended up getting the ski back...which had been sitting in his back yard the entire time. :cuss:.

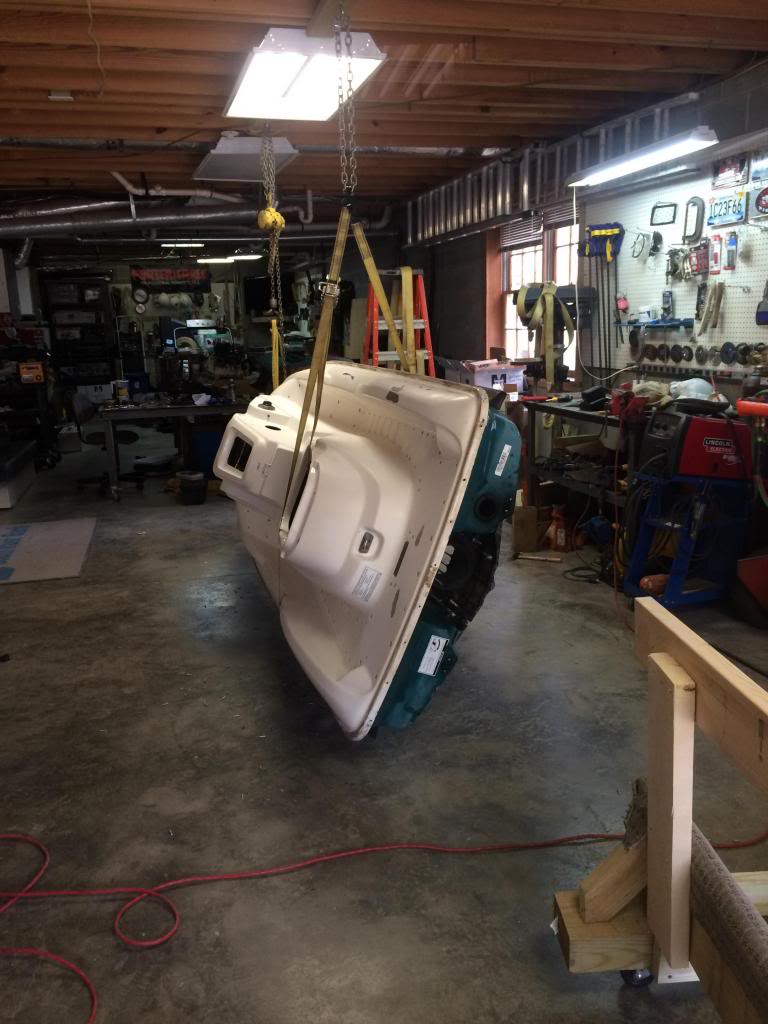
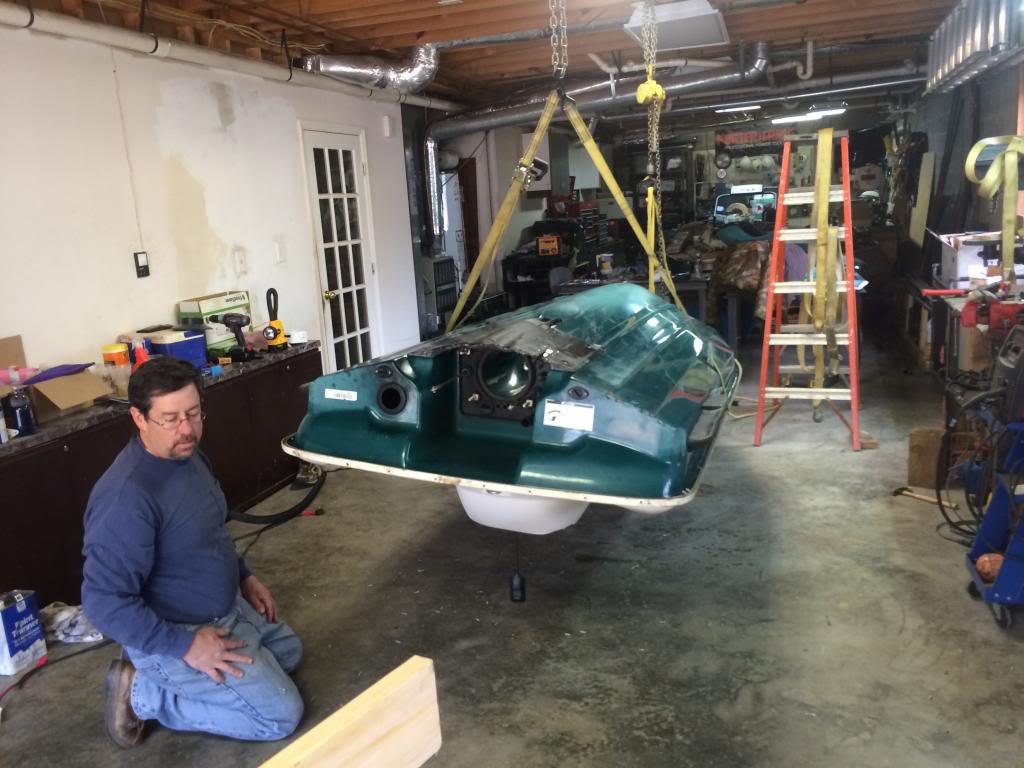
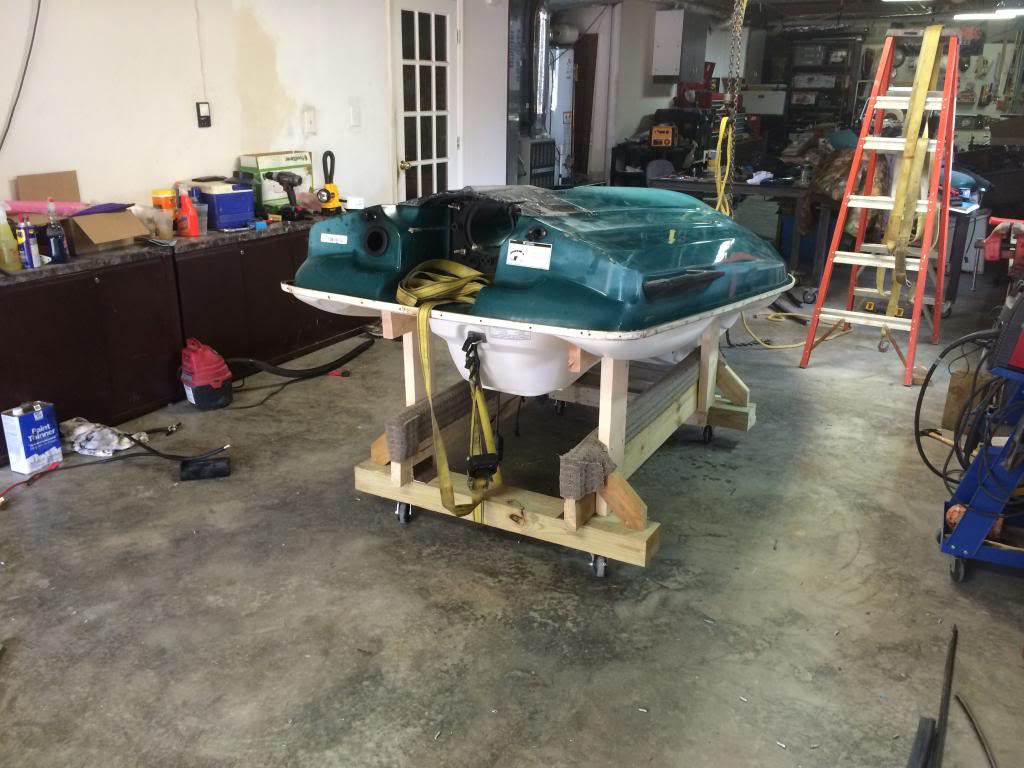
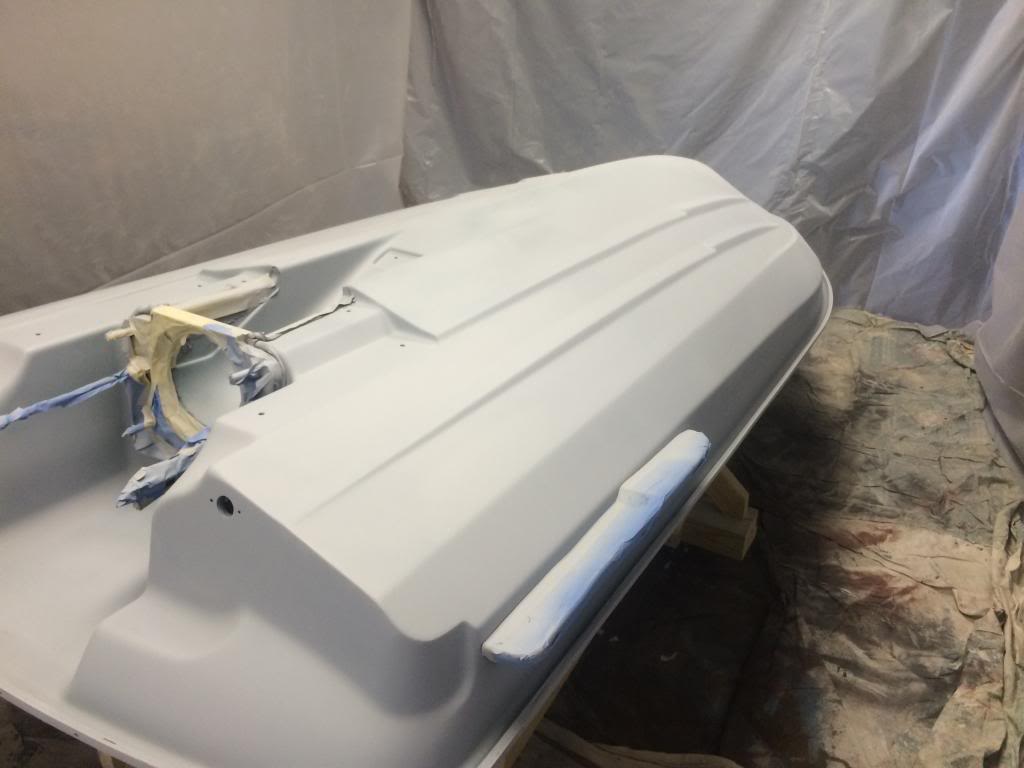
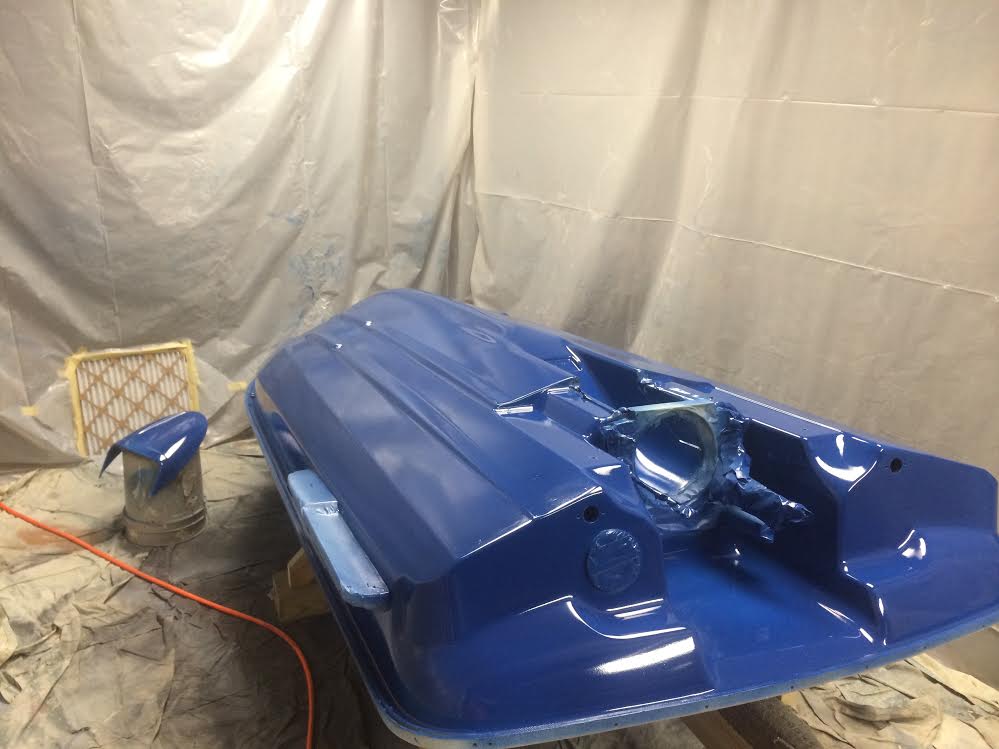
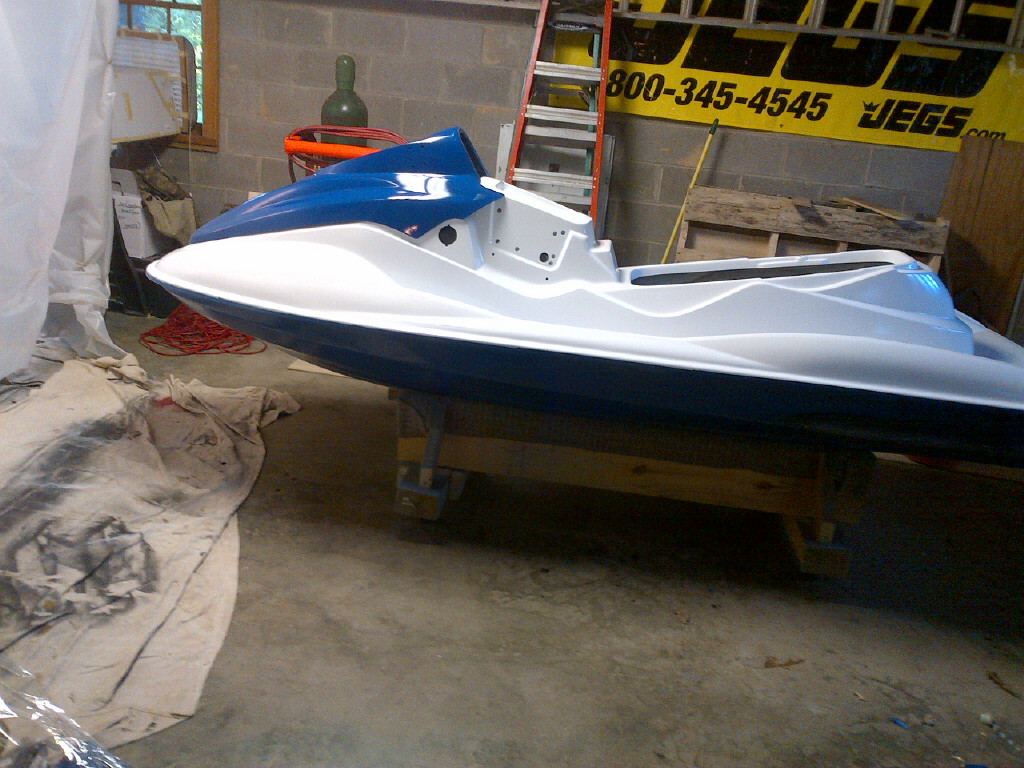
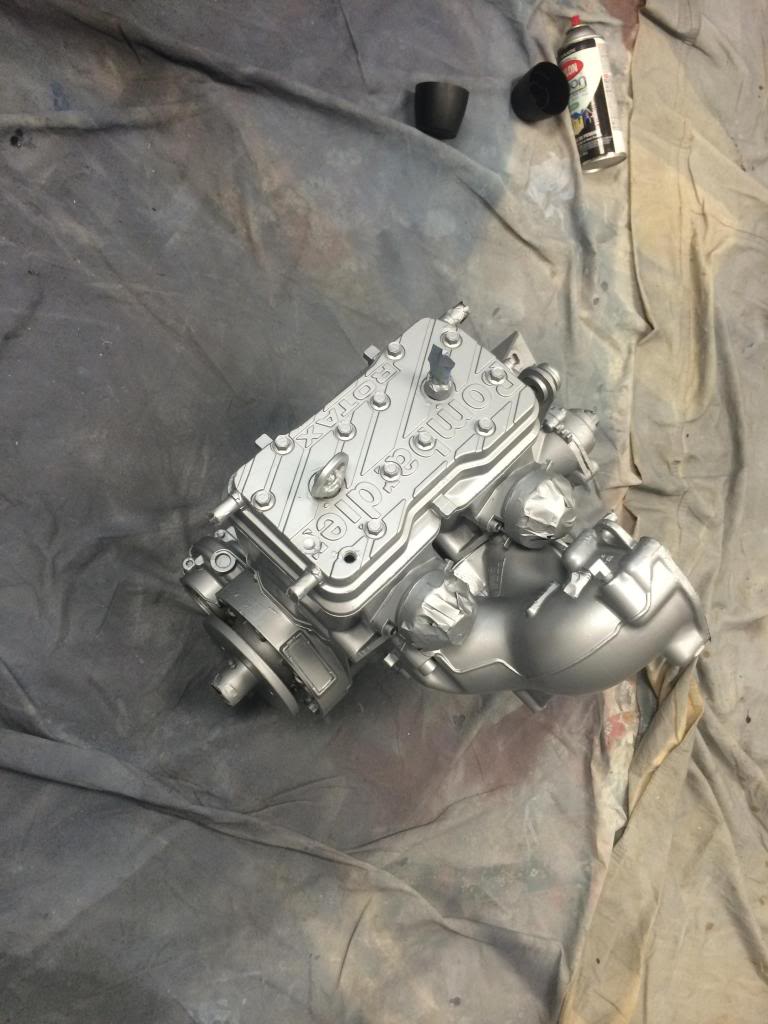
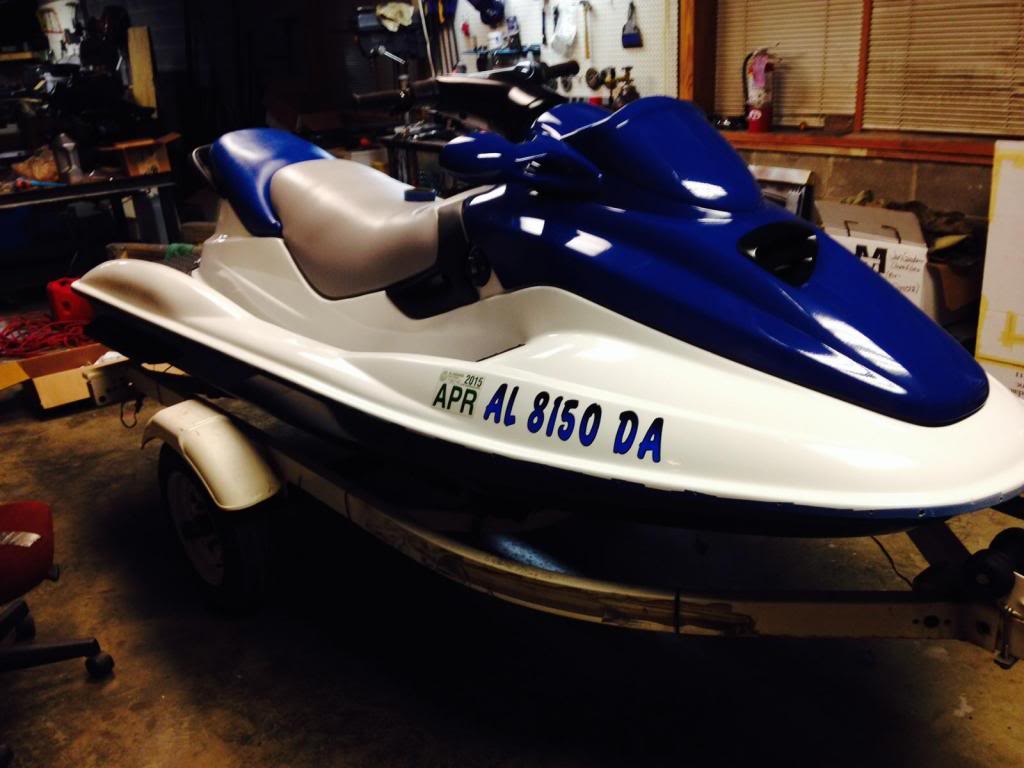
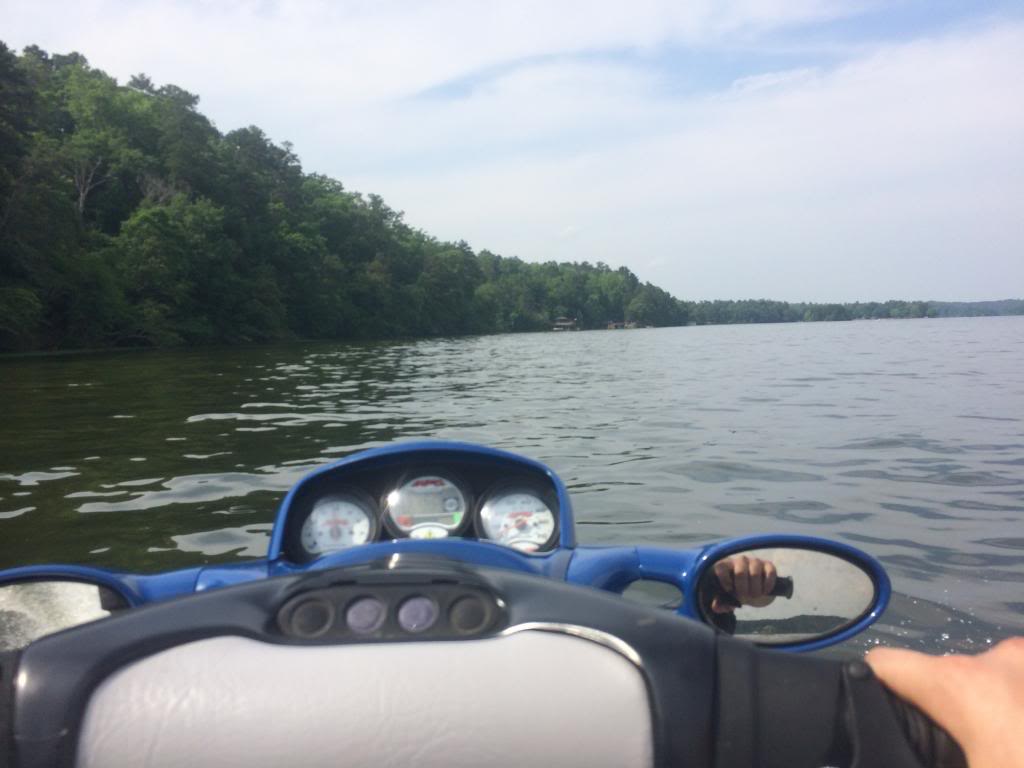
Now with the ski back in our possession and many hours spent on these forums researching it's time to bring this ski back to life- the right way. The motor is getting a full rebuild by me, as well as replacing all filters this Winter when I'm home from school. I've always loved the blue Millennium Edition skis, so I'm going to paint the ski since the motor is out of it as well as add the appropriate graphics and seat. I'd like to use this thread to keep the build updated as well as post any questions I have concerning the build. Sorry for the narritive...now on to the questions:

The first: Does anyone know if the seats are the same/similar enough for seat covers to be interchangeable between the pre '99 skis and the post '99? I'd like to buy the vinyl to save money, but only if the colors match. Also, anywhere else besides eBay to get graphics for a reasonable price?
 
Last edited by a moderator:
FINALLY! I have progress to report on this project! I was able to get a fair amount of work done on the ski while I was home from school over Christmas break. As I mentioned above, the 'mechanic' we had working on it did a beyond poor job on this thing. He did get something done since the ski (barely) ran when we got it back the first time. After seeing the missing bolts, spark plug seals and various other red flags, this is what we found when we pulled the heads.

h4q6.jpg


7fi1.jpg


Its almost impressive. Unfortunately, debris from this piston managed to make it to the other side, so I'm in the process of cleaning out the bottom end and checking out bearings and such to see what else needs replacing. I also got around to stripping the decals off the hull to prepare for paint and built a cart for it.

3k9d.jpg


Paint will be coming later when it warms up some, since this has been a brutal Alabama winter. In the mean time I'll be working on filling chips in the gel coat and getting the motor re-assembled. Questions, comments, jokes and sarcasm are always welcome!
 
If you have not looked into it...Seadoo discontinues graphics within a year or two of new so thats out of the question.

Exoticsigns.com makes some really good Repos, but they are big $$

On the seats..they do simply interchange.

Unfortunately many newcomers to jetskis seem to find the worst local mechanics. I applaud you for not giving up on it. I hope you plan on completely disassembling the motor, No telling what else that clown did.

If you need any parts let me know.

Good to know on the graphics. I'm planning to get the Bombardier and GTX badging on it and possibly leave it that. Keep it plain and simple. Anyone have any affordable sources other than ebay for that stuff?

I've always had a soft spot for these older 2 stroke skis since I grew up on them. And I've always wanted a top to bottom restoration project... This combined the best of both worlds.

This ski is turning into a better deal the more I tear into it :thumbsup:. It came on a Shoreland'r trailer which is surprisingly rust free. I also found a Soalas impeller and new-ish wear ring in the pump. Speaking of tear down, the motor will be getting completely torn apart. I don't trust anything this joker did... it takes 2 hands to count all the missing bolts :rant:.

Updates will be few and far between since I'm back at school which is 2 hours away from home. As always thanks for all the helpful into on here!
 
cool! looking forward to the progress post. the gtx is a great ski which is what i'm on the hunt for my wife.
 
If you want any insight on exotic signs or see their work the ski in my avatar is sporting their graphics. Have a ton of pics in my restore thread.
 
PWCgraphics can make you some decals for a reasonable amount. He did a few on my 98 SPX and they came out spot on!

Sorry to hear about the problems you had with people working on your ski! This really is the best option -- for you to learn the ski and work on it yourself! These skis are getting old and the shops that call them "pros" are anything but!
 
It's not much, but I do have an update! As cold as It's been down here in Alabama, all of my Dad's outdoor projects have been put on hold, so he has started working on the ski. The hull as been completely sanded and the cracks in the gelcoat have been sanded out in prep for some Marine Tex filler. I have also managed to track down the millennium edition cladding and a set of heads for the 787. Thanks Minnetonka4me!

rd5w.jpg


And here is my latest find that I'm waiting to go pick up. I know, it's not a Seadoo, but for $500 I couldn't pass this up. The trailer is worth asking price! A friend bought this, ran it once and the starter died on him. He went to fix it and its sat like this ever since. Its a 2002 Polaris Virage Tx with a 1200cc Fuel Injected 2 stroke power plant. I've done a decent amount of reading up on this ski and it seems to be a fairly reliable unit, but worst case I'll sell the trailer and part it.

4wl3.jpg


I'll post more updates when I get them!
 
Do yourself a favor and pull all those rub rails before you paint it. It's like $20 worth of rivets. If you need the part# I'll get it to you. I buy them from Mcmaster in a box of 50 or 100. Keep up the good work.
 
It's time for some long overdue updates!

HUGE thanks to Minnietonka for getting me some needed parts to finish this ski! With the top of the ski ready for primer, it was time to focus on the hull. To save ourselves from standing on our head, here's what we came up with. We anchored some eye bolts into the floor joists (don't worry... they are plenty strong) and looped 2 straps around the ski to catch it in case anything went south. Sorry, our shop was pretty messy when these were taken.

48.jpg


49.jpg


We added some rails to the cart to support the ski upside down. We should have put them at an angle to get the ski level, but it still worked well.

50.jpg


Now that it has finally warmed up here in the South, it was time to start slinging some paint!

51.jpg


Using some plastic, cheap air filters and box fans, we rigged up a makeshift paint booth in our shop to paint the ski in. We used this same setup to paint our kitchen cabinets earlier with good results, so we figured we'd try it again. The primer has had plenty of time to dry, so color will be going on this week.

Stay tuned!
 
Last edited by a moderator:
Small, but a significant update- we finally have color going on.

247.jpg


This was the first of 2 coats of blue going on the ski. I have to give it to my dad, the paint is looking awesome. It's going on super smooth and the color is a great match to the factory color. The white will be going on sometime this week. I have a 2 week gap between spring and summer semesters and I intend to have this thing wrapped up and on the water, minus graphics. I can't wait to see it on the water!
 
Its time for an overdue, and long awaited update!

With the blue finished, a few coats of Super White were shot on the hull, which came out very well. I got impatient and set the hood on for the first time just to see what it would look like

488.jpg


Just for a reference, here is how yellowed and dirty the original white was. Notice the color difference from under a decal on the left:

489.jpg


The ski sat like this for a few weeks since I was finishing up another semester of school. Once I got home from finals, it was time to get this ski on the water for Memorial Day weekend. I have done a top end on this motor before, but getting into the bottom end was a new one for me. I sat down with the shop manual and the forums and disassembled, cleaned, inspected and reassembled the motor. And boy was I glad I did. I found some debris from the ring which had powdered itself, which was expected. What I did find was a total lack of case sealant on the motor as well as the counterbalance shaft being nowhere near in sync, which would explain this thing shaking like it did when we first ran it for a minute. Since there are numerous threads on rebuilding a 787, I'll spare you the pictures. BUT I will post a picture of the freshly painted motor. The motor was white originally the off-white, but since all I could find in engine paint was a stark white, I decided to throw my own custom touch on it-silver.

490.jpg


While the ski was apart, I decided to go ahead and fix the fuel sending unit, since they are so prone to failure. What I found was the typical blown fuse...along with the bottom cap and float laying in the bottom of the tank too, which is something I have yet to figure out. After soldering the fuse and checking the resistance with a multi meter, it was time to reassemble the ski. Here was the motor aligned and bolted down, which was something I was pumped to see.

491.jpg


And here was the first time this ski has seen daylight in running condition in quite some time. I got the ski assembled and heard it fire up for a second late Sunday afternoon, just in time to make the 2 hour drive back to school for the start of the summer semester.

492.jpg


This left some minor cosmetic stuff for my dad to wrap up that week. I bought new marine grade vinyl from a local upholstery shop and my mom recovered the seats and handlebar pad for me. This is the picture I received Thursday night, thankfully after I was done studying since I was super excited to see this:

493.jpg


494.jpg


I made the drive up to the lake and was chomping at the bit to put this ski in the water, which was made easier with a friend's Polaris. This was the first time that the ski had seen water in nearly 3 years.

495.jpg


The ski fired right up and didn't have a single leak. I made an effort to baby the ski all weekend and take my time breaking this motor in right, since I really didn't want another failure. At the end of an uneventful weekend, the ski was still running great at the compression checked out perfect in both cylinders

496.jpg


Save for a few cosmetic things (like fixing the info center panel in the above pic), it's finished. I still need to install the ME plastics and round up some graphics for it, but that will come in time. I really just want to ride it at this point.

To all the knowledge that exists on this forum, I just wanted to say thank you. You are looking at a running example of what these forums have produced. Stay tuned for more from this ski and another build from me in the near future!
 
Time to update this thread!

I have put close to 30 hours on this ski with no issues at all. It's gotten a new trailer

469.jpg


Been on a 22 mile round trip to the dam

470.jpg


And has unfortunately sat since then! I was a busy fall and I didn't get to ride much at all. I did begin adding all the Millennium Edition trim recently:

471.jpg


I'll post more pictures when I get the trim finished and FINALLY get some graphics on it!
 
Looking great. Just started into my 96 GTX a couple days ago. First order for parts went into [MENTION=41828]Minnetonka4me[/MENTION] tonight. I look forward to seeing you pix.
 
Just read your entire thread, impressive work my man! A freshly painted 787 will never cease to give me the warm and fuzzy down in my loins.....wait what?

You ever venture down south to LA (Lower Alabama AKA my neck of Florida) we should hit the waves....salt never hurt anyone....hehe
 
Thanks for all the encouragement guys! Getting to see the end result was worth it for sure.

the ski came out great, really makes me wanna paint a ski!!

It was a pile of work to paint this ski, but I think the result was worth it in the end.
 
Dang I missed where you painted it! It looks great! I thought it was a 951 Gtx


96 XP800!
Keep the 2 strokes alive!
 
Restoring a 1997 GTX- "The Hostage"

Just to keep this semi up to date...

The ol' GTX did FANTASTIC this summer! I put at least 20 hours on it this summer without any issues. The more time I spend on this ski, the more I really like the older GTXs- large enough to be stable, but still sporty enough to be a lot of fun. All I plan to do for the winter is good mechanical once over/ cleaning before I winterize it and possibly change the wear ring, since I think I am getting a little cavitation. I'll keep the thread up to date with any updates to the GTX!

And since every good thread needs pictures, here is the GTX and my XP loaded up to head to the lake for the start of the season:

68.jpg
 
how is the bottom paint holding up? most of the skis that have the bottom painted (no gel coated) typically shred through the paint in a couple years. I have an old 96 GTX, and was thinking of updating it as well since I can't find anymore green hoods & gauge covers.
 
I'm curious as well. My GTX projects are about to be cleaned out then prepped for paint. I've been trying to decide what paint/gelcoat to use. What paint did you use for the bottom and top?
 
Status
Not open for further replies.
Back
Top