Jetskigoodies
Well-Known Member
I had a couple previous post on how to do this so I will just combine them in to a thread so you can find them easier.
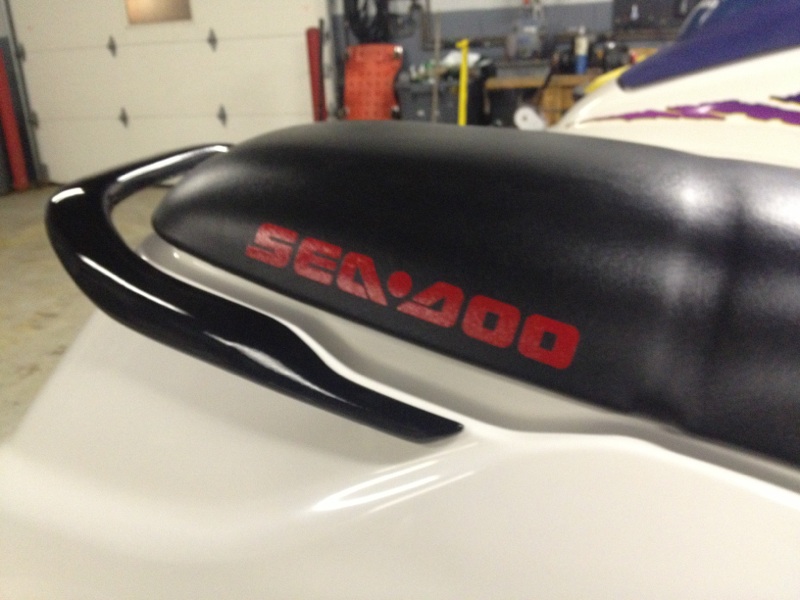
Alot of you guys have had to rewrap your seats and would like to get that factory look back by putting the seadoo logo back on. Well here is how you do it.
It is fairly inexpensive and easy to do.
Here is a link to many different paint colors you can choose from
http://www.oreillyauto.com/site/c/s...Fabric/N0477/C0171.oap?categoryRedirect=N0477
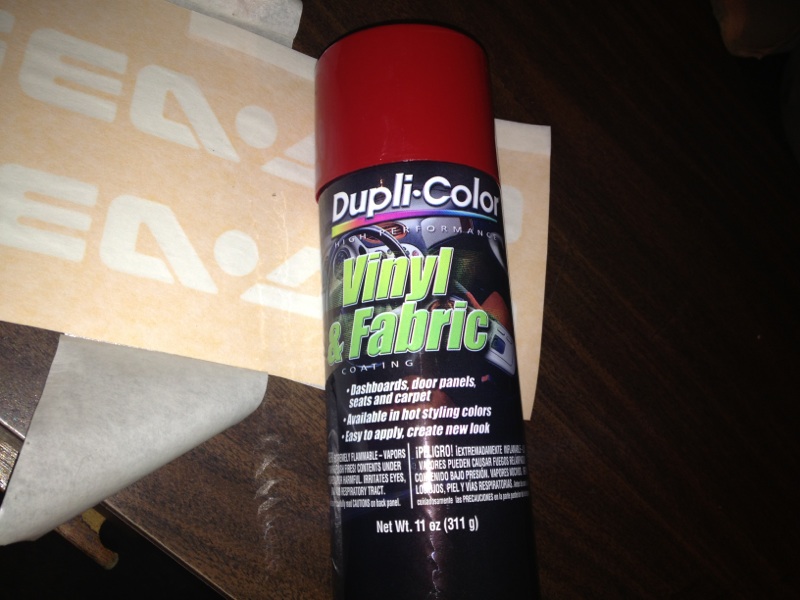
The paint ranges from $6-$10 a can. One can goes a long way. One can of red has so far done a stencil on both sides of the seat and the handlebar pad and a couple test runs. The can is still half full
The best part about this is you can customize your seat or handle bar pad to say anything you want, name, racing team, or any logo you want.
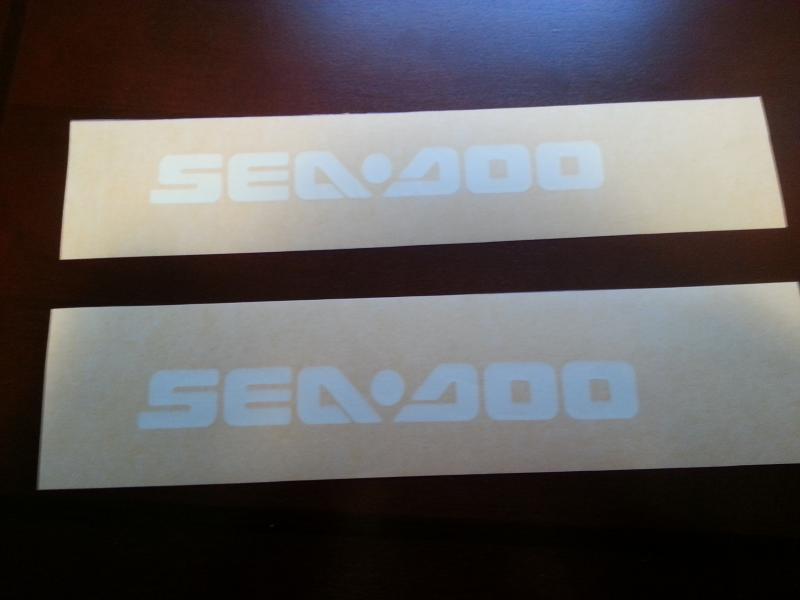
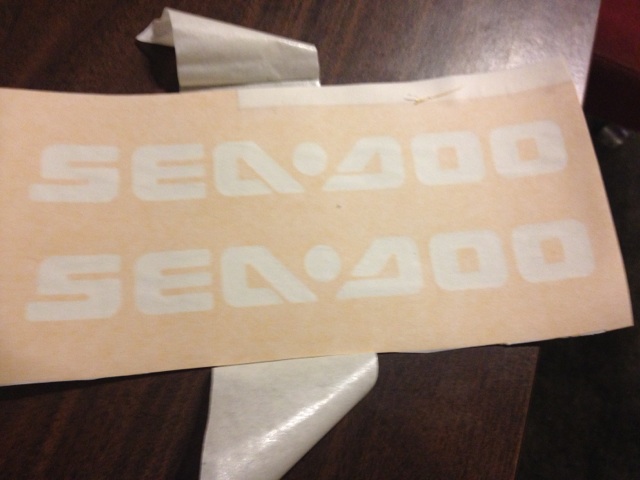
Here is a little surprize I havent seen anyone do to a seadoo. I was pm'ing racerxxx that I would like to put the logo back on the seat. Well doing what he does best(well next to bringing things back from the grave) he did some research and came across a site on stenciling vinyl seats. So I contacted Dr Honda to see if he could make this happen. Well Dr Honda called his supplier and here is what we came up with. Im sure you guys will love it.
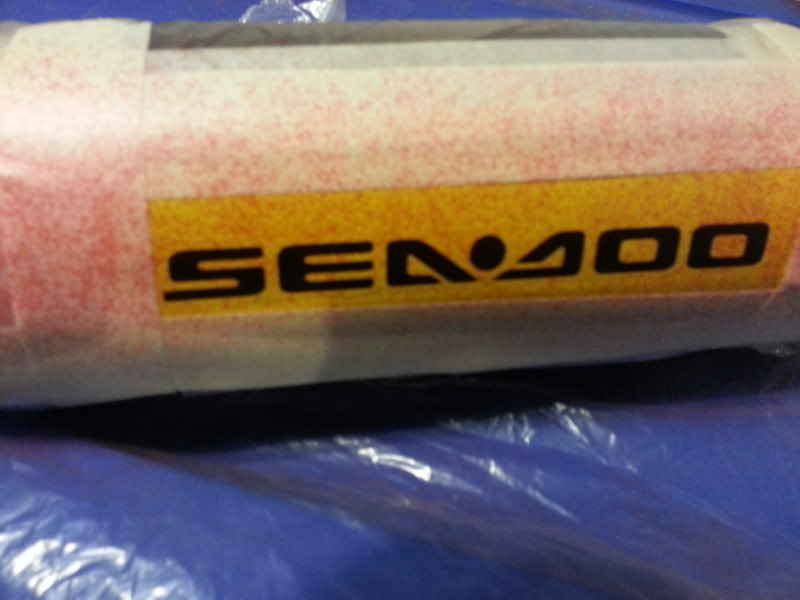
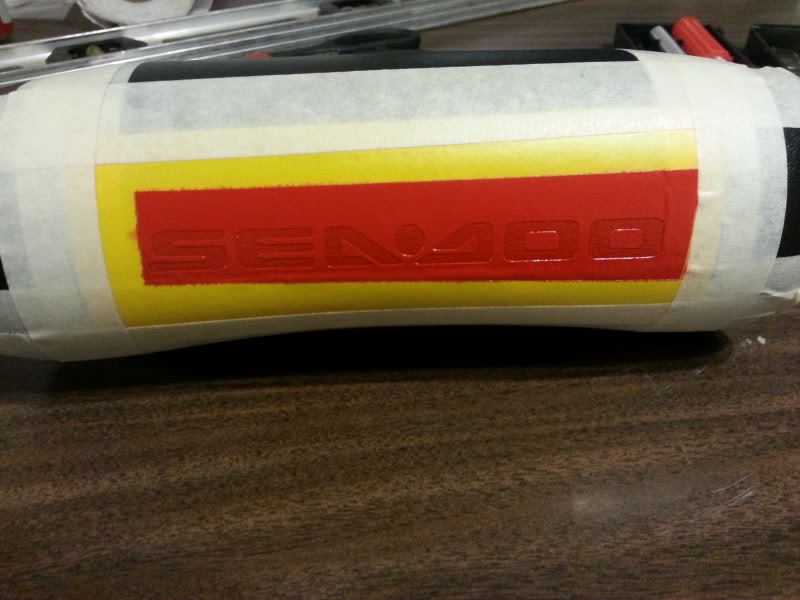
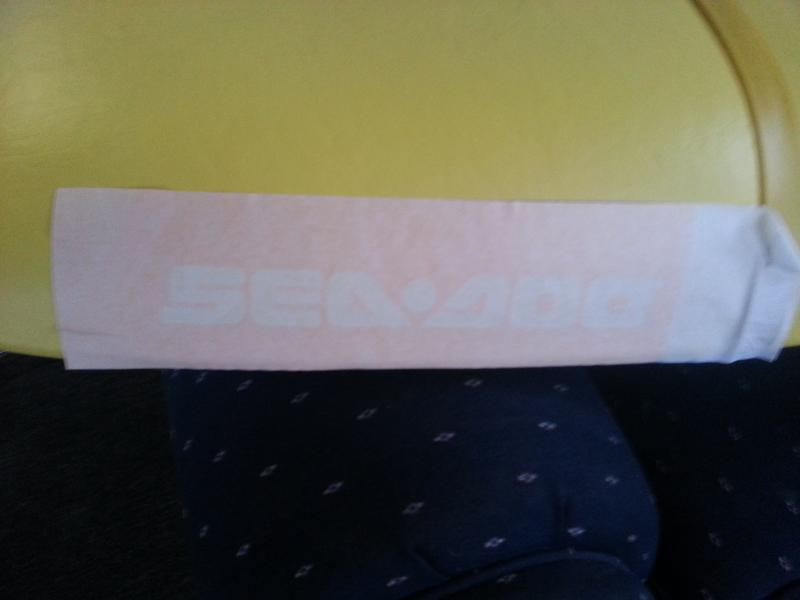
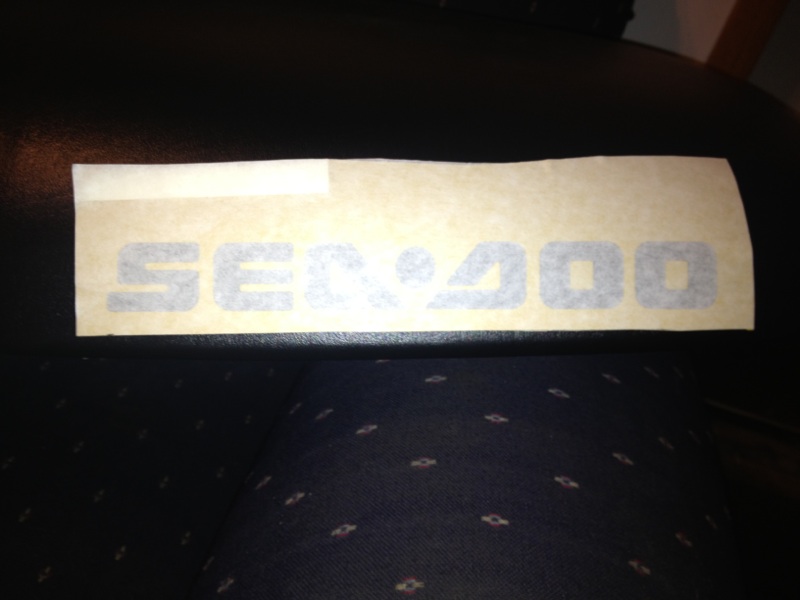
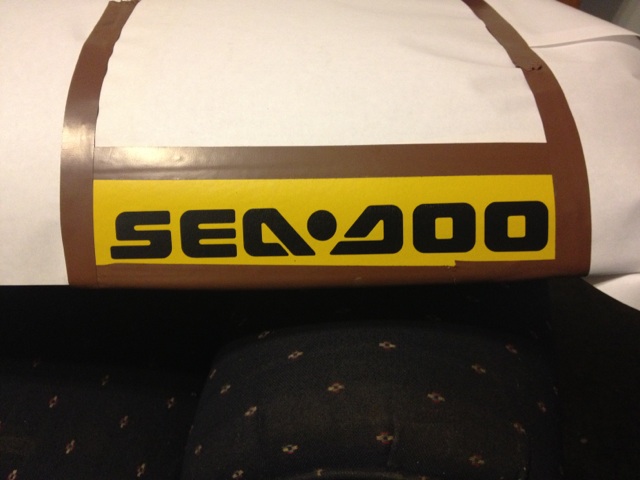
Stencil on the seat
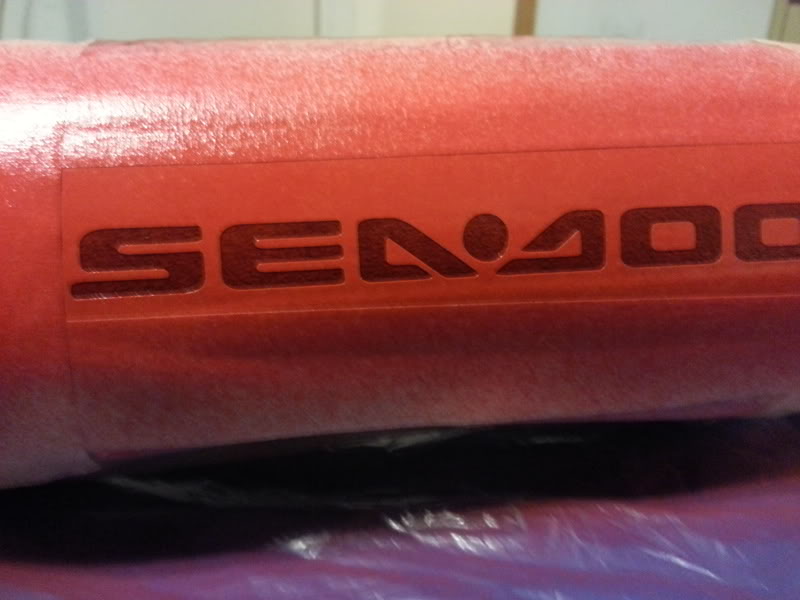
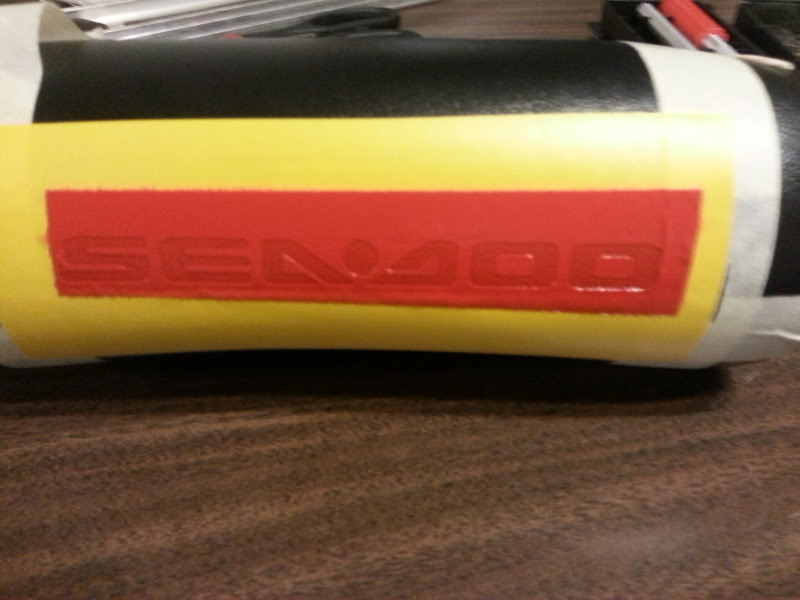
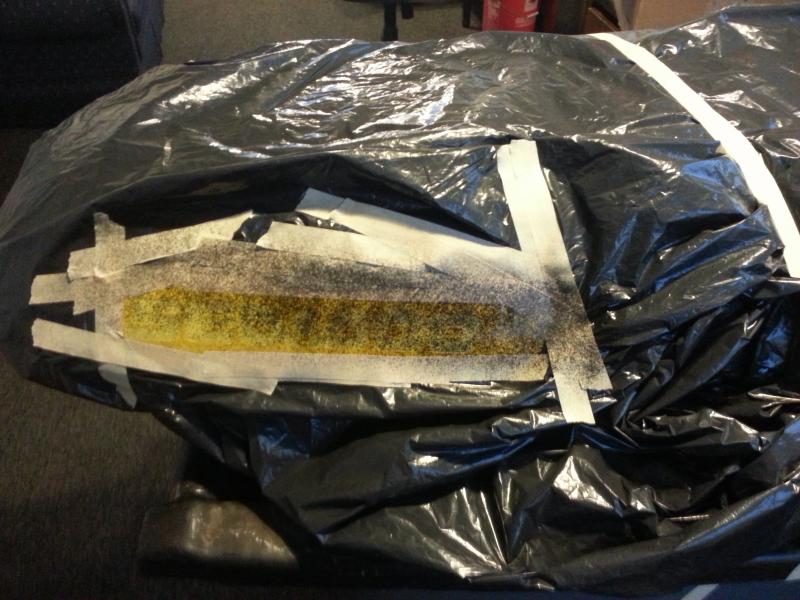
This is after the top mask is pulled off and the area was taped off for overspray
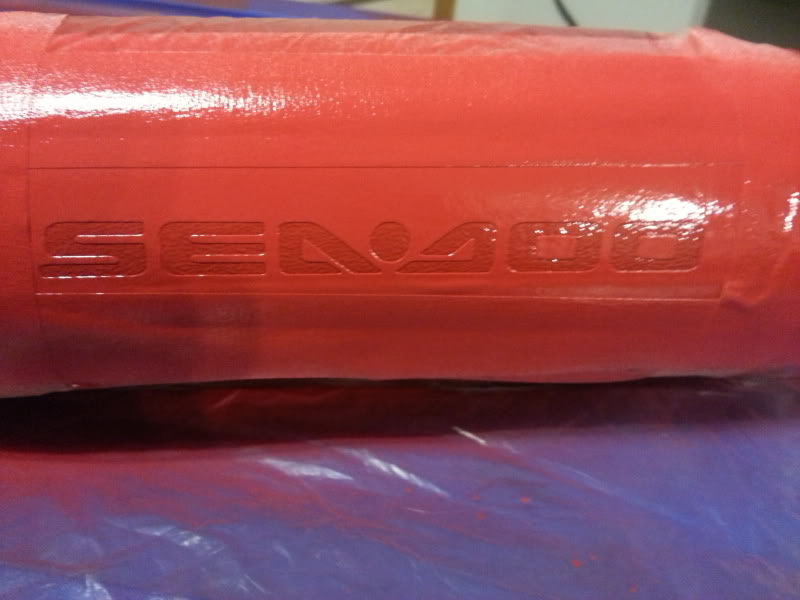
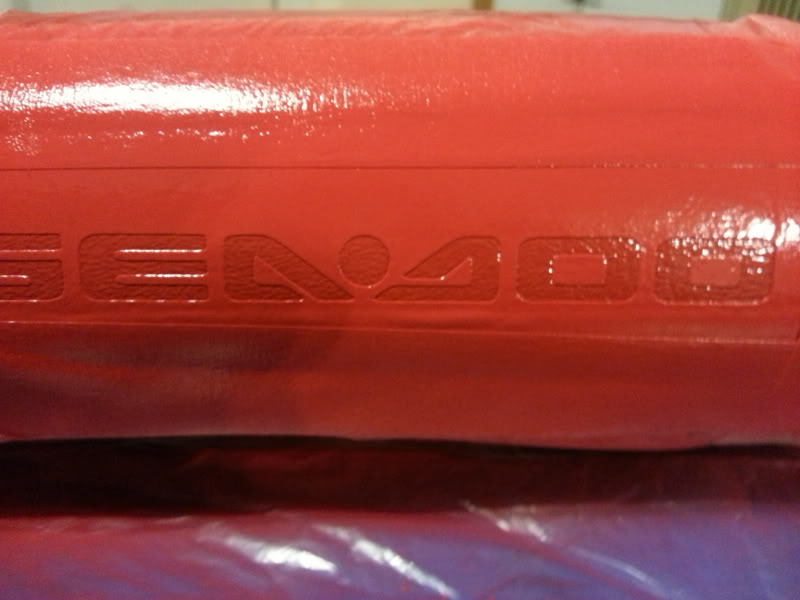
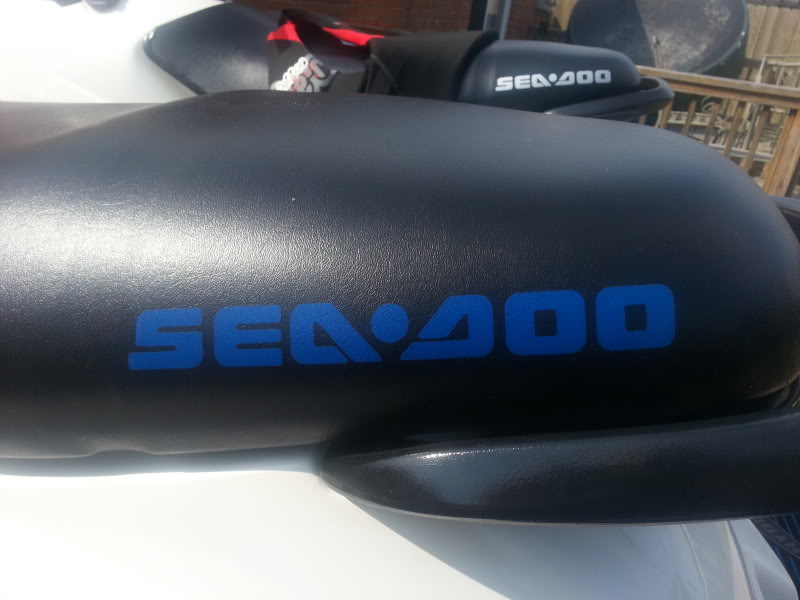
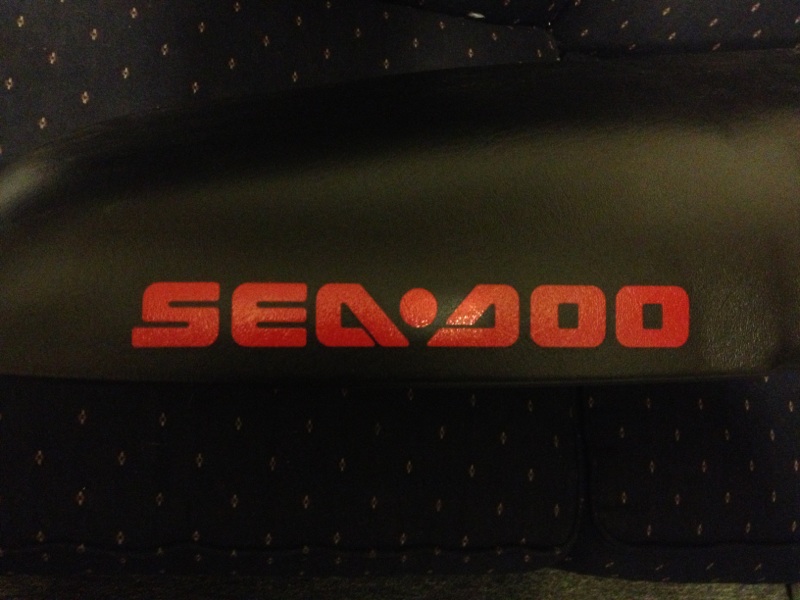
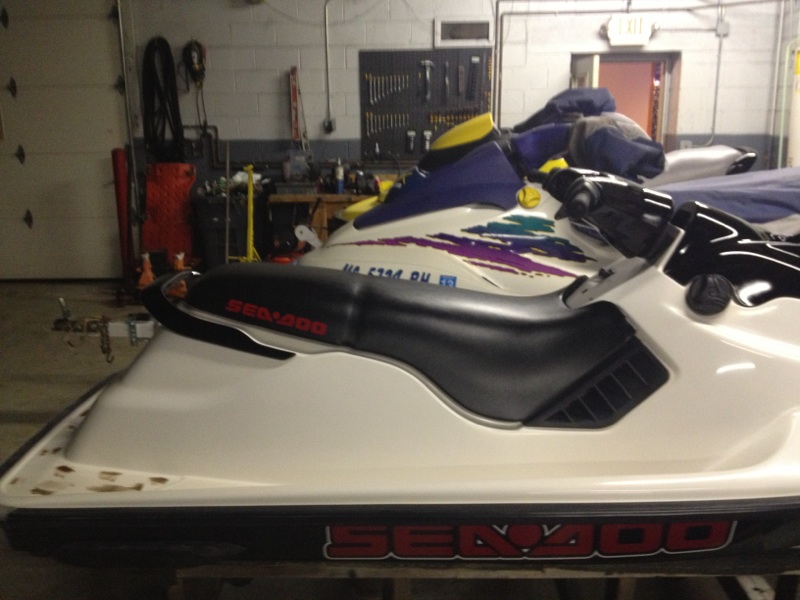
Finished product
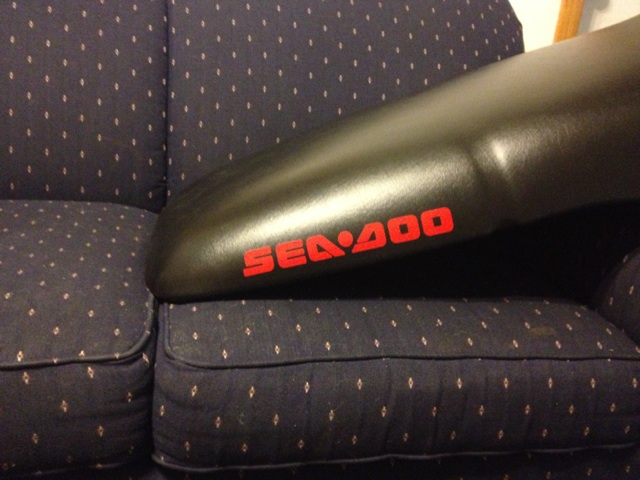
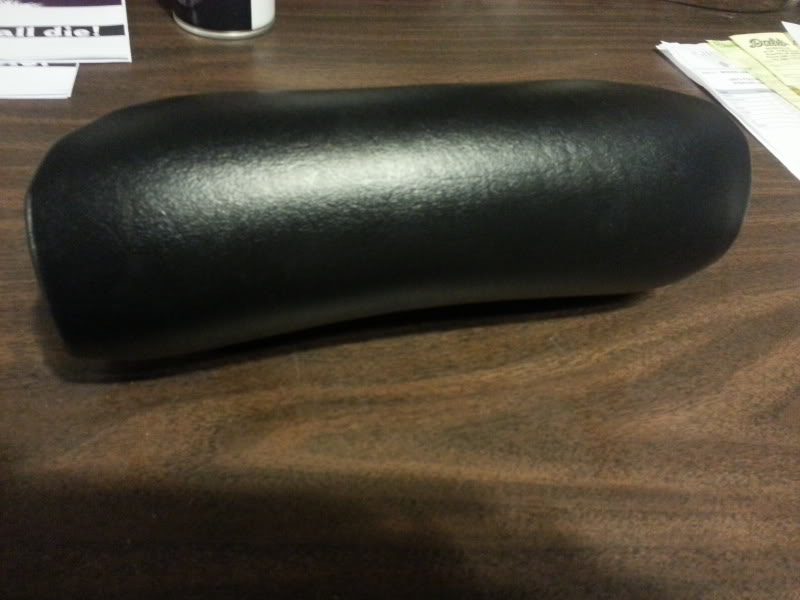
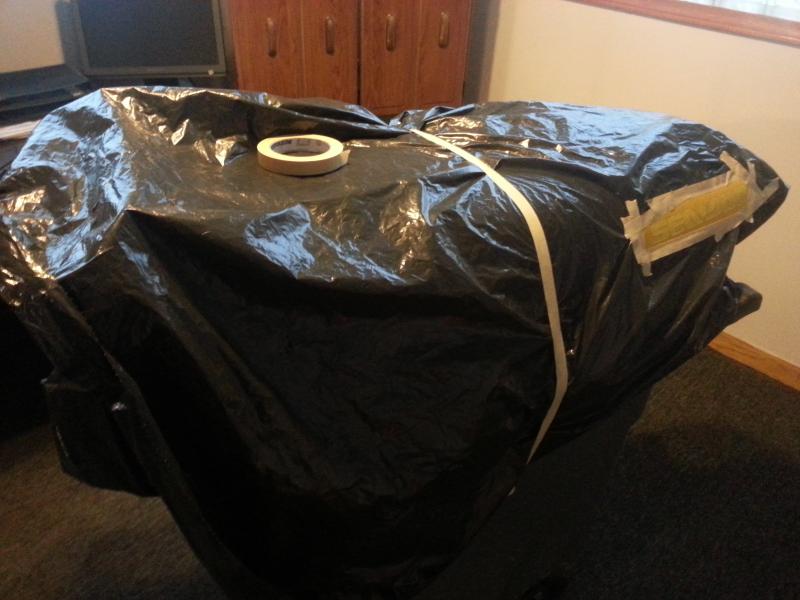
This couch is at the warehouse, just making sure you guys dont think that ratty dirty couch is in my house lol
I just used duplicolor vinyl spray paint.
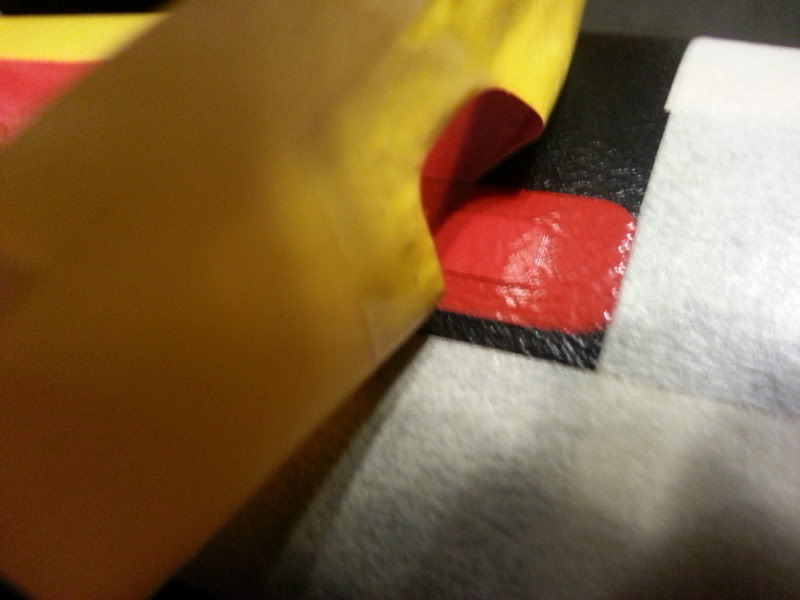
If you try this, the seat has to be very clean, the room temp, seat and can of paint need to be at least 70 degrees. It is very important that all of them are at correct temp. We got 2 stencil kits from Dr Honda and I am glad we got 2. The first stencil we tried on a piece of scrap vinyl and the paint was too cold and I laid the paint down too heavy. The result of that was the stencil started to buckle and look like bacon. So I then waited until everything was warm and went at it again. This time we used very very light coats. I sprayed the first coat so light it looked like pin sized speckles, I waited for that to tack up and test the tackiness by touching the paint on the masked off areas. The paint would tack up in about 15 seconds and then i would add another light coat and repeated those steps about 18-20 times. The trick is to keep it light and then let tack up before the next coat. As soon as you think you have enough coverage you need to remove the stencil before it dries. Just take off the masked area first then slowly peel off the stencil.
Alot of you guys have had to rewrap your seats and would like to get that factory look back by putting the seadoo logo back on. Well here is how you do it.
It is fairly inexpensive and easy to do.
Here is a link to many different paint colors you can choose from
http://www.oreillyauto.com/site/c/s...Fabric/N0477/C0171.oap?categoryRedirect=N0477
The paint ranges from $6-$10 a can. One can goes a long way. One can of red has so far done a stencil on both sides of the seat and the handlebar pad and a couple test runs. The can is still half full
The best part about this is you can customize your seat or handle bar pad to say anything you want, name, racing team, or any logo you want.
Here is a little surprize I havent seen anyone do to a seadoo. I was pm'ing racerxxx that I would like to put the logo back on the seat. Well doing what he does best(well next to bringing things back from the grave) he did some research and came across a site on stenciling vinyl seats. So I contacted Dr Honda to see if he could make this happen. Well Dr Honda called his supplier and here is what we came up with. Im sure you guys will love it.
Stencil on the seat
This is after the top mask is pulled off and the area was taped off for overspray
Finished product
This couch is at the warehouse, just making sure you guys dont think that ratty dirty couch is in my house lol
I just used duplicolor vinyl spray paint.
If you try this, the seat has to be very clean, the room temp, seat and can of paint need to be at least 70 degrees. It is very important that all of them are at correct temp. We got 2 stencil kits from Dr Honda and I am glad we got 2. The first stencil we tried on a piece of scrap vinyl and the paint was too cold and I laid the paint down too heavy. The result of that was the stencil started to buckle and look like bacon. So I then waited until everything was warm and went at it again. This time we used very very light coats. I sprayed the first coat so light it looked like pin sized speckles, I waited for that to tack up and test the tackiness by touching the paint on the masked off areas. The paint would tack up in about 15 seconds and then i would add another light coat and repeated those steps about 18-20 times. The trick is to keep it light and then let tack up before the next coat. As soon as you think you have enough coverage you need to remove the stencil before it dries. Just take off the masked area first then slowly peel off the stencil.
Last edited by a moderator: