• This site contains eBay affiliate links for which Sea-Doo Forum may be compensated.

Charlie Rossier's Retired Race XP800 - Restoration

Status
Not open for further replies.

nickj718

Active Member
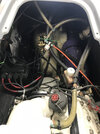
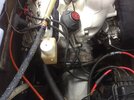
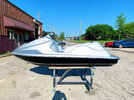
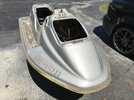
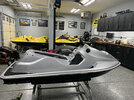
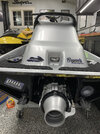
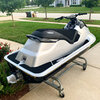
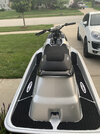
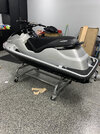
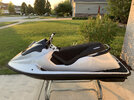
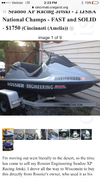
About 3 years ago I was going through Craigslist and stumbled upon what was said to have been Charlie Rossier's old race boat from the 90's. Through some searching on the internet I was pretty confident it wasn't BS so I went and grabbed it.

After going through it and posting some photos on various Facebook groups none other than Charlie himself reached out to me and confirmed that it was in fact his old boat and he wants to ride it when it's done. You read that right the legend himself is coming to ride this thing in a month or so.

After letting it sit for a long 3 years, I finally have time to get this thing completed so here is my build thread. I hope you enjoy this restoration of a Team Seadoo/Rossier Engineering as much as I do.

Ill be posting this entire build on my YouTube channel as well along with my other seadoo builds! So be sure to subscribe, Im not sure when the video will come out yet I have stated filming everything so should be a couple weeks.

https://www.youtube.com/channel/UCa4BlFmRIu5tprDqKvhzxZw
IMG_9601.PNGIMG_9614.JPG
IMG_9618.JPGIMG_9621.JPGIMG_9651.JPGIMG_9652.JPGIMG_6076.jpegIMG_9649.JPGIMG_9650.JPG
 
Pretty cool piece of history.
Make sure you keep the build thread going here.
 
Looking forward to this build. If it’s anything like your other builds it’s going to be sweet!
 
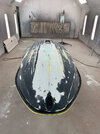
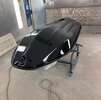
Stripped out the hull last week and it went off to the body shop for paint.

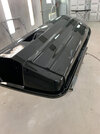
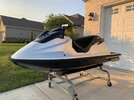
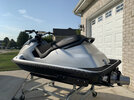
The gauge and fuel selector holes were filled and the entire thing was shot with epoxy primer. Once the top deck was blocked out we flipped it over to begin work on the bottom. Charlie told me that the hull was trued within an inch of it life and to leave it as long as no damage was present. Luckly it was in good shape so we scuffed with with a scotch brite pad and played down epoxy primer. Once it was hard as a rock we scuffed it again and played down an ultra hard single stage gloss black.

It say in the sun during the day for 5 day or so until it was flipped over to get the top deck shot.

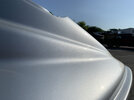
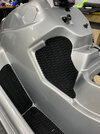
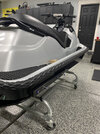
The top was blocked out for a final time and was shot with Lexus Millennium Metallic silver to which we added heavier flake that it called for. This was done in PPG base coat/ clear coat not single stage like the bottom.

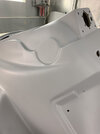
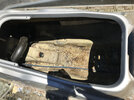
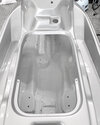
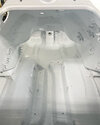
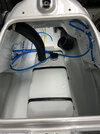
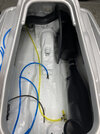
Once the entire hull was gassed out and dry we taped everything off and shot the entire inside with bulldog adhesion promoter then played down single stage gloss white throughout.

It came out better than I could have ever hoped for. IMG_9175.jpegIMG_9186.jpegIMG_9190.JPGIMG_9191.jpegIMG_9274.jpegIMG_9272.jpegIMG_9273.jpegF2997949-0155-47DA-A2F3-FB8323C9023D.jpgIMG_9330.jpegIMG_9334.jpeg
 
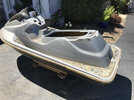
Forgot to post Stripped hull photos

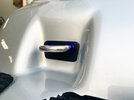
Cool thing about this hull is that when you run the HIN number through the dealer it comes up as NOT FOR RESALE. Its a Seadoo Factory Hull. Very few of these are still around id imagineIMG_6081.jpegIMG_6085.jpeg
IMG_6082.jpeg
Anyways onto the inside

7B3F566A-7532-45E8-B5A7-4FFFB621654C.jpg25D7EFD0-AA3B-496A-98C6-40A840BC2AF1.jpg


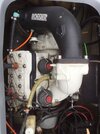
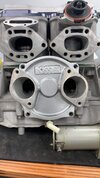
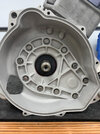
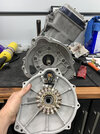
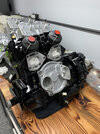
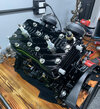
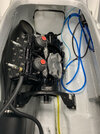
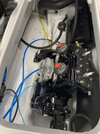
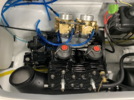
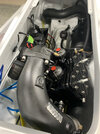
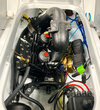
Engine assembly, I refreshed everything, bead blasted the cases and put it back to the specs Charlie built it to. He said that everything was rebuild before he sold it and he was able to verify all specs so I could put it back to exactly how it was.
IMG_9502.JPGIMG_9492.jpegIMG_9493.jpegIMG_9796.jpegF6ECFB1E-14CE-47BE-A73D-D87227236821.jpg

The engine was shot with base/clear PPG just like the top deck and the engine bracket was powdercoated
 
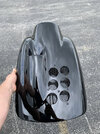
The hood was painted along with the engine and it turned out great.
IMG_9787.jpeg


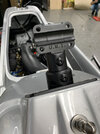
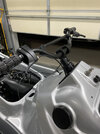
I sent out the exhaust, disassembled Baker trim, MSD mount, and UMI system for powder coating. While I was assembling I decided to switch everything over from machine screws to riv-nuts. This was the best decision and I love the way it turned out. The battery box, MPEM tray, Water Filter, Trim Tabs, and misc brackets are now all M5 machine screws. I sealed them off with o-rings, highly recommend this.
IMG_9814.jpegIMG_9808.jpeg610B75D4-A012-45B5-B537-E82ACE5E7399.jpg0F0EEB9D-9087-4F05-B530-295F6C83A08B.jpgIMG_9522.jpeg

Iv been stashing a new tank for this thing, it looks invisible since the inside is so bright white
IMG_9519.jpeg
 
Looking great!

A few things that might help...
1. Hopefully the rivnuts are stainless or they will not last that long even in fresh water.
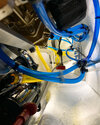
2. The colored fuel line doesn't last that long before it becomes hard and can suck air.
3. Most race hulls were sanded in long passes from front to back to make them track better. Your's looks much nicer though.
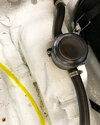
4. The rotary gear oil elbow looks plastic, the OEM aluminum ones would be much stronger.
5. Keep an eye on the hull paint and keep fuel and oil off of it. All the ones I have seen people paint, even with good prep don't last more than a few seasons.

Awesome build.
The rivets are zinc plated with stainless hardware so they wont rust and they wont seize onto each other. Same thing we use in the car industry.

The colored lines are newly revised and im doing testing for the company

We sanded it long ways so we didn't mess up the tru of the hull. Hopefully it didn't change, we shall see

Im gonna change that elbow out I ordered a couple and im waiting for them to show up. Needed something for the time being so I could pressure test it.

Its base clear so it should act the same as a automotive finish. Hopefully its ok with paint and oil. Regardless I agree ill avoid contact

Thanks man! I can't wait to get her out and meet Charlie
 
ProgresstempImageKLNEGD.png

IMG_0033.jpeg

59029E30-408F-4B42-86C0-2CDC1AC08A8F.jpg


2F9C7B59-21D3-4173-97C3-85AABB66B646.jpg

C7AC5AED-BFDF-4B16-93D2-B63B9E9781E7.jpg


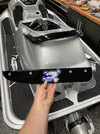
Restored the Baker Trim - Black Powdercoat and the VTS rod was polished to a mirror finish before it was clean anodized. Slides like a dream
IMG_0422.jpeg


UMIand Billet Gas Cap was powdercoated as well
IMG_0221.jpeg
IMG_0403.jpeg
 
Status
Not open for further replies.
Back
Top