• This site contains eBay affiliate links for which Sea-Doo Forum may be compensated.

Carb rebuild questions

Did couple carb jobs on small outboards before but this is the first time rebuilding a jetski carb.
1. Is it a good idea to submerge the carb in boiling water (mixed with pine sol) then brush the parts
2. Tried to do a quick pop off test, connected the fuel inlet to a hand pump and blocked off the outlet but it's not building pressure, any tricks to this?
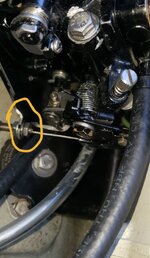
Here's what my carbs look like
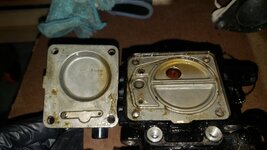
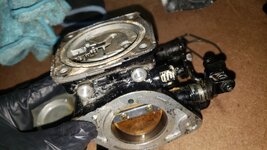
20241227_183327.jpg
20241227_183345.jpg
 
Some reasons why it may not be building pressure:
1. The diaphragm is leaking. Good practice to do a diaphragm vacuum/pressure check early in the going.
2. The pop-off valve aka needle and seat are leaking. Good chance of this on older, cruddier carbs.
3. I have found that using a finger as a block off simply doesn't work well for either vacuum or pressure testing. I'm guessing the fingerprint ridges simply don't allow a good seal, at least in my case. So, I have found I have to use rubber tubing or plugs or some very positive method to block off any ports that I don't want to leak. Don't know that you're using a finger, but if you are ....
 
Just follow the carb rebuild thread sticky exactly, no shortcuts! Keep it simple.
Not taking any shortcuts, following the thread and watching couple yt videos as I go along,thread says use brake cleaner but in the past I've soaked carb parts in hot water and pine sol with good results the hit it with carb cleaner since I don't have an ultrasoundic cleaner. But pine sol is bad for rubber so I thought I'd asked here first.
 
I’ve seen numerous posts of people using a pine sol formula, the rubber components are completely removed before hitting the ultrasonic, as they will be if you follow the carb rebuild thread
 
Never used any water and pinesol in 35 years working on these but it is your carb so do what you want.
The carb rebuild thread has all the info but we will answer all your questions.

Finger doesn't typically work for checking pressure.
 
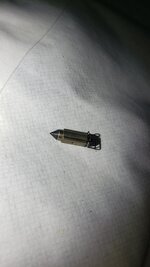
It’s a little dirty but doesn’t look grooved . Does it leak?
Just tested, no leaks, holds 10 psi for over a min. results from 3 pop off tests: 22, 22, 20. I guess needle is good.

Other question
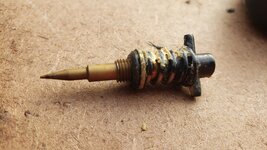
Are the hi, low speed adjusters and springs supposed to be painted. read somewhere that the springs were not painted originally? When I wire brushed them, the paint came off, should i bother to repaint them?
Before and after
20241228_150733.jpg
20241230_171123.jpg
 
Last edited:
Yes, they were painted, they are 30 years old and paint flakes off.

Always replace the needles and seats.

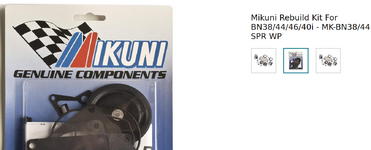
Do a full rebuild with new Genuine Mikuni parts and be done with it. There is nothing to gain from cutting corners.
 
Last edited:
The correct carb kit MK-BN38/44-SPR.
Do not use the springs in the kit, reuse your old ones.


If you only need the needles and seats then you don't need to buy the entire OSD kit.

1995 GTX is a 657X engine and uses a 65 gram pop-off spring, 1.5 Needle and Seat.
 
Back
Top