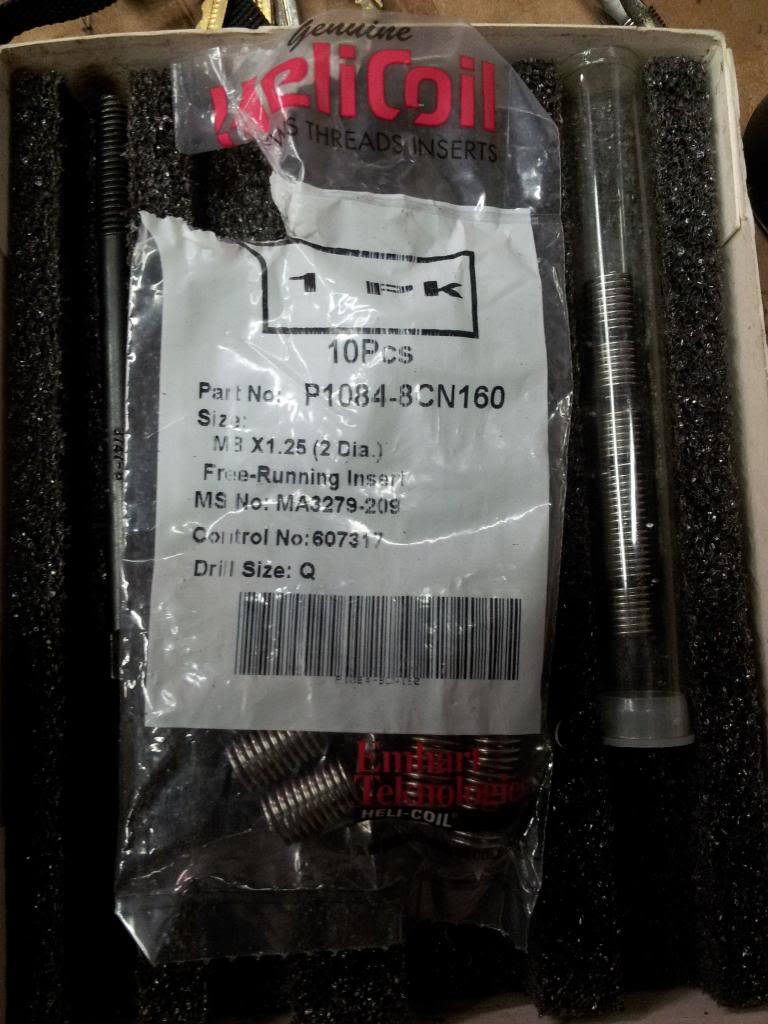
Well the exhaust manifold on my HX was cobbled up prior to me getting it. It had some cherry automotive exhaust studs that had enough Loctite to choke a horse. So in trying to find my water leak I want to pressure test the cooling system, but to do so I decided I'd start by fixing the studs that should be screws instead. So out with the old and in with the new. We already had the Helicoil kit at the shop so that was a no cost. I did however purchase the longer 16mm long inserts to get max thread engagement for another project. The Helicoil kit gives you everything you need, I used a 1/4" drive ratchet and the correct 12 point socket to hold the tap due to the hull and I didn't feel like sliding the tap handle back and forth with every revolution. You can Google and find the kit, or buy it from McMaster Carr. On to the pics. Mods if you want to move this feel free.
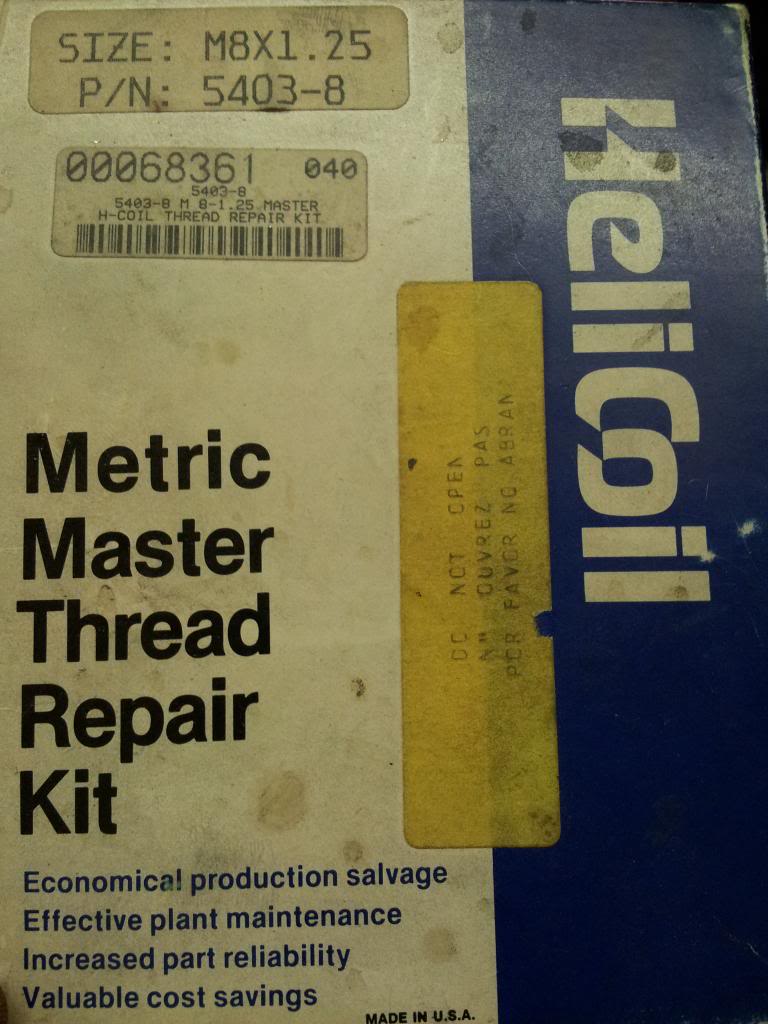
The Helicoil kit I used
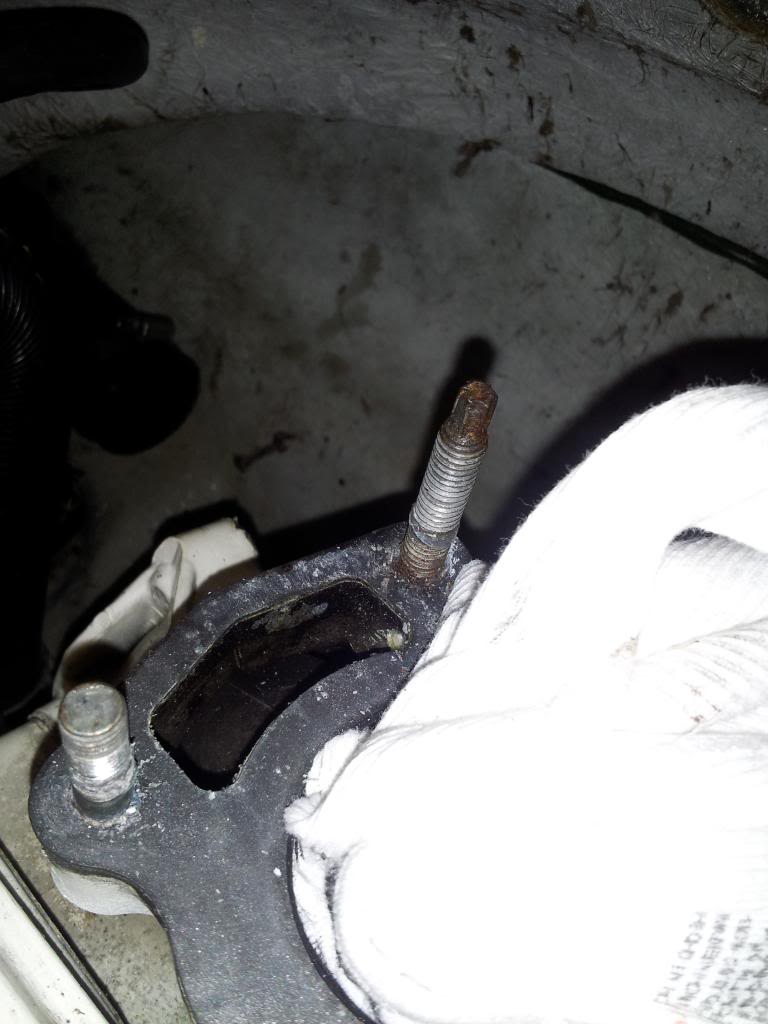
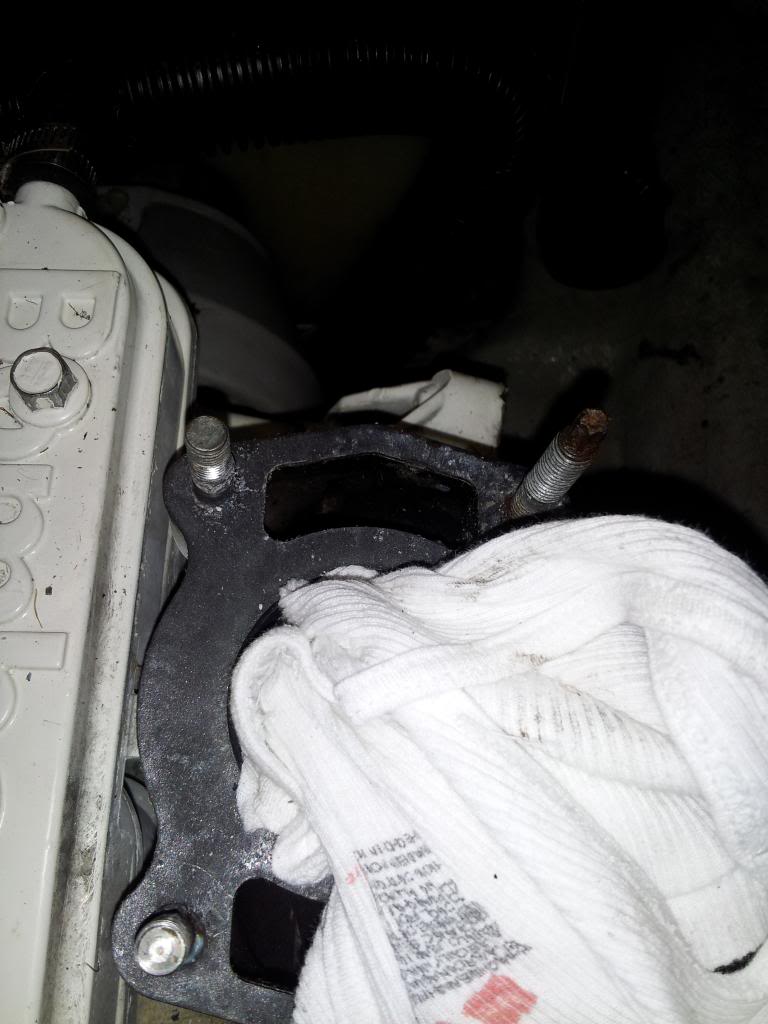
The quality exhaust studs!
To remove the old studs I just double nutted the studs and used the lower nut to drive them out of the manifold

Then on to drilling them out with the supplied drill bit, make sure you go as deep as you can but not past the original bottom of the hole. Then tap it all the way, if you tap it short the insert will not sit flush with the top of the hole, not good.
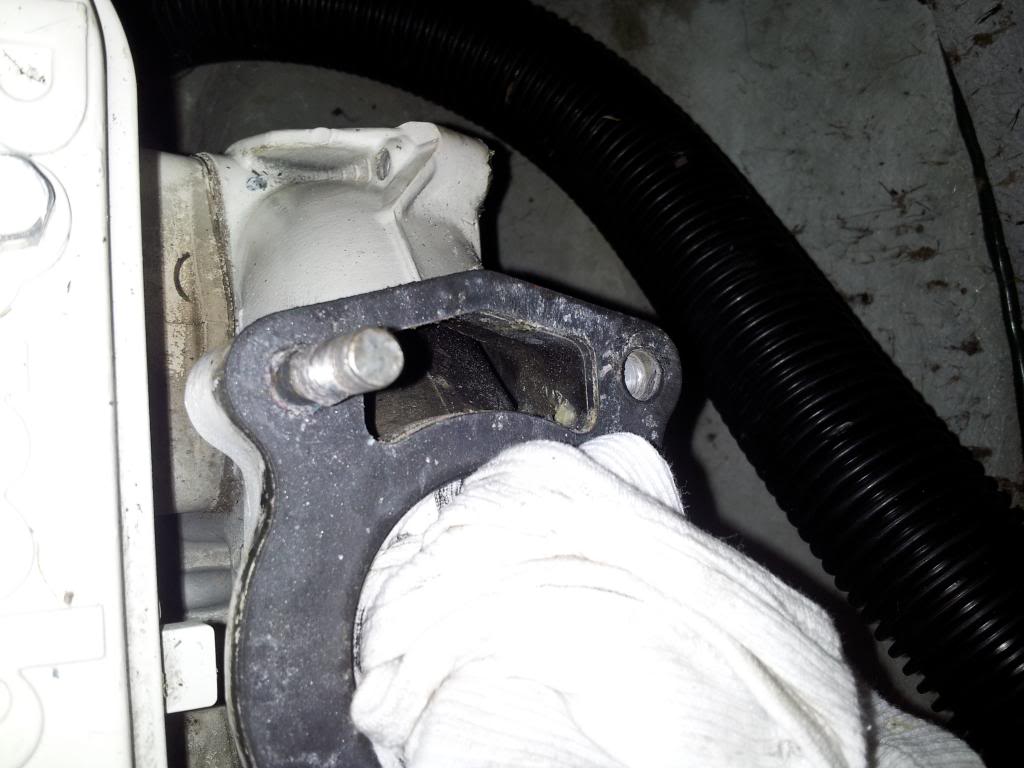
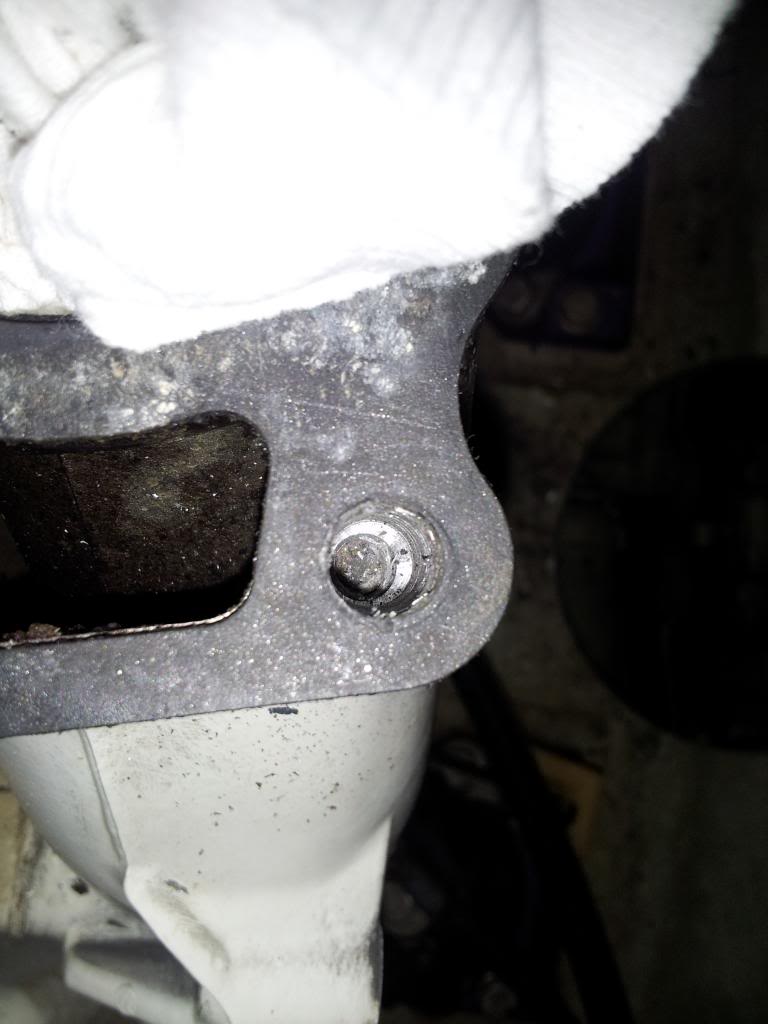
Then on to tapping them with the supplied special Helicoil tap. Remember to use plenty of oil while tapping and pull the tap all the way back out and blow it off with compressed air, re-oil it, then back in, while tapping you want to start cutting then reverse out a bit (to help clear the chips) then start tapping again. Like a 1/4 to 1/2 turn than reverse out a little, then back in. Slow and easy wins the race, if you jam the tap you're sunk!
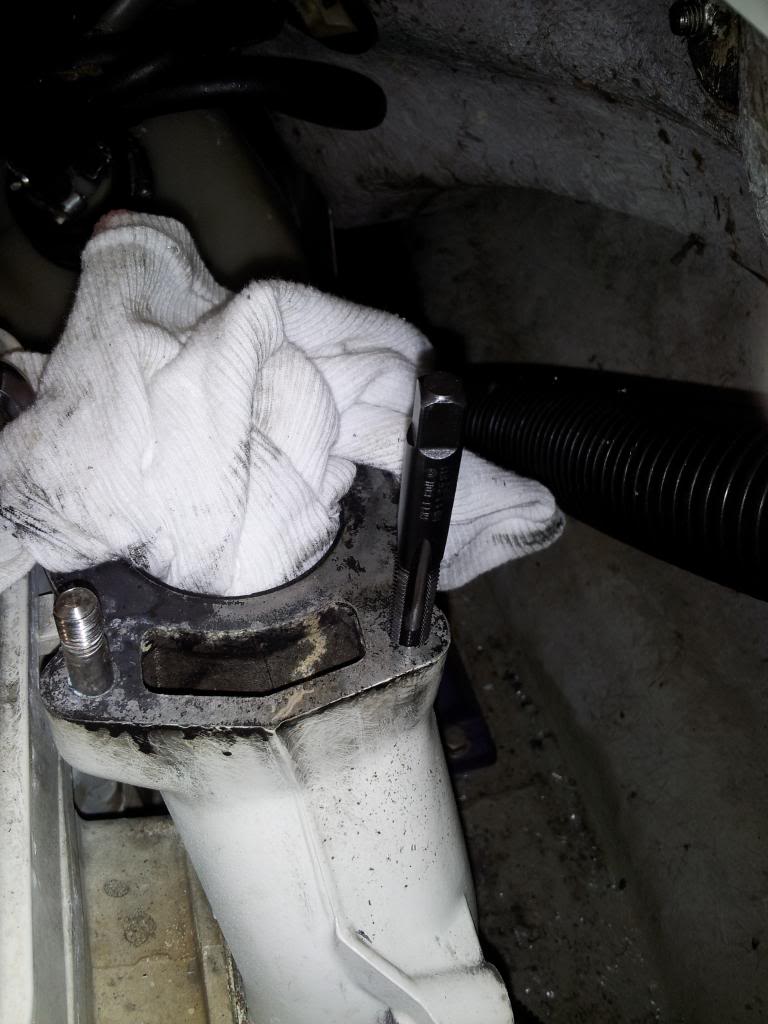
One tapped
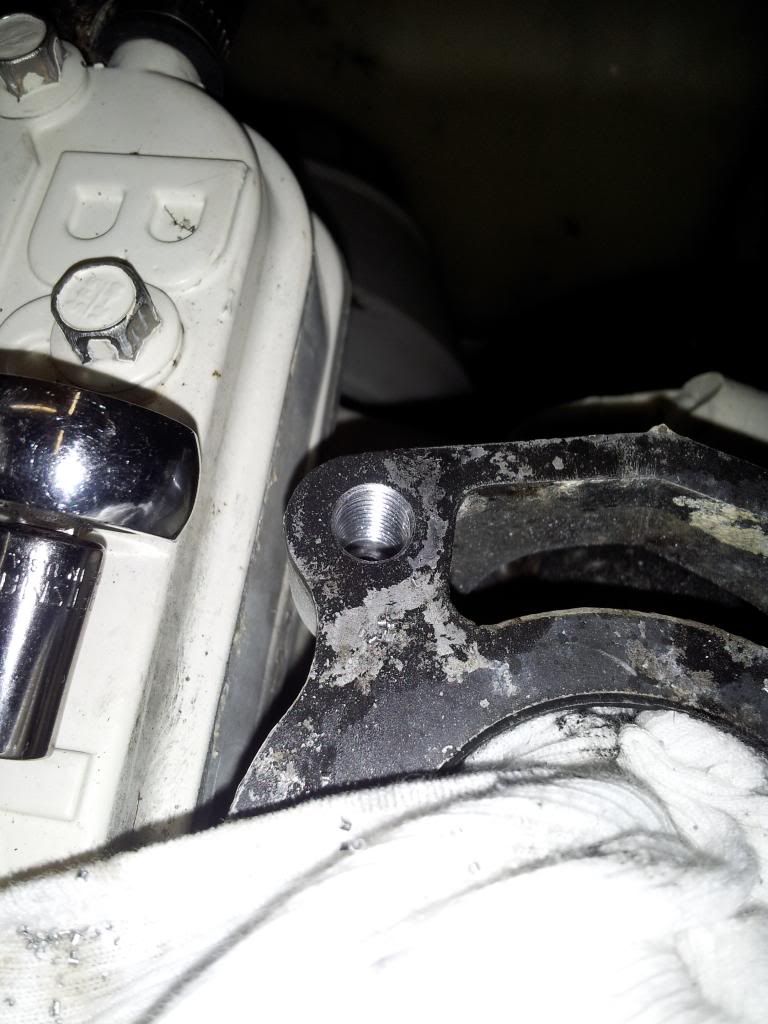
Two tapped
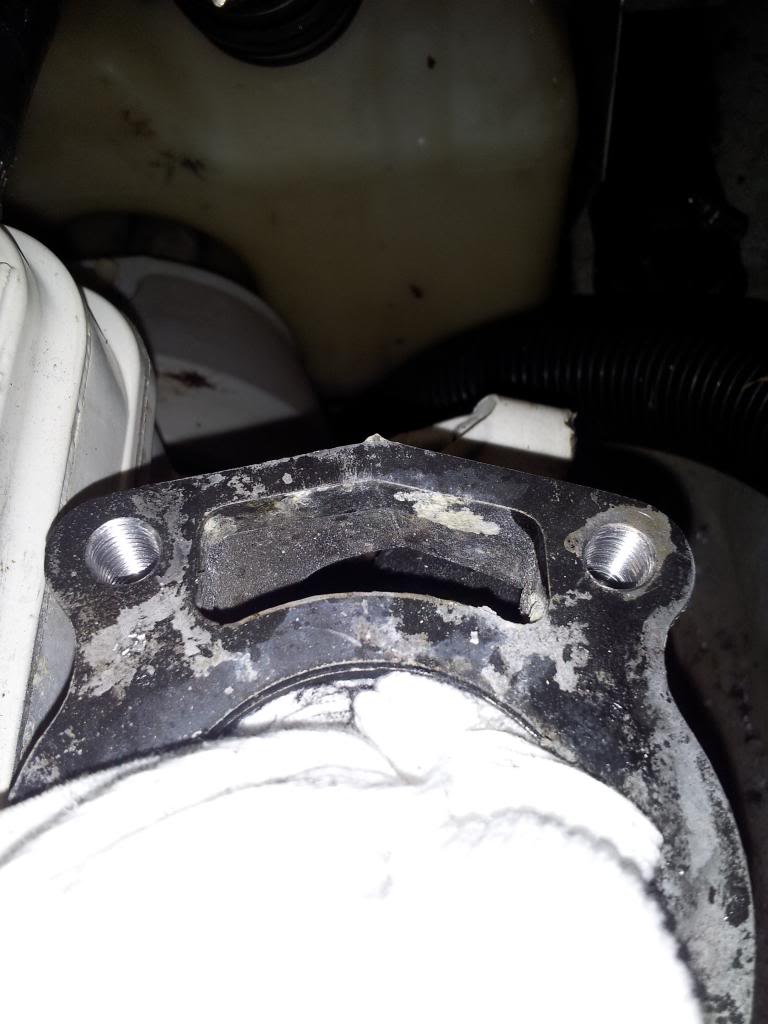
The drive tang, after this is full inserted you just snap the tang off with a screw driver and vacuum out the tang.

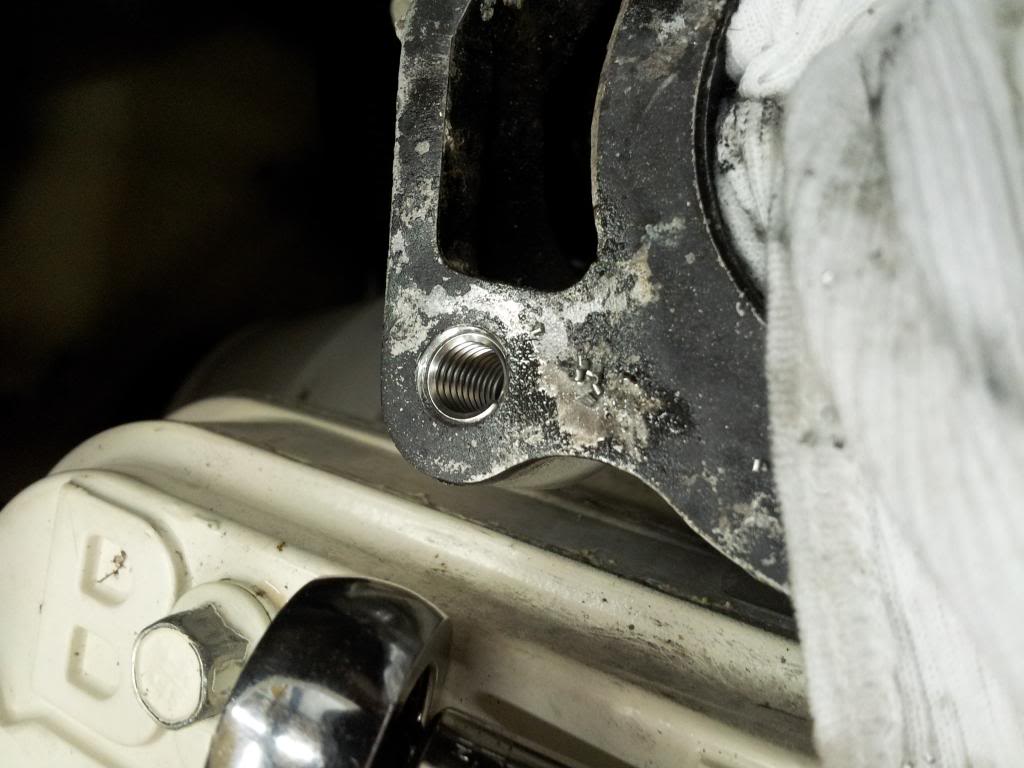
The tang engages on a notch on the end of the insertion tool
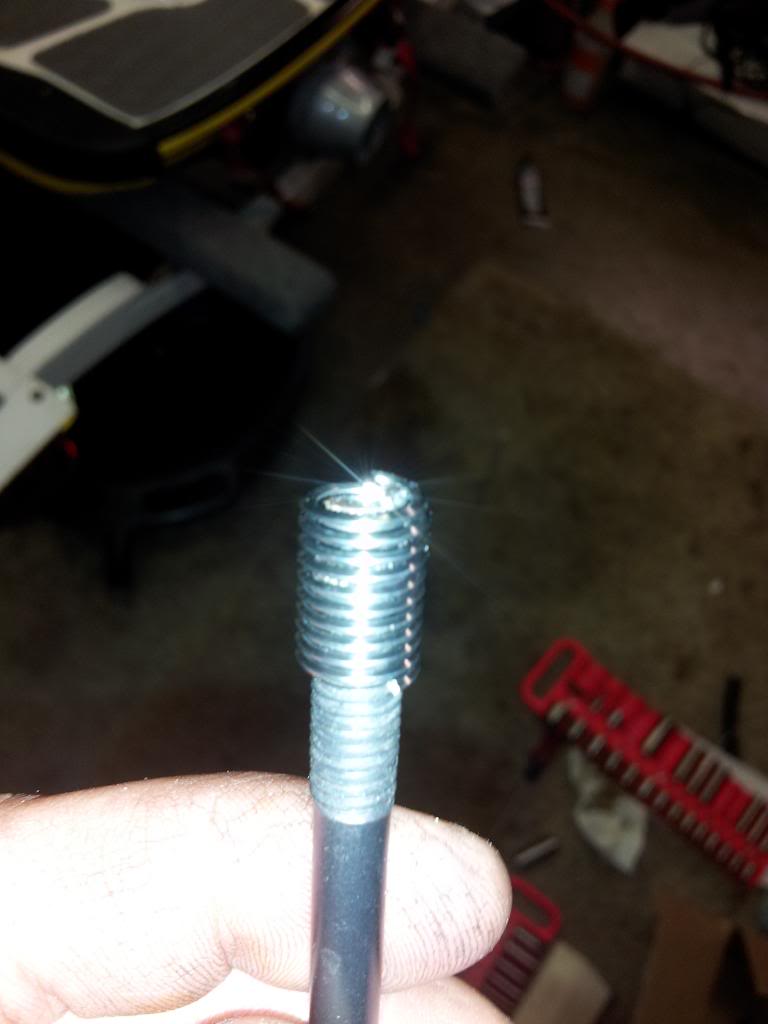
On the way in--nice and easy don't force it!!!!
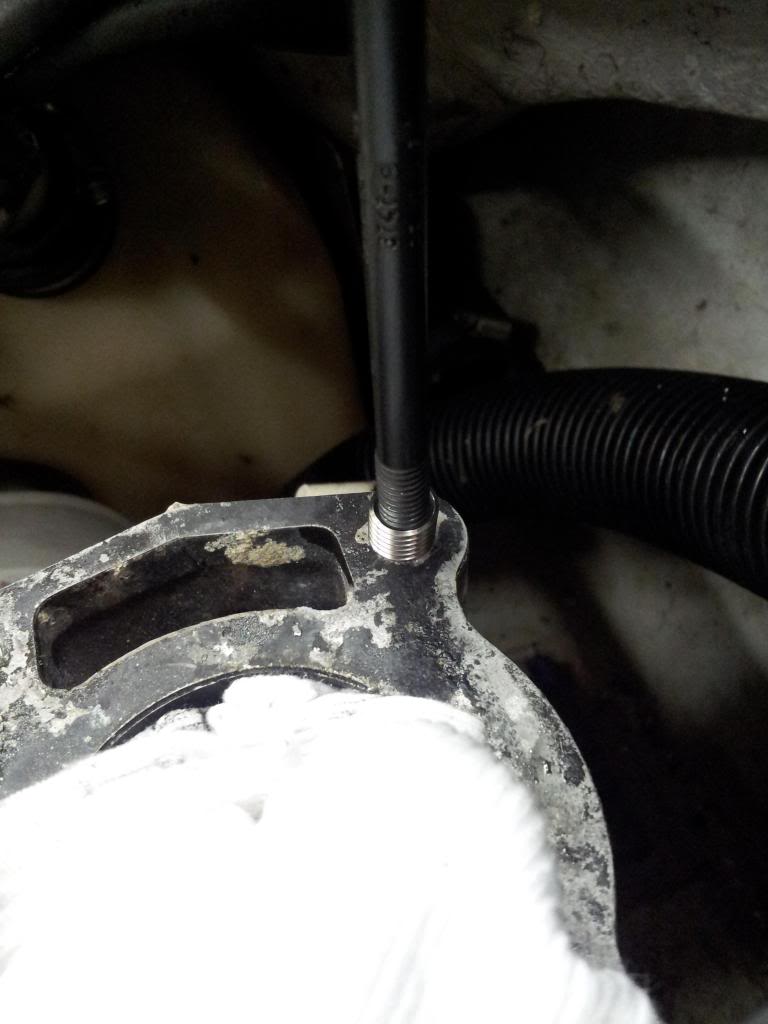
One in
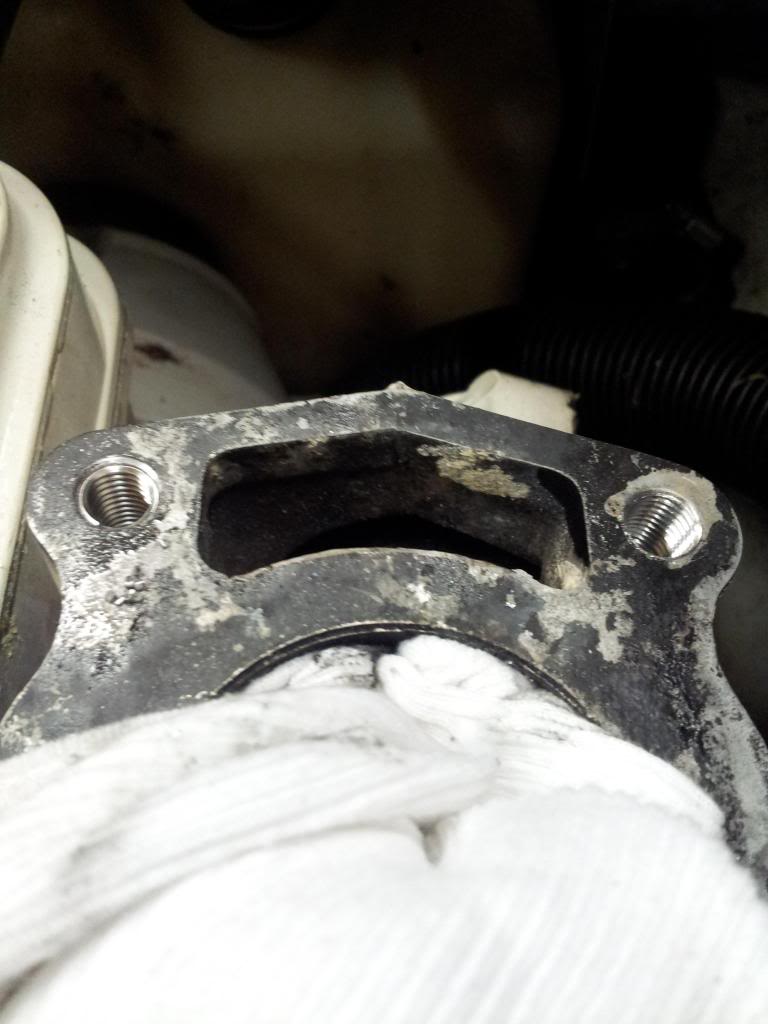

Nice and smooooth! Back to the way it should be!
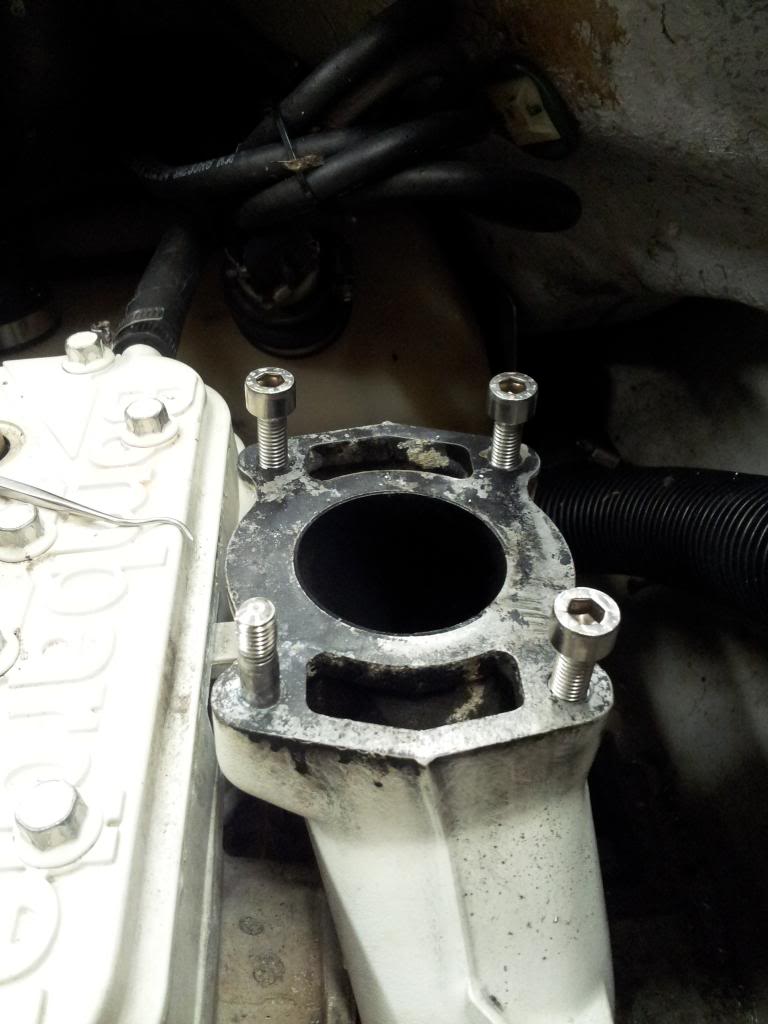
On to finding my leak!
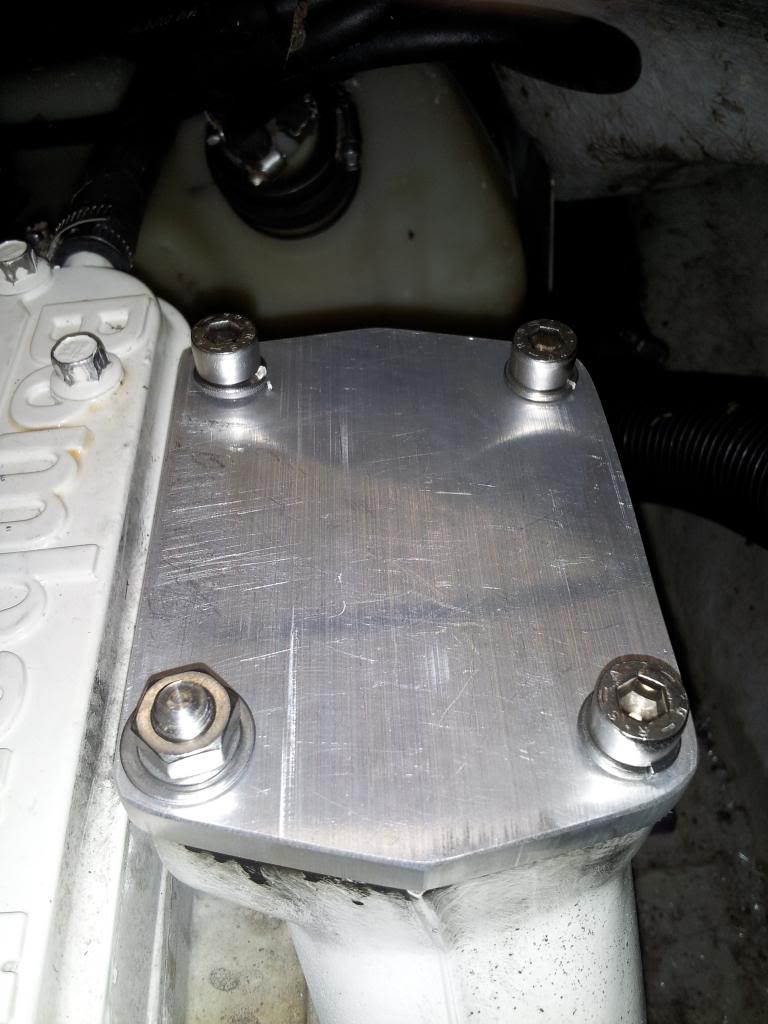
The Helicoil kit I used


The quality exhaust studs!


To remove the old studs I just double nutted the studs and used the lower nut to drive them out of the manifold

Then on to drilling them out with the supplied drill bit, make sure you go as deep as you can but not past the original bottom of the hole. Then tap it all the way, if you tap it short the insert will not sit flush with the top of the hole, not good.


Then on to tapping them with the supplied special Helicoil tap. Remember to use plenty of oil while tapping and pull the tap all the way back out and blow it off with compressed air, re-oil it, then back in, while tapping you want to start cutting then reverse out a bit (to help clear the chips) then start tapping again. Like a 1/4 to 1/2 turn than reverse out a little, then back in. Slow and easy wins the race, if you jam the tap you're sunk!

One tapped

Two tapped

The drive tang, after this is full inserted you just snap the tang off with a screw driver and vacuum out the tang.


The tang engages on a notch on the end of the insertion tool

On the way in--nice and easy don't force it!!!!

One in


Nice and smooooth! Back to the way it should be!

On to finding my leak!

Last edited by a moderator:


