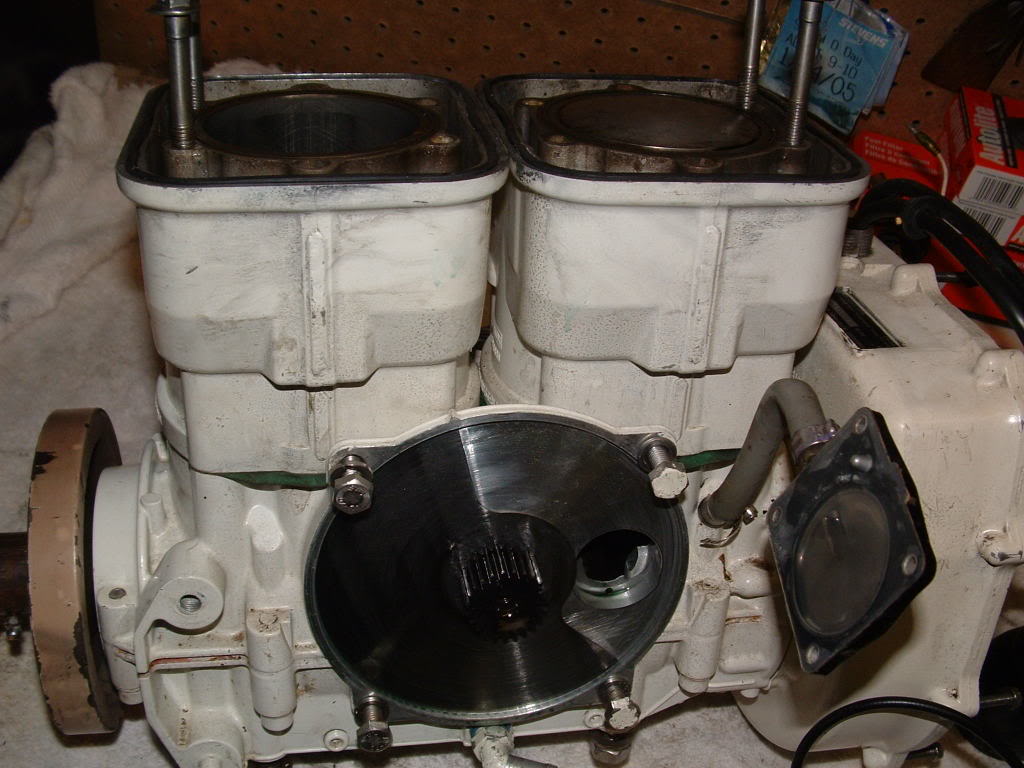
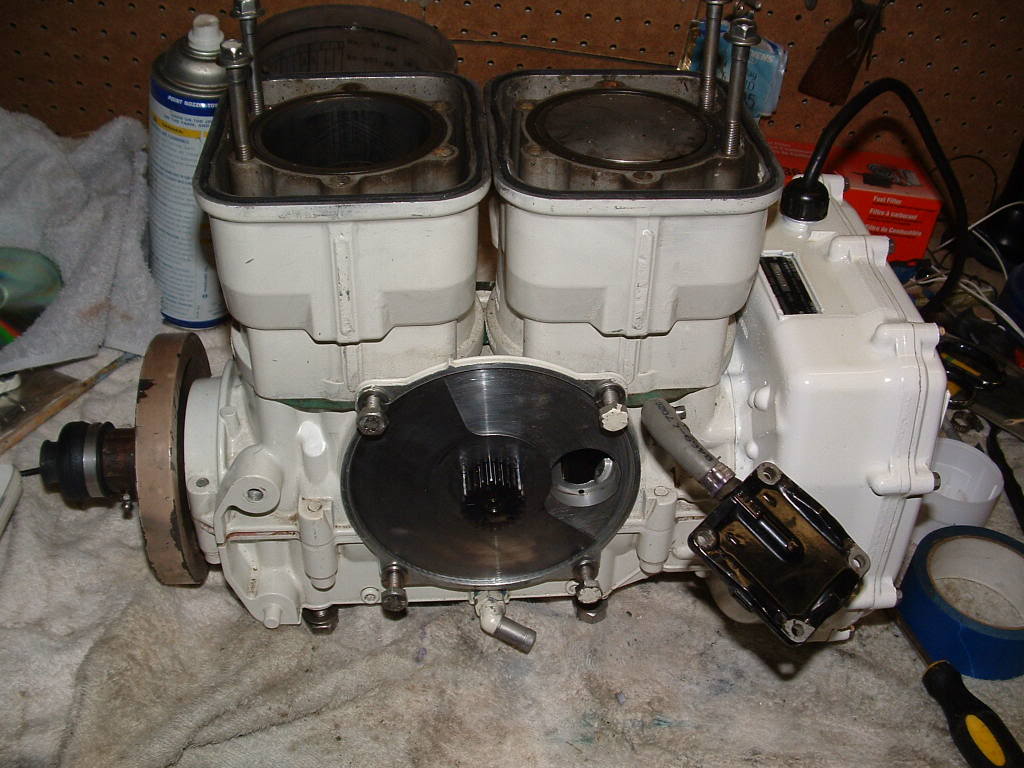
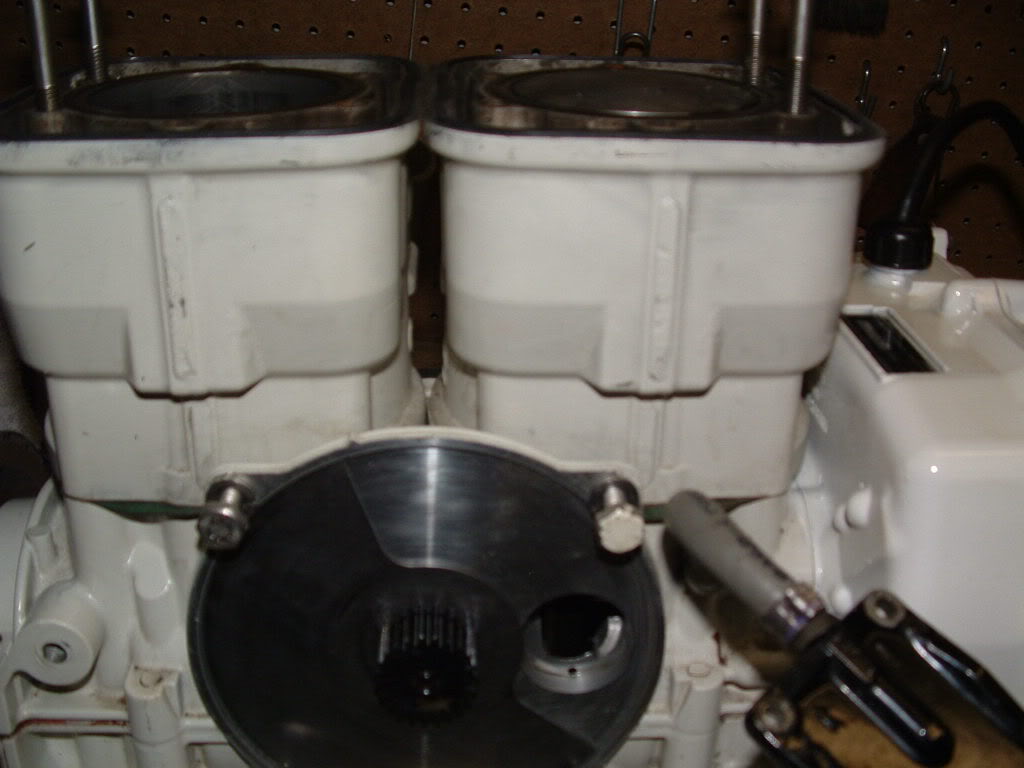
657 rotary valve install

Status
Not open for further replies.

93'XP

New Member
i pulled my engine to work on the carbs and clean it up a bit and i need to make sure i got the rotary valve on right, i got the #1 piston(near the flywheel) and i put it at TDC and then i put the valve on and got the open edge on the point casted into the case, correct? hers the pics:
20.jpg

21.jpg

22.jpg
 
Rotary timing....

The procedure for timing your rotary valve is in our library for the 1993 XP PWC. Problem is, it’s not that simple to try and explain to you in a post without a shop manual in front of you. Of course, if you were able to read the manual and see the pictures provided, you may not need any help. It really isn’t that hard.
The manual does say “caution…do not use the casted timing mark to set your timing”. I think this may be a mark that was originally used in factory production. The procedure is pretty simple. You have to get a degree wheel, slide it over your shaft and then mark the position on the casing of where the 2 degree marks fall on the 147 degree rotary valve. The two radius positions you mark are 130 degrees before top dead center and 65 degrees after top dead center. This is where your rotary must line up when sliding it on the shaft. There is no other way to do this except to bring the motor to TDC and mark it before removal. The degree wheel should be an inexpensive purchase from any local Sea-Doo repair shop or through one of our local online parts houses.
If you get the degree wheel, I’ll try and explain how to set it up for timing. The picture in the manual is worth a 1000 words…..but I’ll do what I can. You have to get the degree wheel though.
BTW, pix look awesome!
 
657

DITTO,

DAWG

By the way, the "round" intake port shown in these pictures indicates that this is NOT a "X" motor. If this were a 657X the port would be oval.
 
i have confirmed my valve is a 147degree one, so i need to line the top of the valve(the top tip) to 130degrees right
 
Timing....

No, you can’t find out where your 147 degree rotary plate fits like that. The below is the procedure for putting on your rotary plate from the 1993 shop manual.

To find your opening mark, first align your 360 line on the degree wheel with the very bottom opening of the MAG side inlet port. Then, look at the degree wheel to find the 130 degree mark on the degree wheel and put a small mark on the casing.
Next, (and do not rotate the crankshaft during this time) to find your closing mark, align the degree wheel up with the 360 degree line of the degree wheel with the very top opening of the MAG side inlet port. Now, find the 65 degree mark on the degree wheel and put another small mark on the casing.
Now, remove the degree wheel and align your rotary plate to those two marks as possible as you can. This should be where your timing is set (+/- 5 degrees) with the MAG piston at TDC. Remember, in removing this plate, you may need to check your cover for proper clearance. I don’t think you’ve changed your back-lash.
I hope this helps you. You may find a standard degree wheel (the kind you use at school) that you can purchase from the school supplies section at Wally World may be a better help, then no degree wheel at all.:cheers:
 
Protractor?....

I'm glad it worked out for you. I was trying to remember the name of the thing. I only remember using one to draw and play with. Never really used it for school work........:rofl:
But it looks like you've made it work. If there's anything else we can do, holler.
I'll consider this post has a successfull end. I'll close it now. :cheers:
 
Status
Not open for further replies.
Back
Top